


Not sure if you’re ready to launch a sales page all on your own? Let’s work through it together!
Many online business owners feel uncertain when it comes to their website and sales pages. Sometimes it’s hard to figure out what content they need and how to keep everything flowing so readers connect.
And a lot of times, it feels easier to leave your sales page to the side and focus on social media or other channels. However, these channels aren’t meant to replace your sales page but work with it to bring your followers on a journey.
How to make a high-converting Sales Page in Showit
Showit is a template-based platform (no coding or experience required) designed to take the guesswork out of making your pages. Plus, to make it easy, every one of my Showit Sales Page Builders includes access to my original Launch with Moxie course. This way, you get to learn the ins and outs of the platform and feel confident as you create your own page.
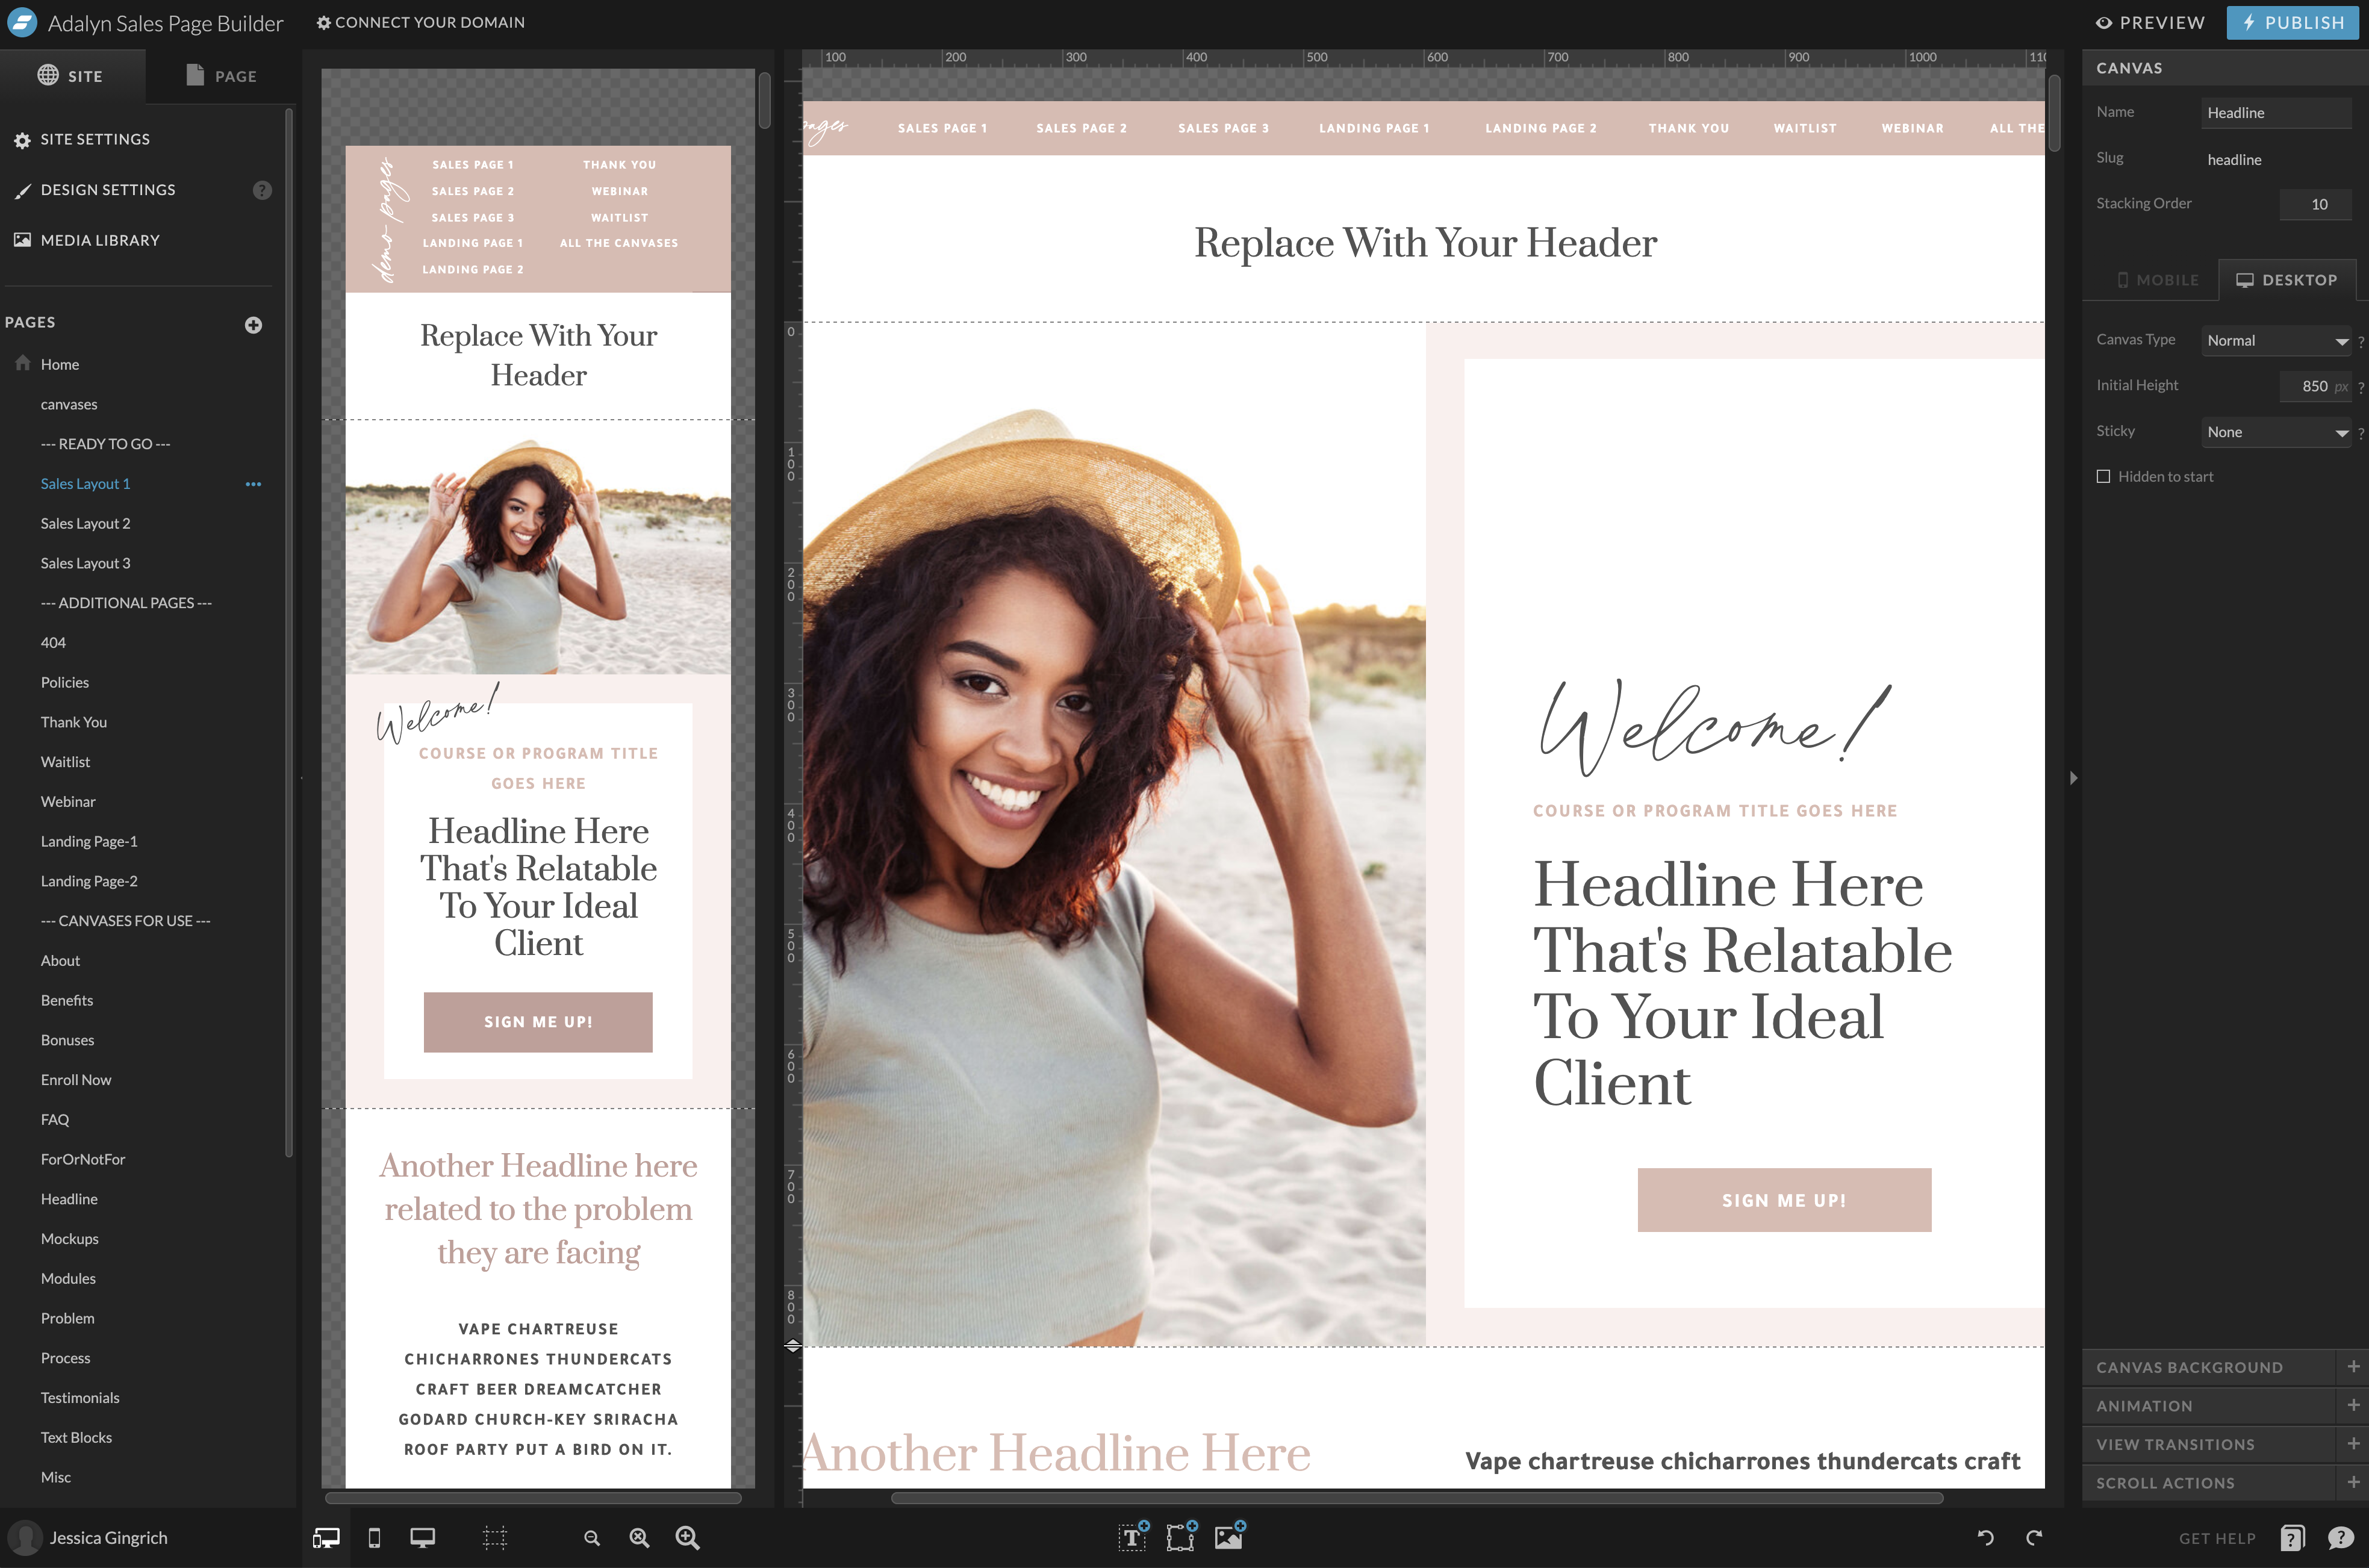
Start by familiarizing yourself with the Showit platform and features
When looking to DIY a website, it’s important to choose a user-friendly platform so you can get the best possible DIY result. Otherwise, it’s easy to feel stuck and end up needing a developer.
I love Showit because it is a drag and drop builder that’s super easy to use. But it also includes tons of options to customize your pages without feeling overwhelming. Showit is one of the best website platforms for photographers, coaches, consultants, and creatives. And that’s why I launched a Sales Page Builder for Showit — to give you the tools to DIY a knockout sales page in a snap.
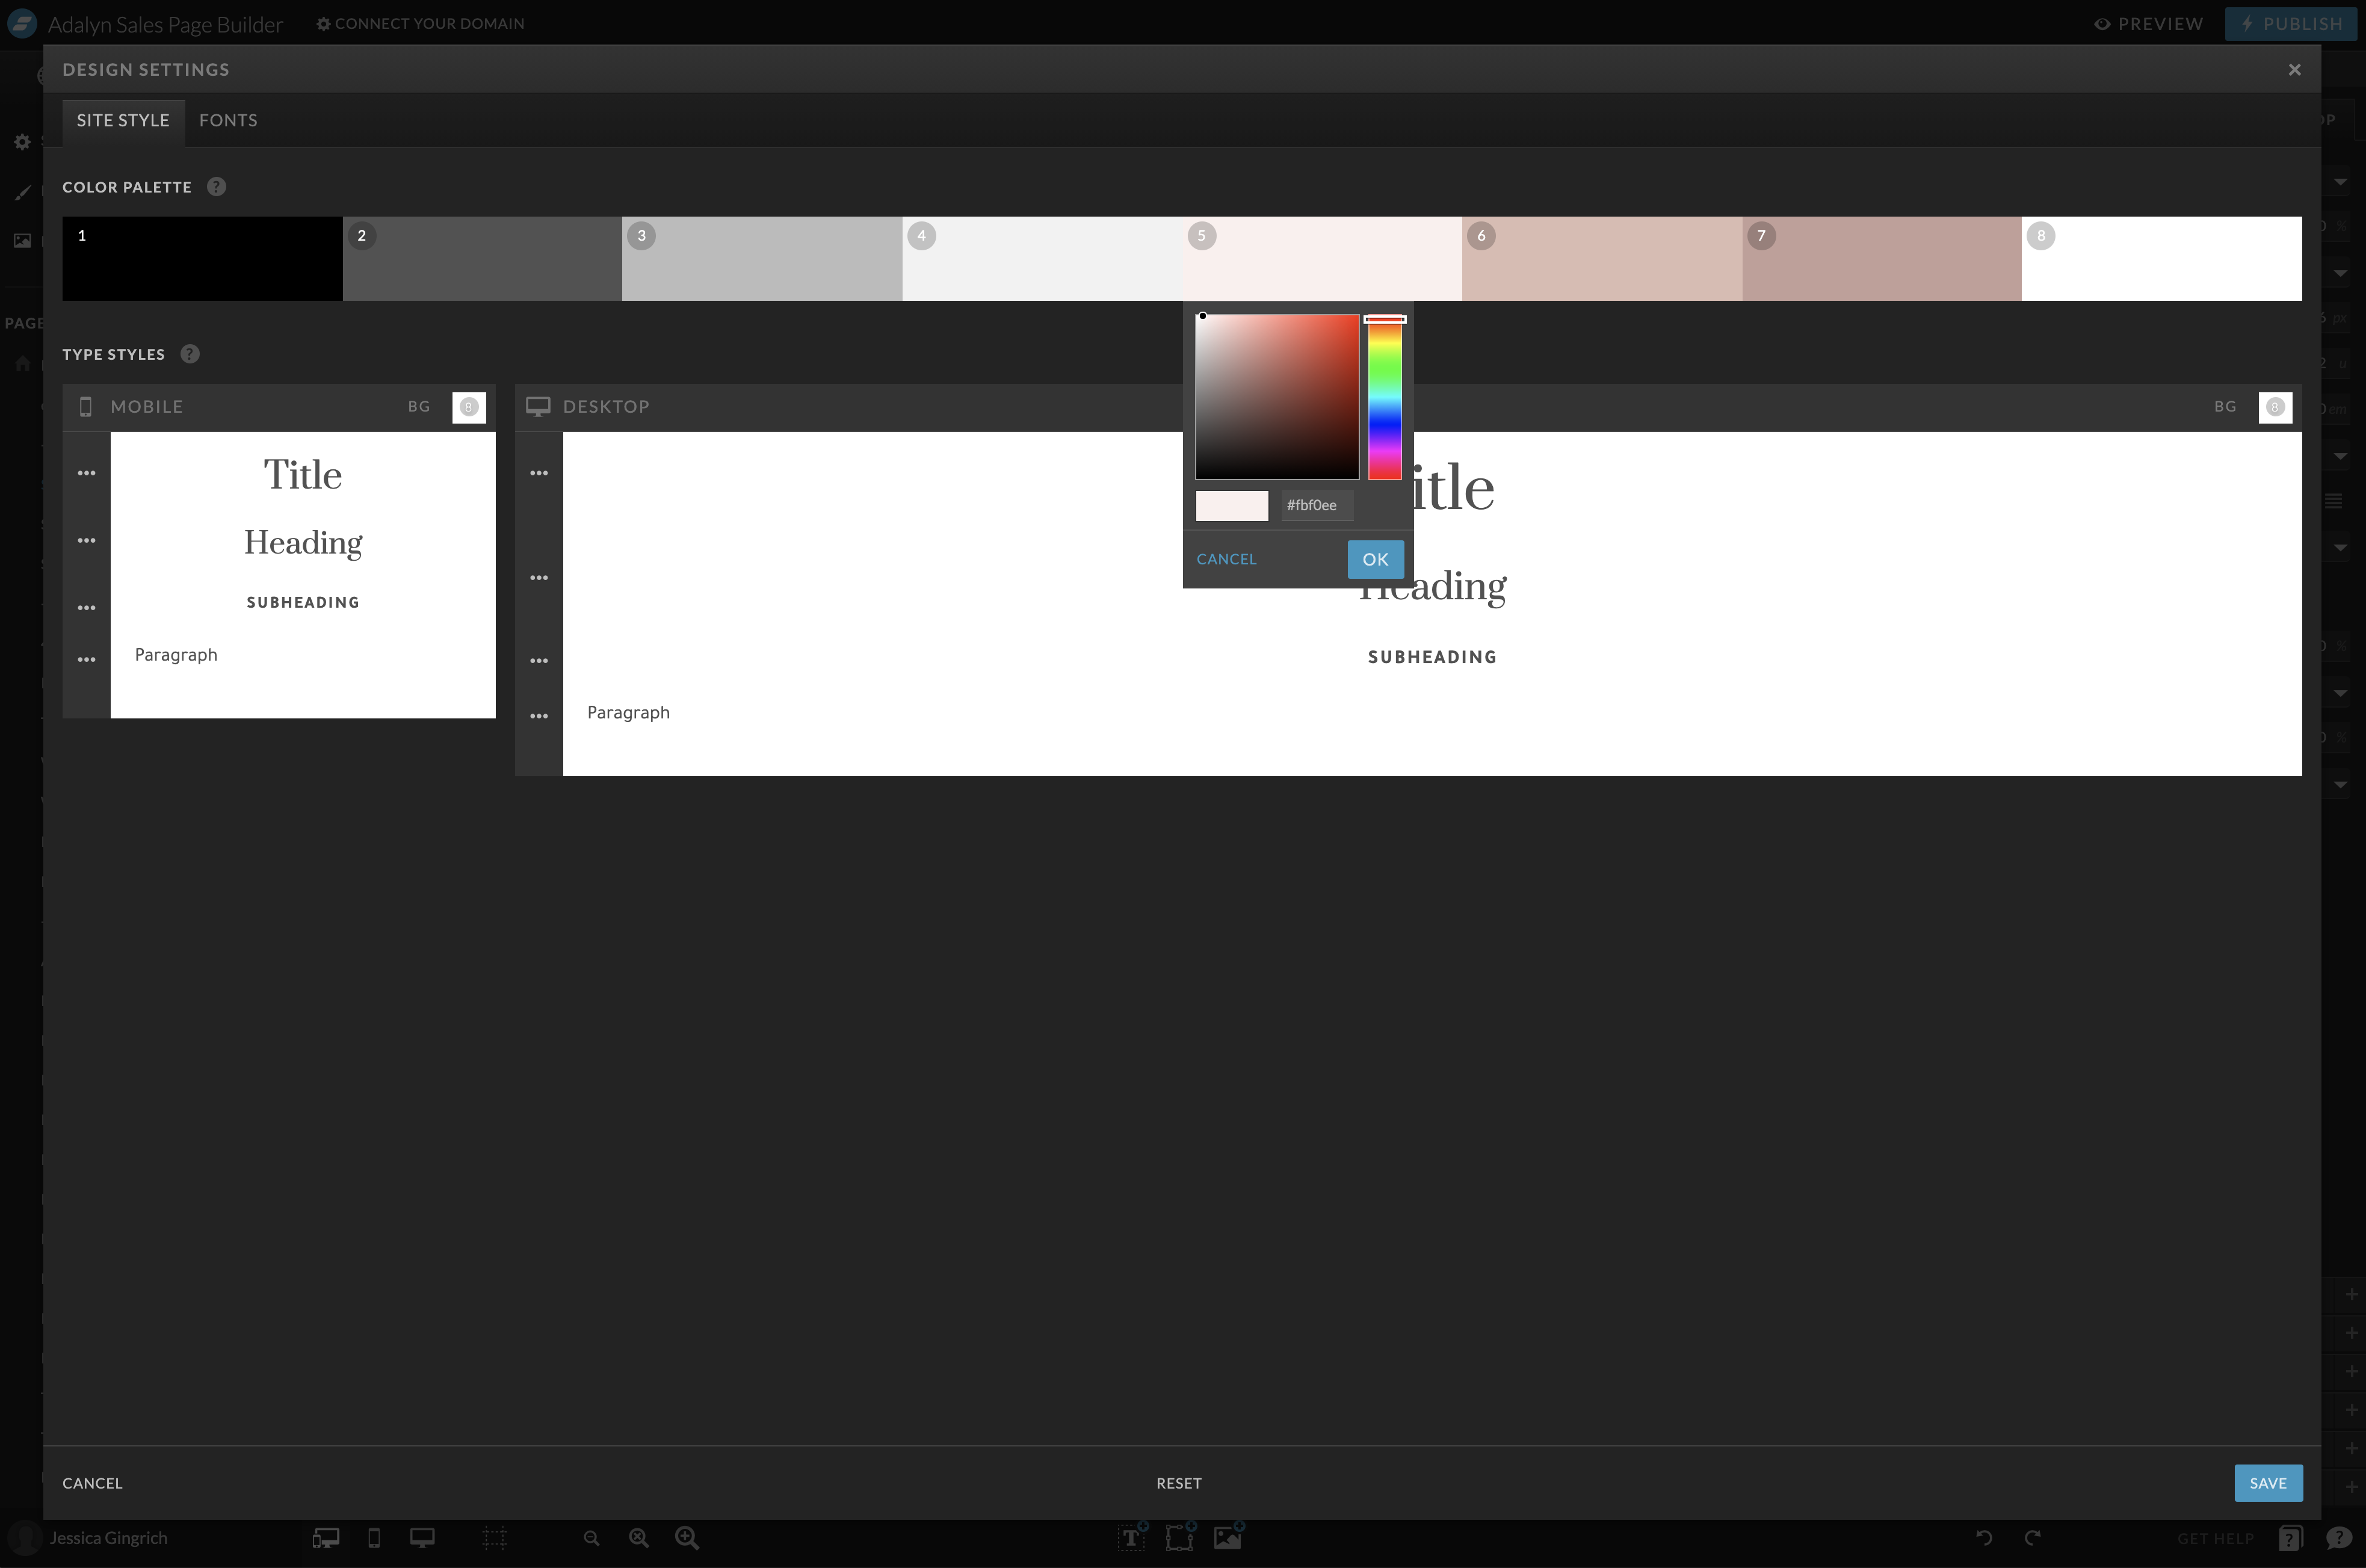
Customize your brand settings, including your own images, fonts and colors
Once you pick the template, it’s time to tailor it to your brand. Adjusting your brand settings in Showit is super easy. You just have to adjust your brand colors and fonts and upload your photos so they’re ready to go as you fill in the sections.
With Showit, you can select colors by using your hex codes or drag the color tool to choose your desired shades.
For your fonts (or typography), Showit includes a pre-loaded library with all the available Google fonts. Or you can upload font files if you bought a special license.
Adjust these settings first when you work in your builder and all the canvases will be automatically loaded with your brand elements before you even get to the builder. Pretty neat, huh? No more customizing each block.
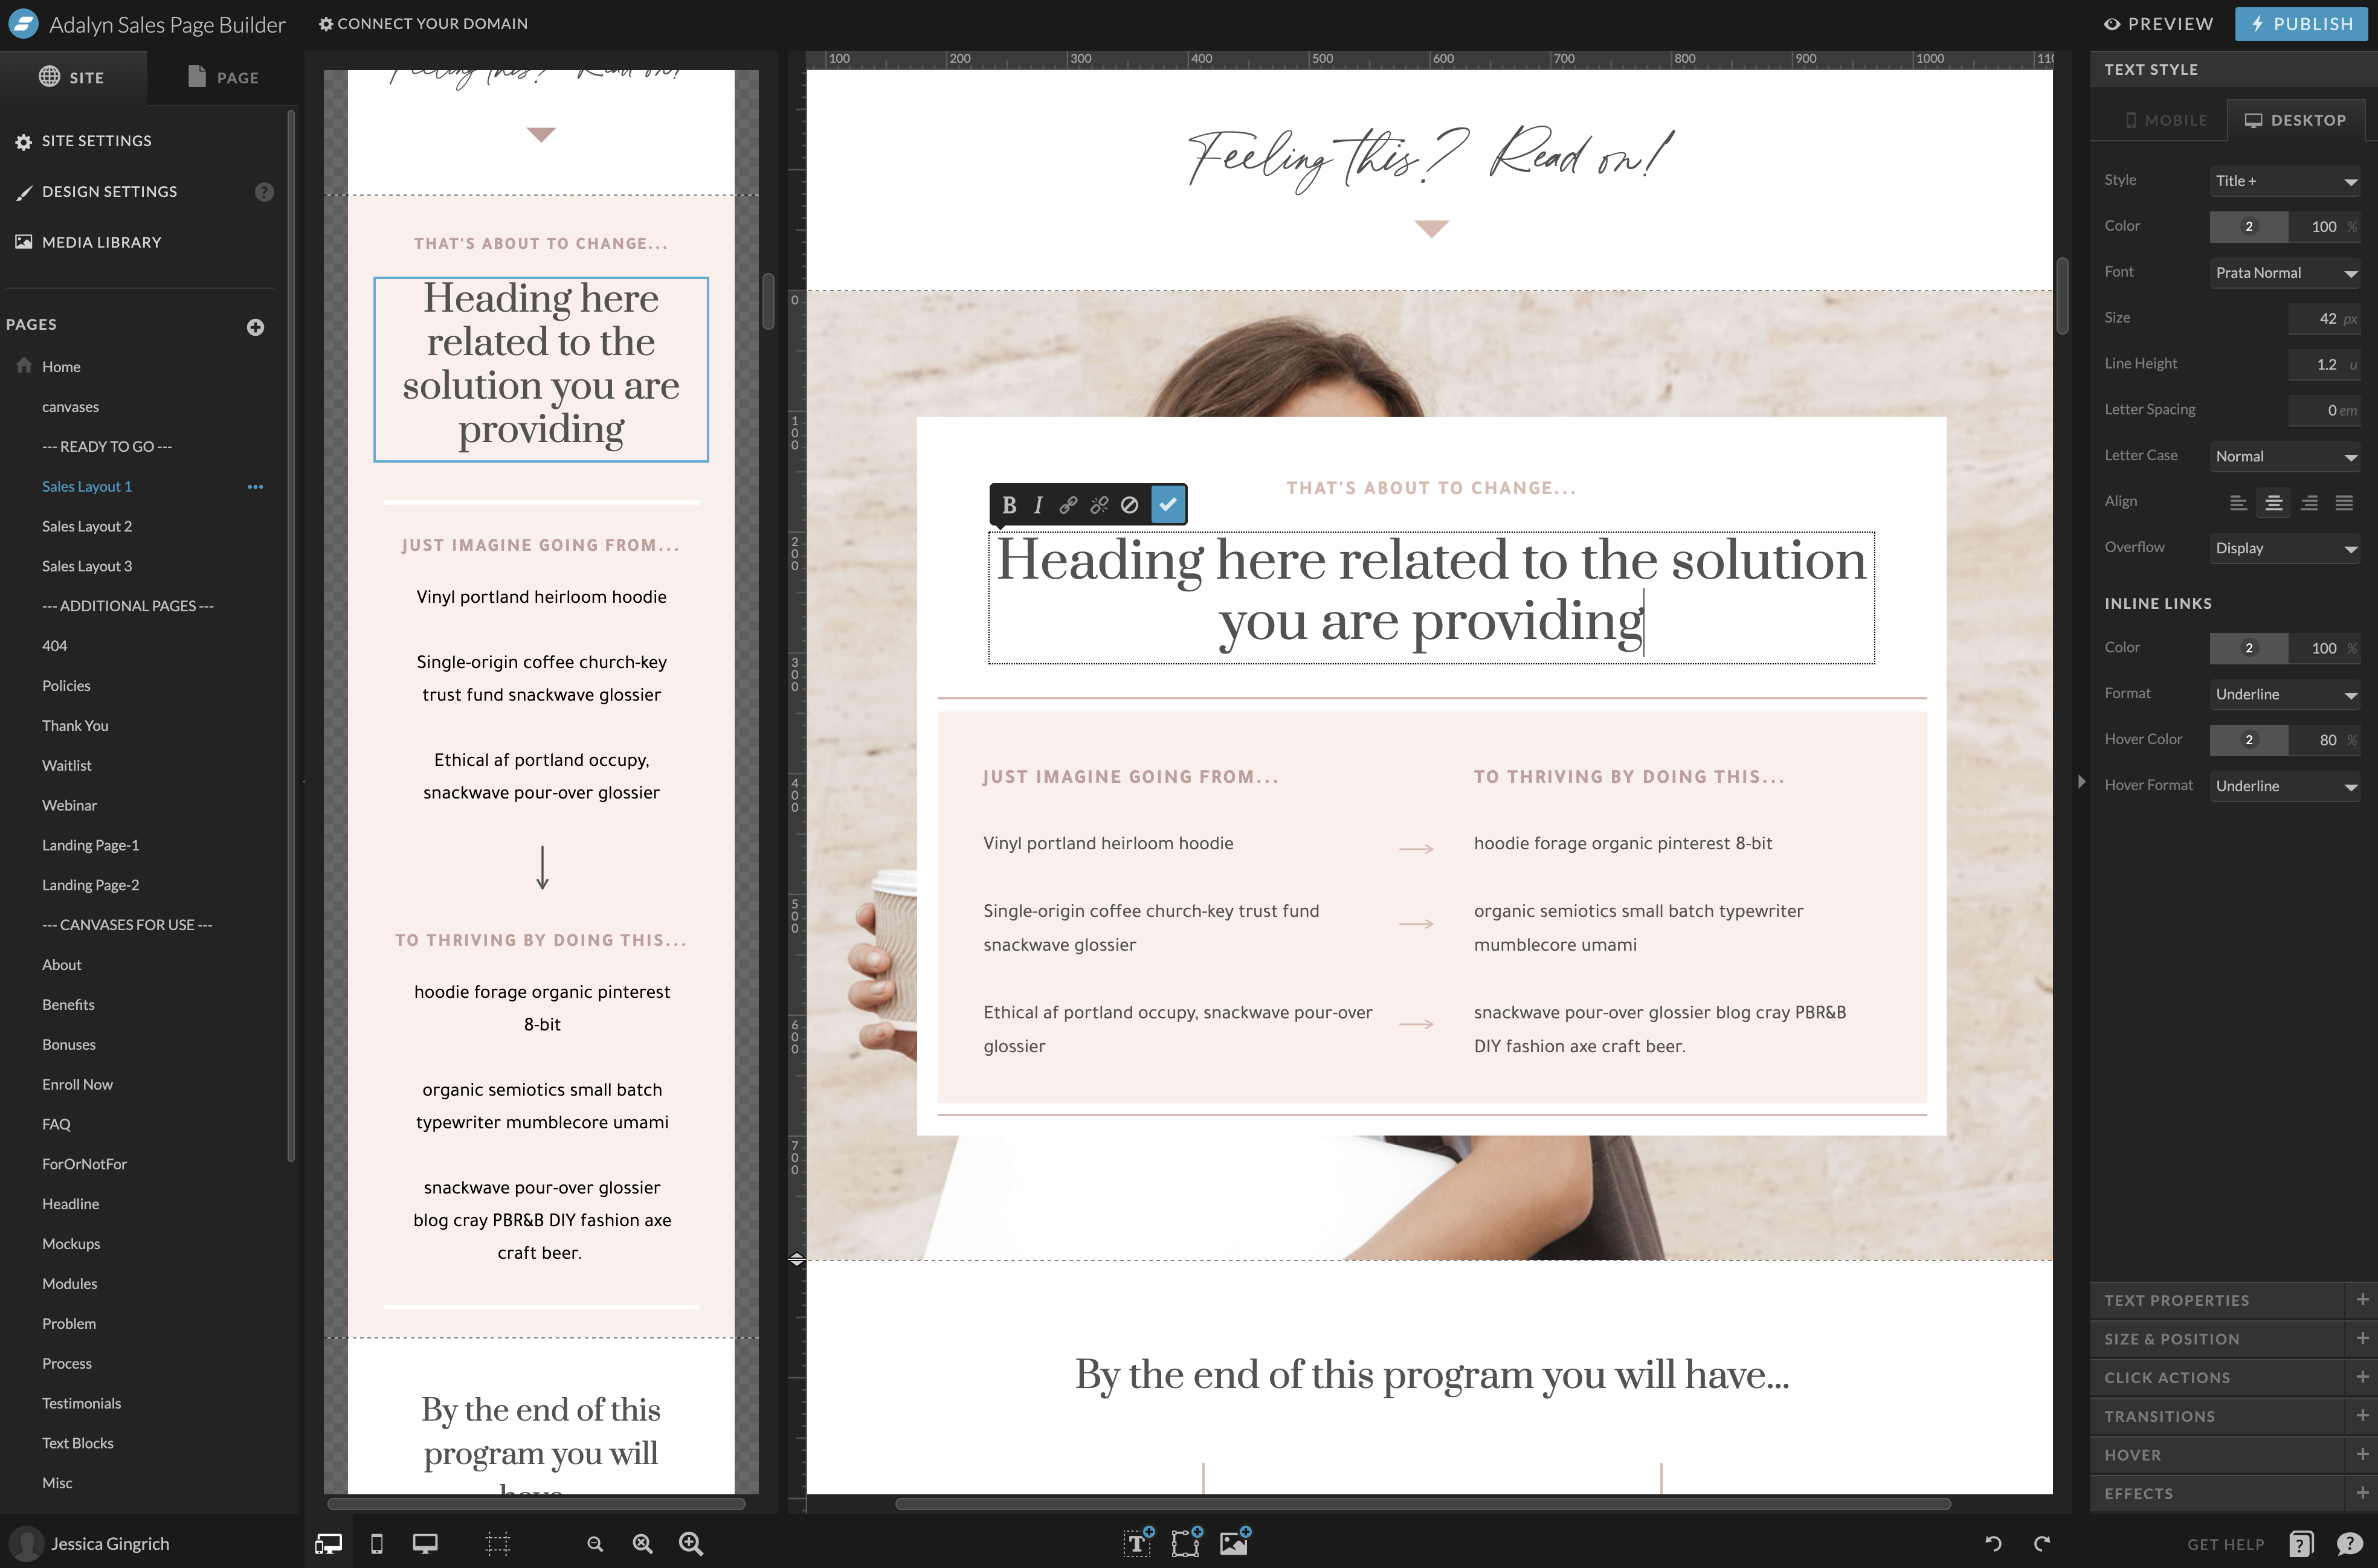
Write the content for your sales page with the prompts supplied in each section
The thing that will make your sales page stand out and convert is the content. At its core, your sales page needs to cover three things:
- What you do
- How it helps your client or customer
- What they need to do to buy
With the pre-outlined text in the template, I made sure each section has a prompt so you can get in and know exactly what goes where.
Your Showit template has a layout designed to convert visits into sales. You can play around with different designs for each section by swapping out the canvases (we’ll cover those in a bit!). But I encourage you to keep the basic flow of the sales page as-is.
Try this: Open a new doc and draft what your sales page will say by following the template. Get all your ideas out at first. No filtering or editing.
Once you’ve laid out a base, it’s time to play around with wording, formats, and a text that’s closer to what your final sales page will include.
To make this easy for you, every section of your sales page includes space for a heading or subheading and body text filled with placeholders to replace with your content. Keep in mind that shorter paragraphs, bullet points, and highlighted text (this can be bold, italicized, or part of your headings) drive your reader to the most important information and prevent them from zoning out.
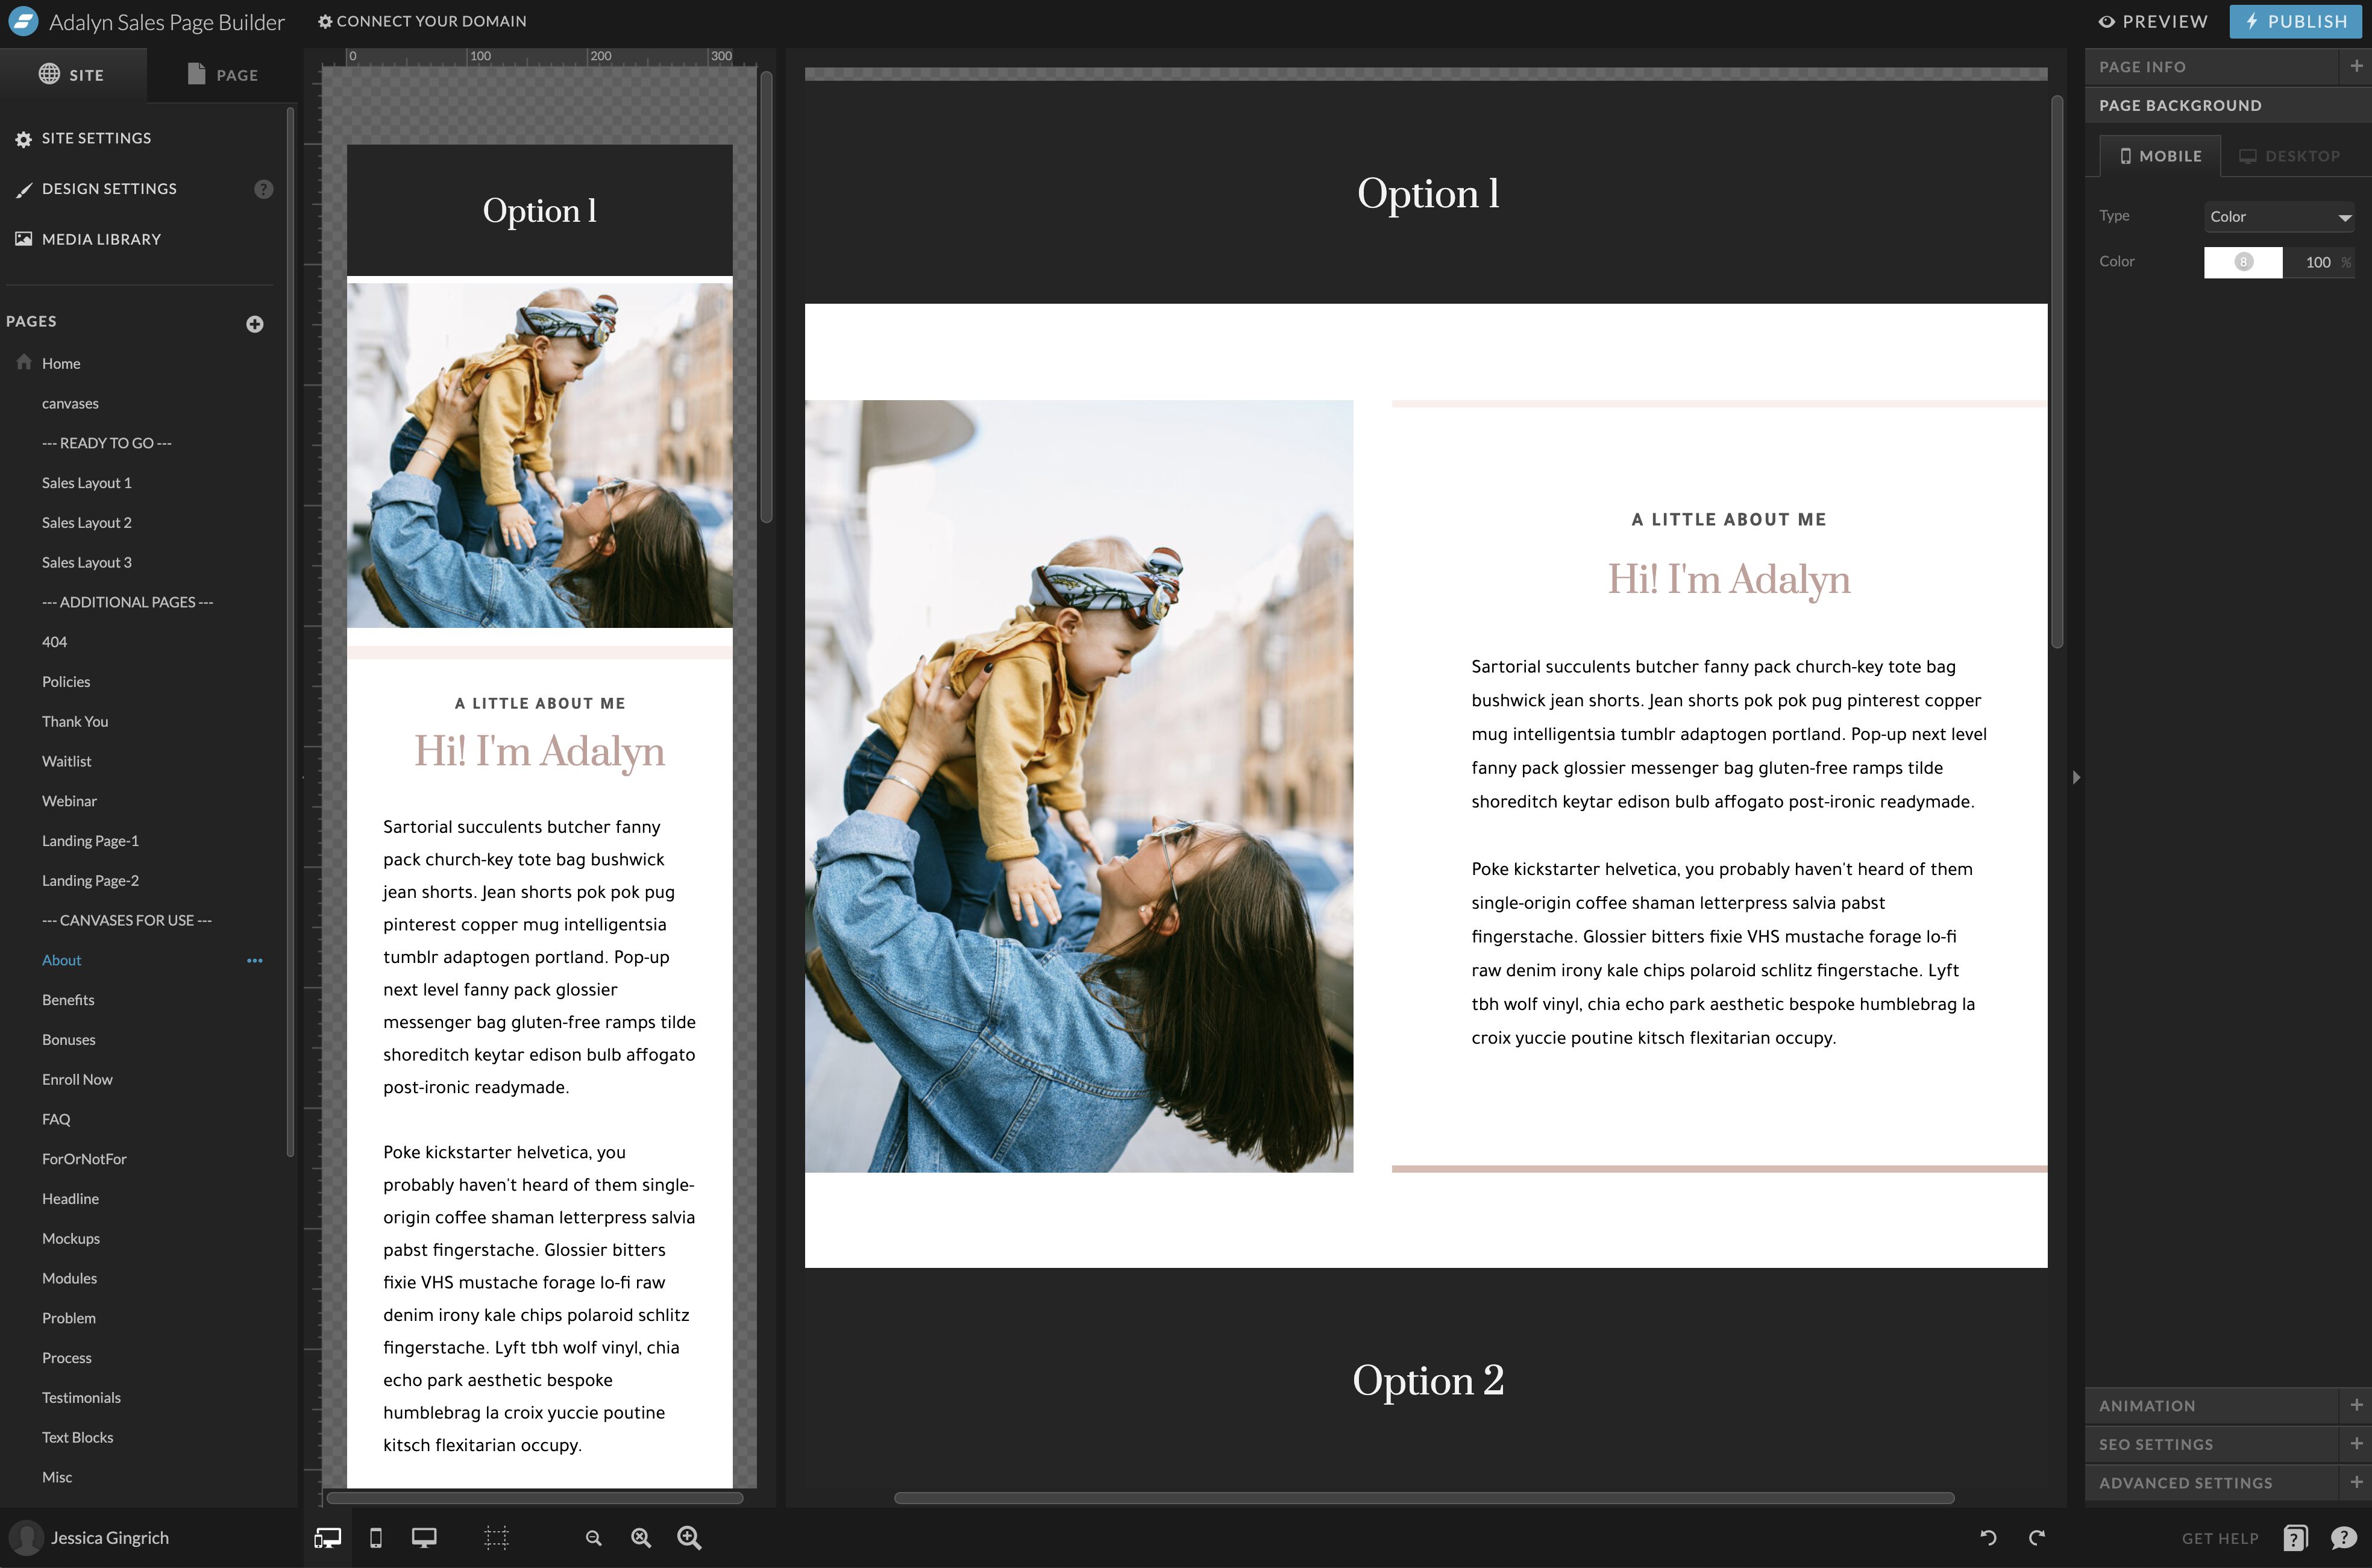
Tweak the sections of your sales page as needed with the pre-built canvases
When you buy my Showit Sales Page Builder, you get three sales pages that are ready to fill and launch. I designed the Sales Page Builder to take you from product to launch in an afternoon.
But if you’re looking to customize your page more, every template comes with several pre-built canvases, which is the name for sections in Showit.
As I mentioned earlier, your sales page is designed to convert visits into sales. Every section is in a strategic spot to make it easy for your reader to get you and get the information they need to buy. For this, I’d strongly suggest that you keep the basic flow of the sales page as-is. Now, this doesn’t mean you can’t have fun! Each section comes with a set of canvases to pick from to customize the look of your sales page while keeping the conversions coming.
To switch canvases, click in your Showit menu where it says Canvases for Use and find the section you’re looking for (About, Benefits, Process, Modules, and more) and choose the one you like best.
Once you’ve got the design down, it’s time to swap the photos for the ones you uploaded and plug in your content to bring it all together.
Using a sales page builder, you can focus on your product instead of wasting time with your page setup.
Whether you’re launching a course, a new product, or a service, your sales page is key in driving, well, sales. It’s the place to inform your audience of everything they need to know before buying — and present it in a way that’s cohesive with your overall brand experience.
The goal of my Showit Sales Page Builder is to make launching your product a breeze.
With the pre-made templates and tons of resources and video tutorials, you’ll feel confident from start to launch. And your product will have a fully functional online home so your audience is ready to buy the second you’re ready to sell.


