


People love to showcase their instagram feed on their website. Most of my templates show this setup because it seems to be preferred or expected these days. I wanted to share a quick tutorial for how to add your instagram feed to your website using the Showit Social Grid feature.
But first let’s talk about strategy because it’s my favorite, right? You might not realize that there are pros and cons to having your feed on your website, so I wanted to share the top ones just for some additional insight.
Pro: You invite visitors to connect with you further on a more seemingly personal platform where you can engage with them. Great for developing a relationship and building the know/like/trust factor we are after as business owners.
Con: You are steering people away from your website. This is no bueno technically. You take the risk of someone scrolling through your homepage, seeing an image that captures their attention in your instagram feed, clicking it and heading off down the rabbit trail of instagram vs. continuing to view your services and hopefully book with you.
Now, you can weigh the risk and the perk and decide for yourself, but I just wanted to make sure you had a bit more perspective on the issue!
For the video version of this tutorial check out the following short video!
How to add your instagram feed to your Showit website
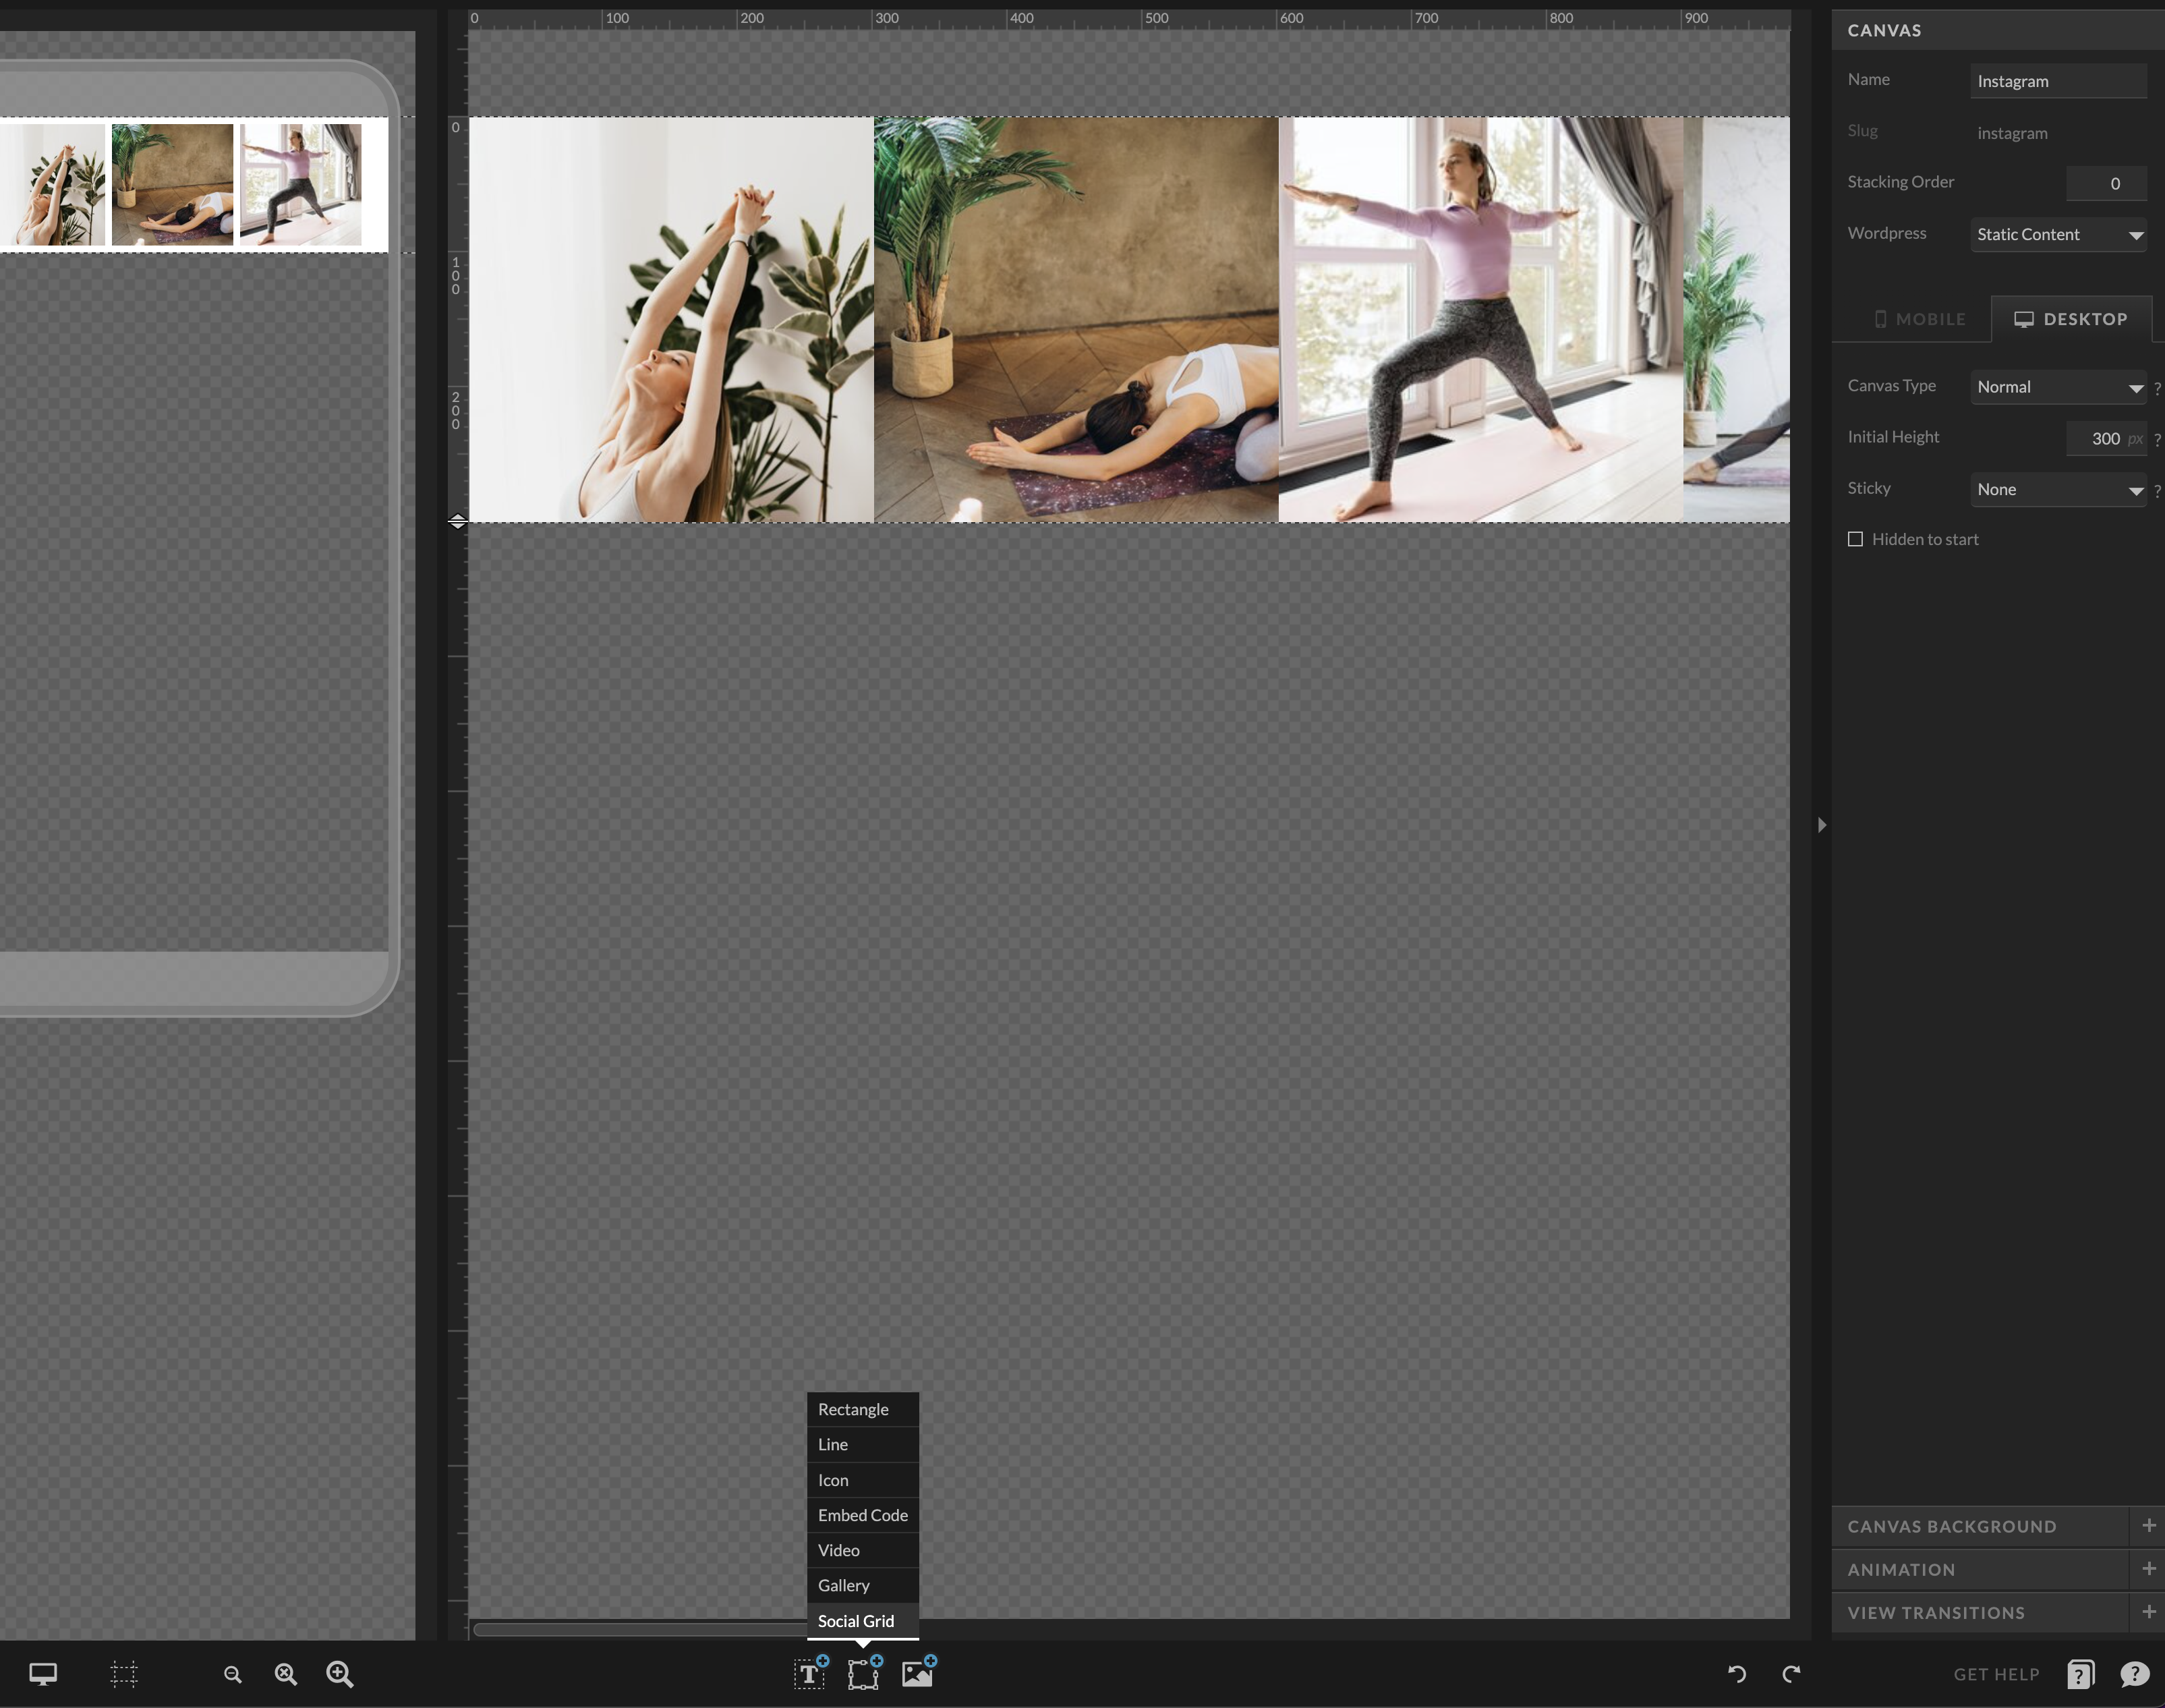
Step 1. Add the Social Grid Widget and Connect Your IG: Select the social grid already setup within your template or click the icon below to add one to it. Then connect your account by walking through the steps that Showit will prompt you – giving access to your IG within your Showit account.
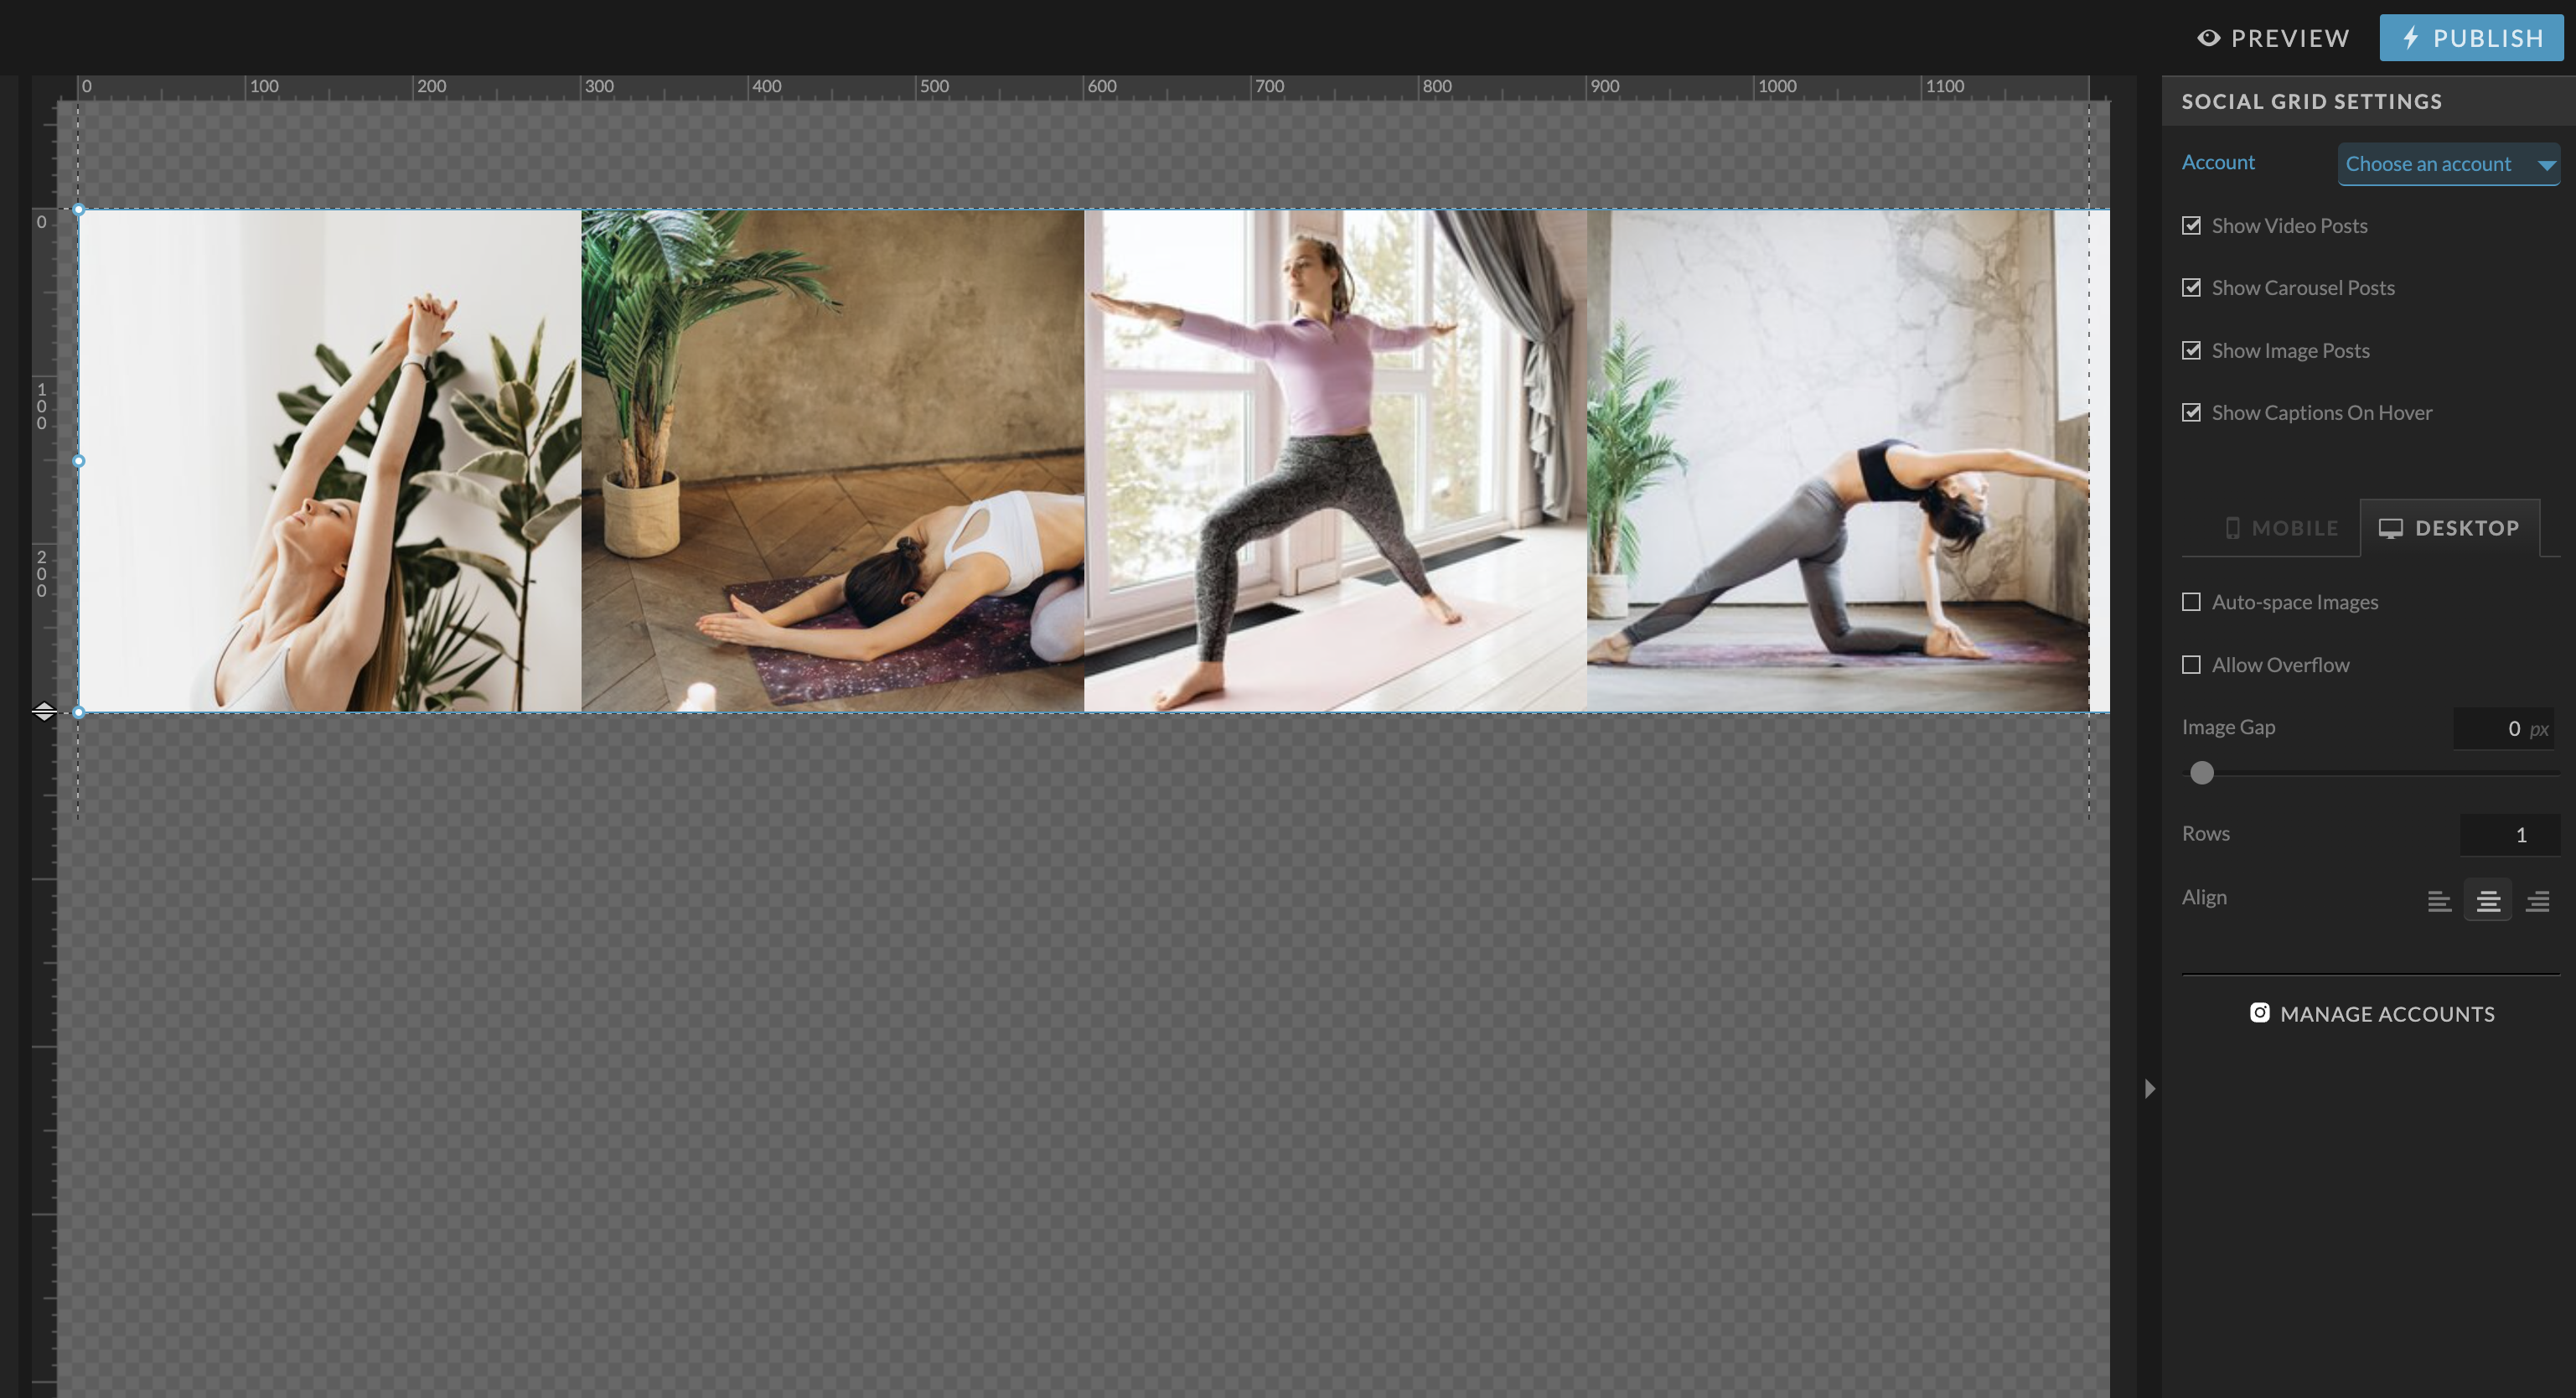
Step 2: Setup your preferences.
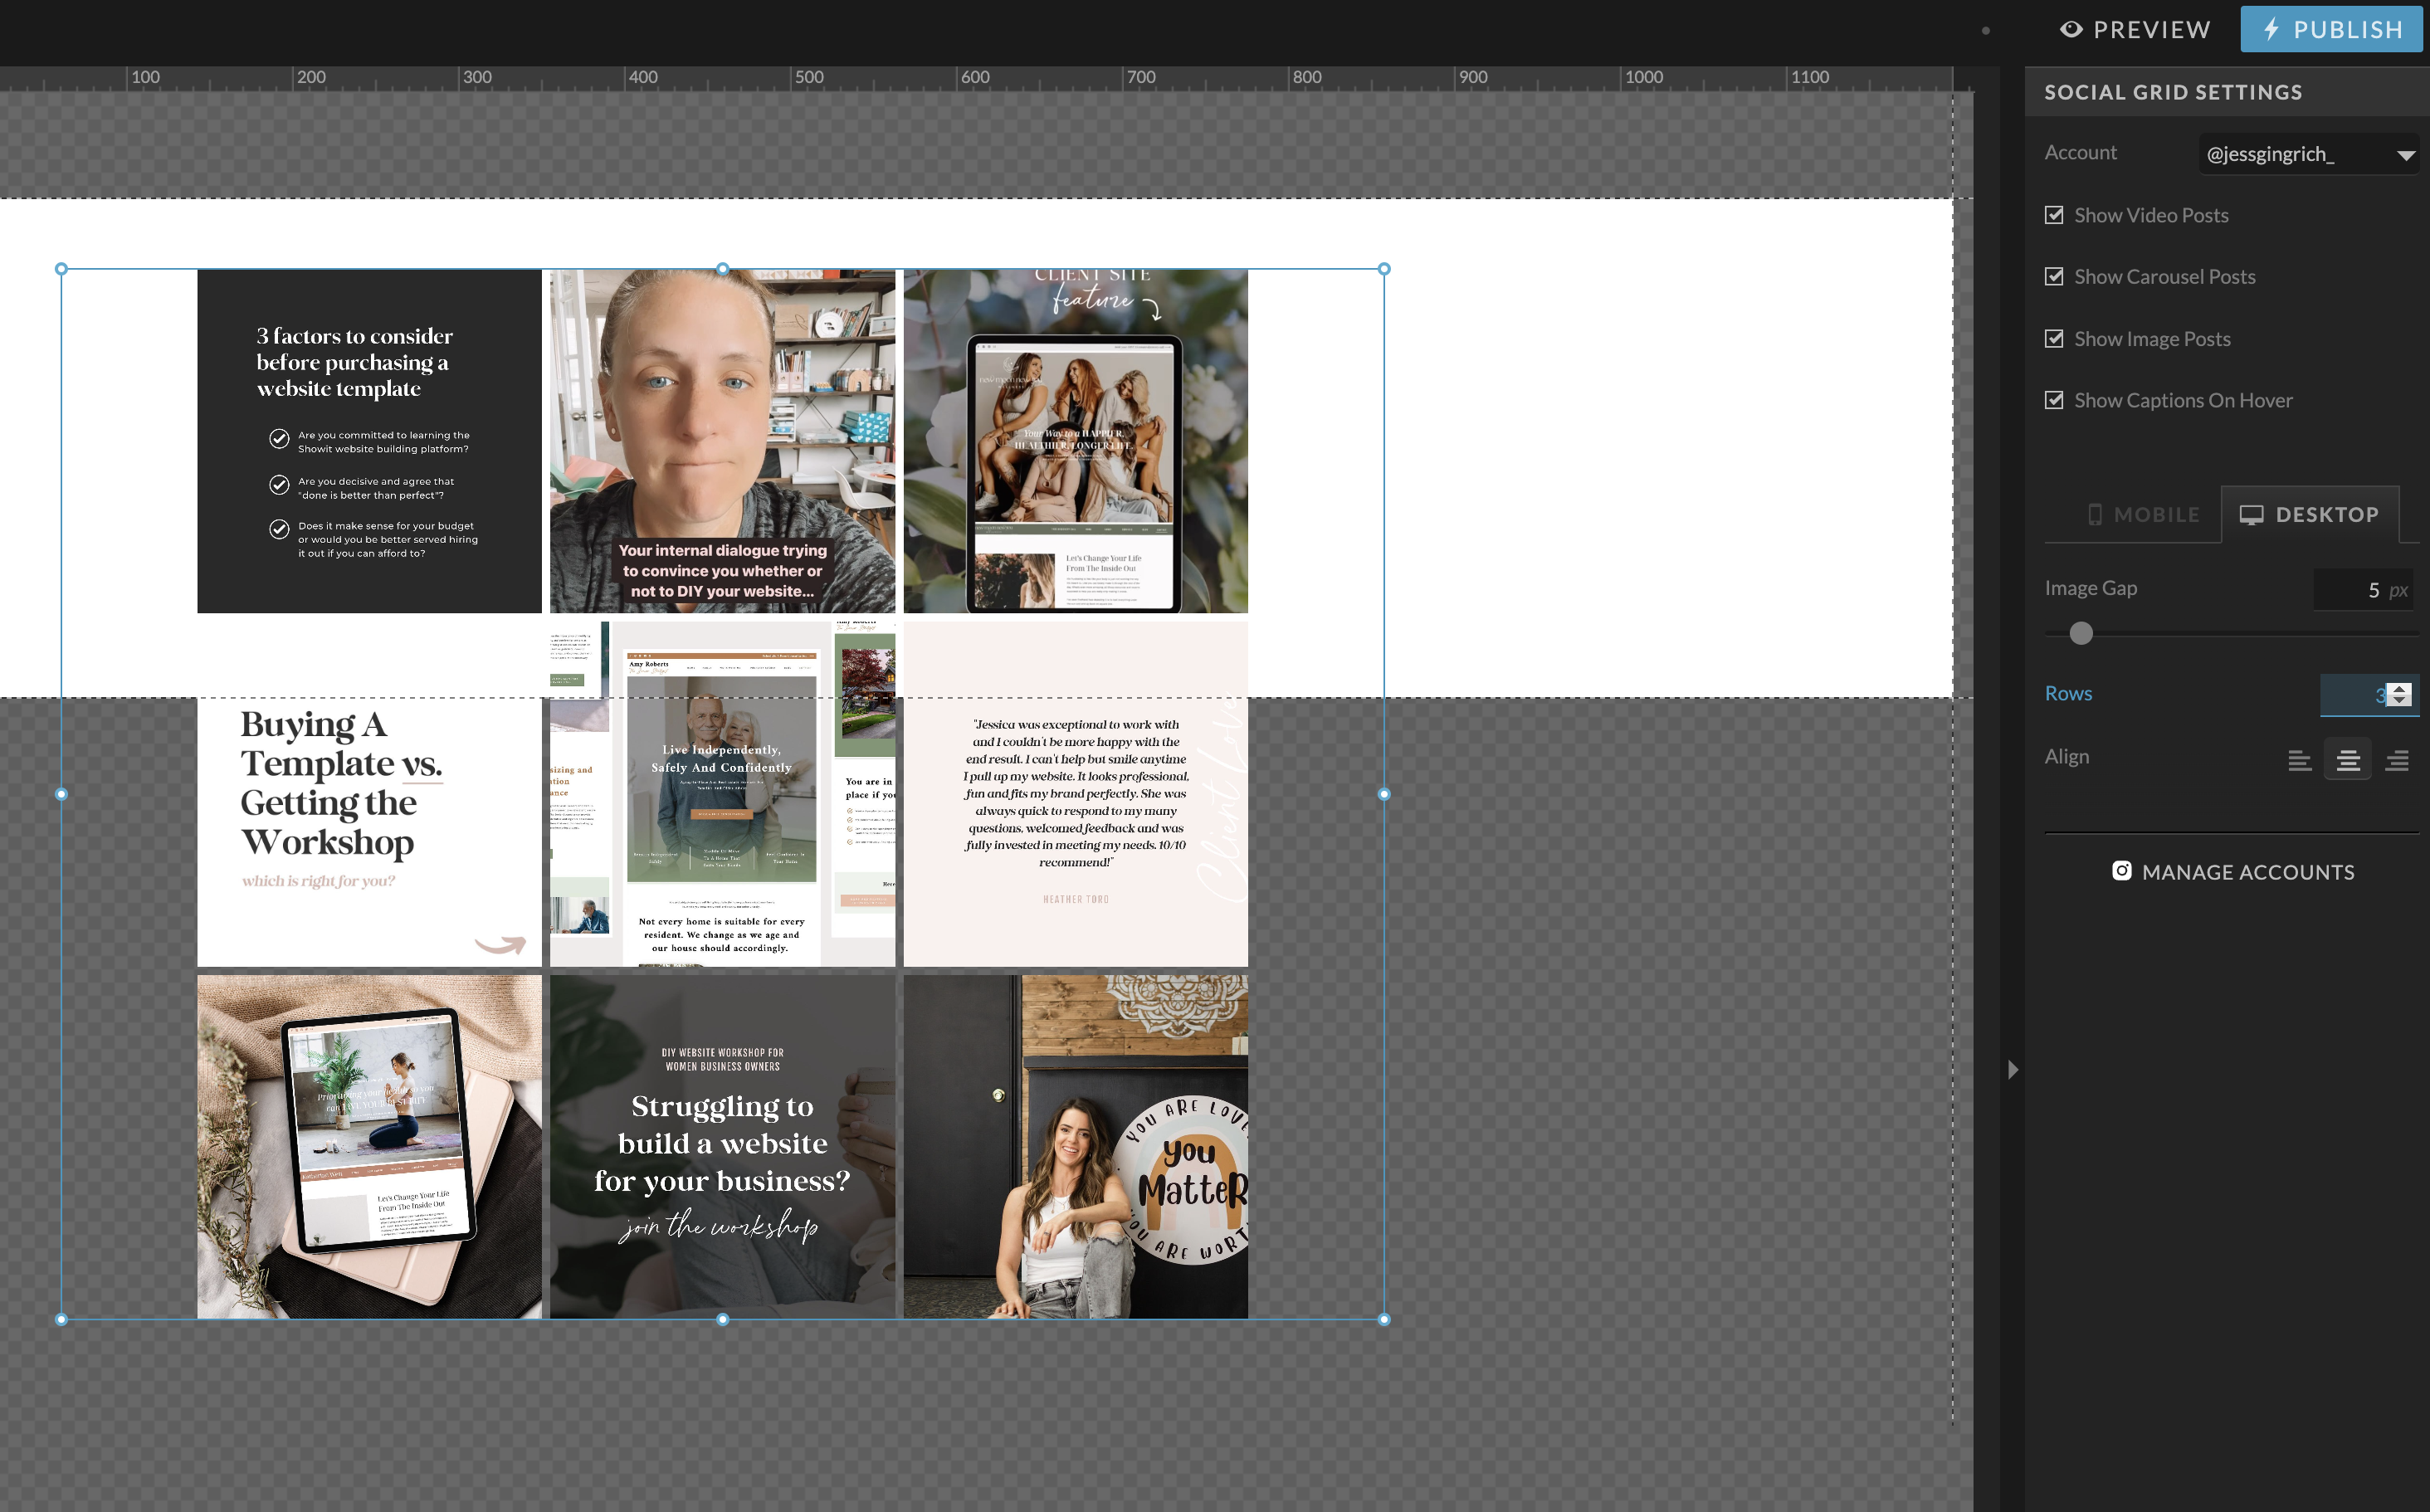
You can adjust the rows and image gap and then adjust the extents of the box to set how many post images are shown on your website design.
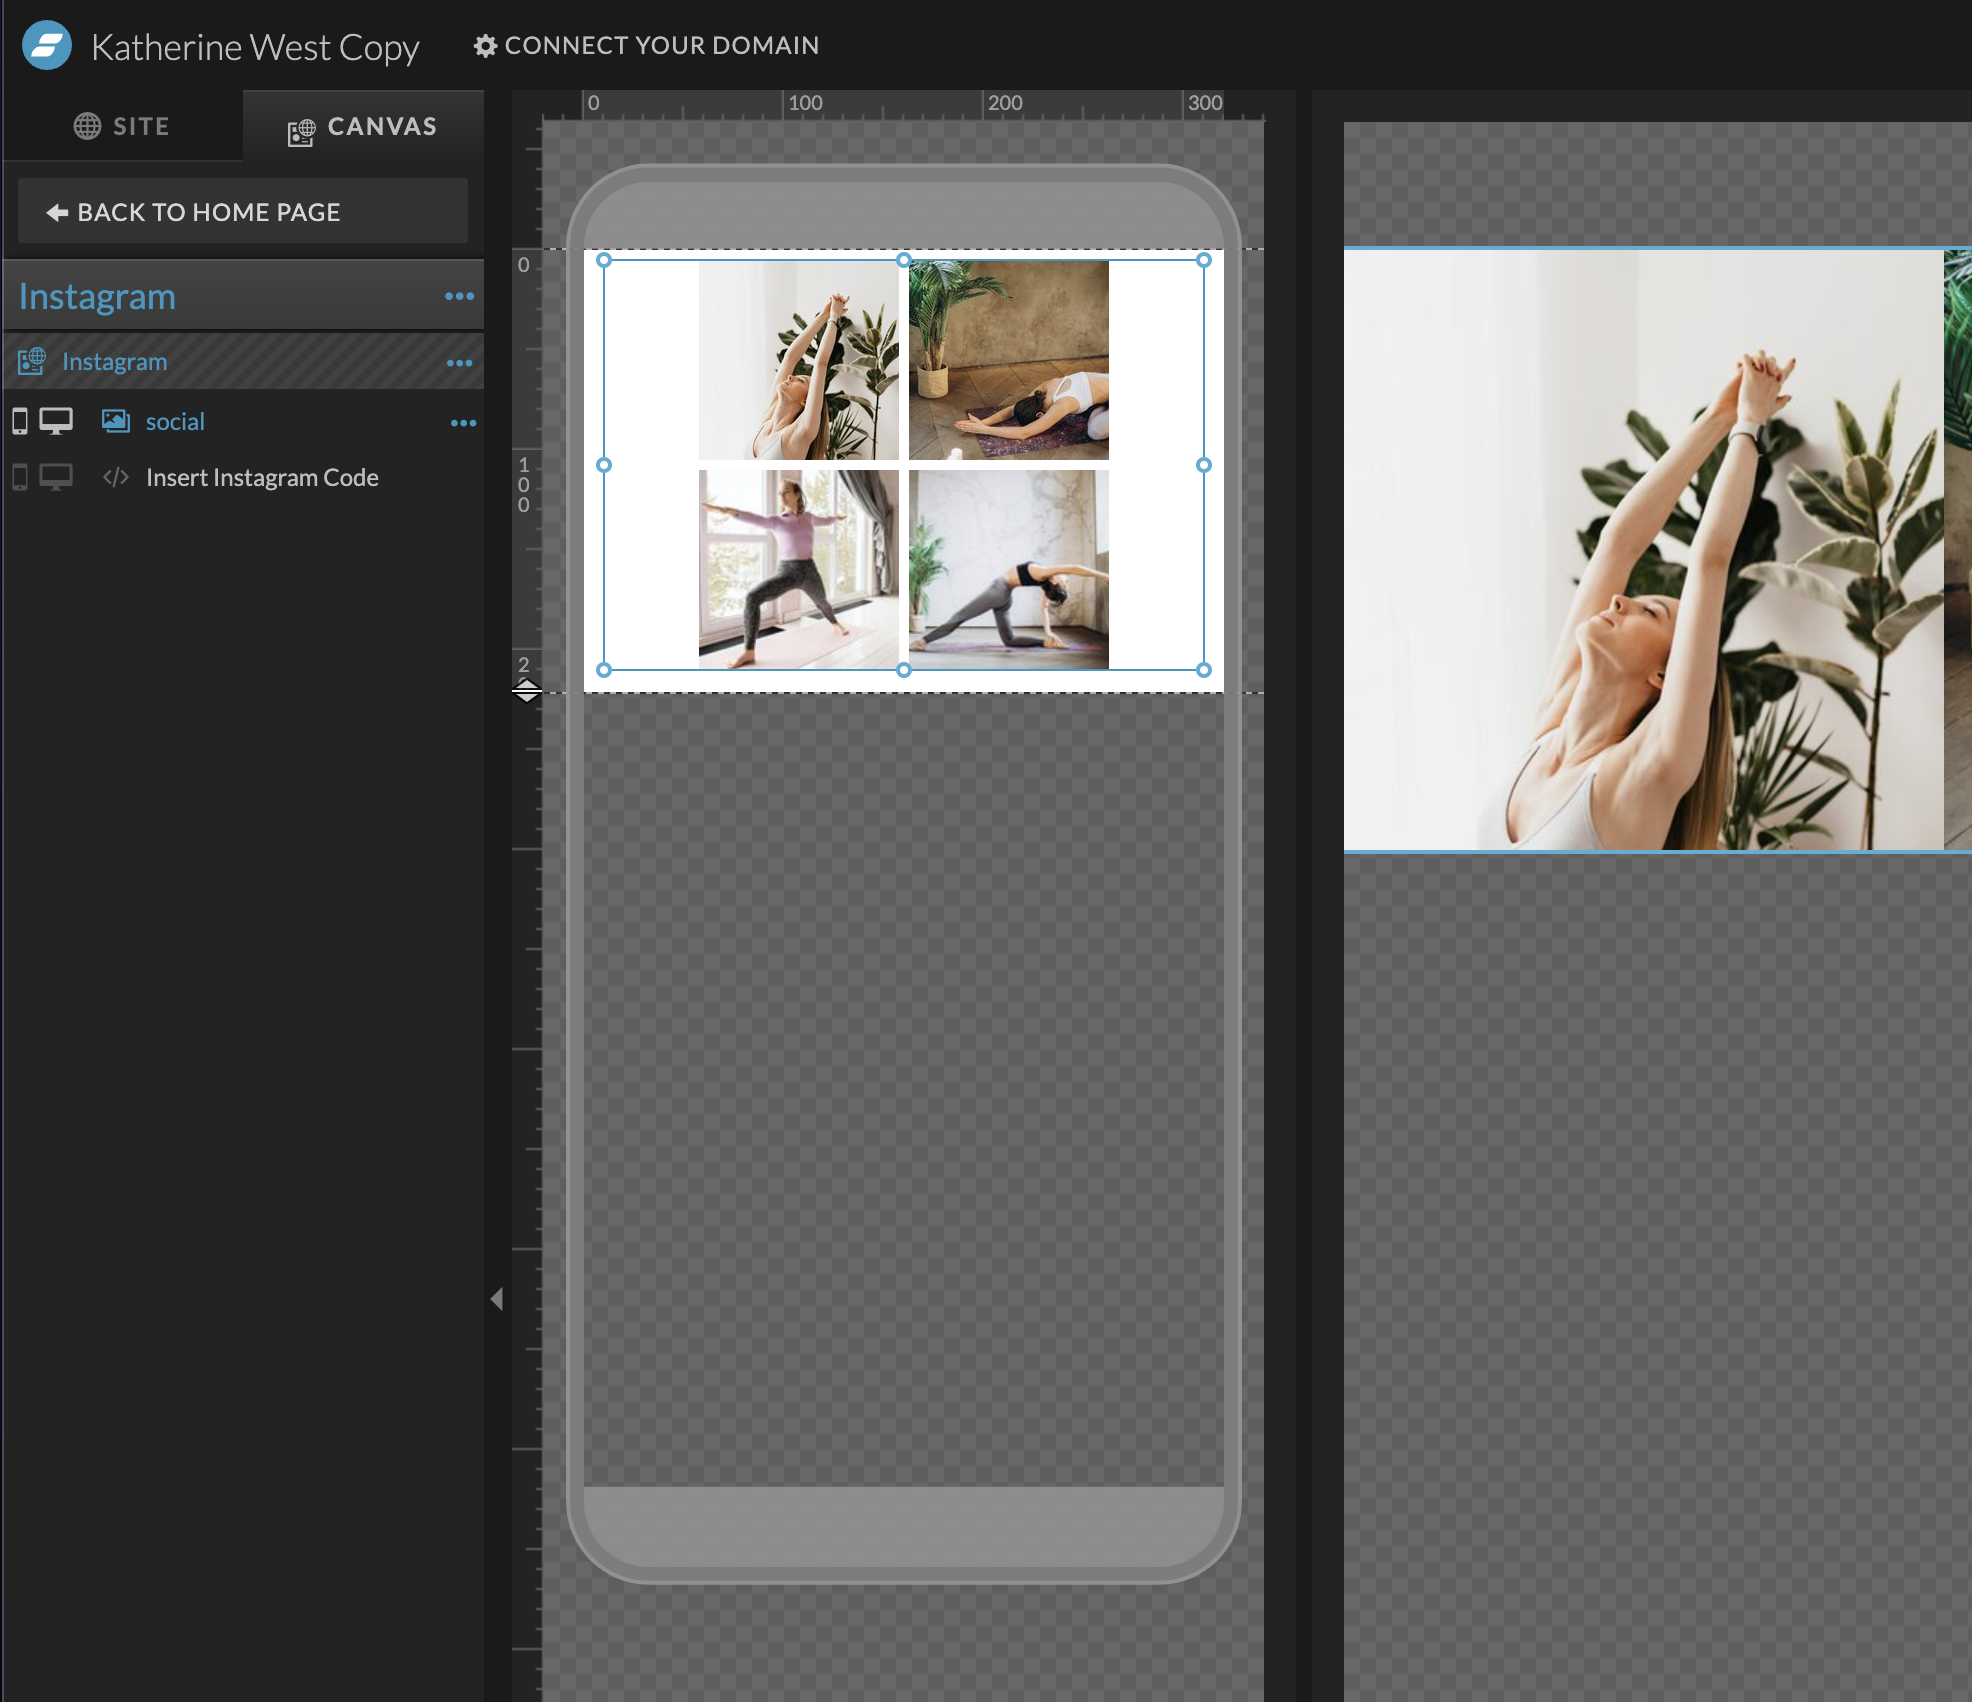
Step 3: Mirror the design or Setup a different style on your mobile version.
Check out what’s happening on the mobile side of your design and make the same adjustments or any changes you would like for your social grid to show over there.
That’s it! Couldn’t be easier right?
Hopefully you found that helpful for adding your instagram feed to your Showit website! If you love tutorials like this, browse the blog for more or shoot me an email with something else you’d love to learn about that I might not have touched on yet!


