


One of the first things you may want to do to your new Showit website template is add in a custom font – maybe one that’s part of your branding or one that you love in general! Well it’s super easy and I’ll walk you through the process. First thing though, make sure that you are legally allowed to use the font on your website. If you don’t see the details where ever you purchased the font, for example creativemarket.com, then shoot the creator an email and ask if you are able to use the font on your personal website. After you know this is allowed, you can walk through the following steps!
Step One: Create a webfont version (if you don’t already have one)
For your website you’ll need a .WOFF font file. You may be familiar with .OTF and .TTF already but for web use, we need a .WOFF file. To do this, you’ll head to the Fontsquirrel Webfont Generator. You’ll click “upload fonts” and navigate your folders to where your font files are located and select either the .OTF or .TTF file to upload. Check the mark that you have confirmed it’s legal for you to convert and it will do it’s magic and provide you with a zip folder that contains a .WOFF and .WOFF2 file type!

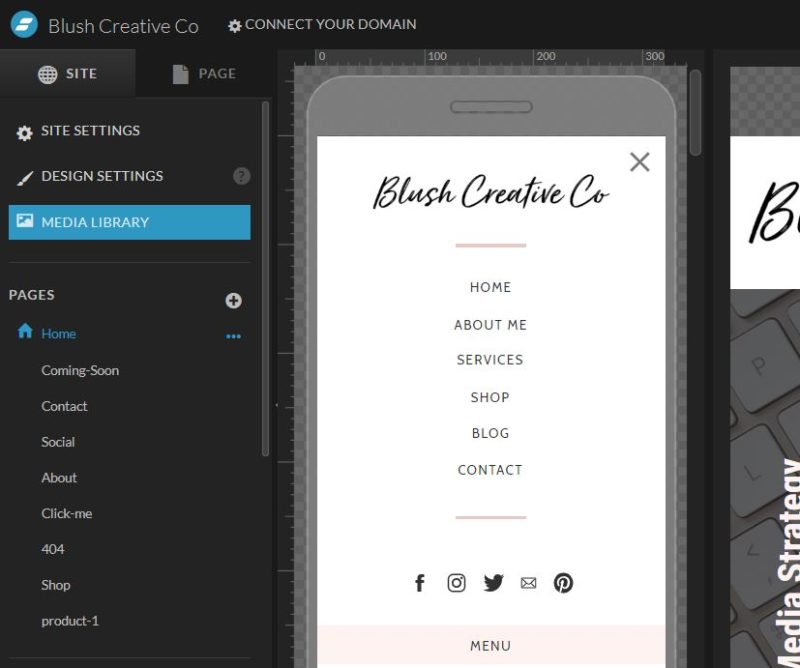
Step Two: Upload the webfont to your media library in the Showit app
Now we unzip that folder and have access to the files. So open up the showit app and click media library at the top left. Then upload the .WOFF file into your media library. It’ll look like the attached screenshot in your media library.

Step Three: Add the custom font to your font selections
Next click on your design setting at the top left and once that opens, click the “font” tab. Then under the “custom fonts” section where there is a dropdown menu – “Library WOFF” click the arrow and your uploaded file should be showing! Select it, give it a font name, and click “add custom font”. You should see it populate in your “selected fonts area to the right. After that, click “save” at the bottom right and that font is loaded into your font library so now you can use it or set it as a font style such as title or heading!

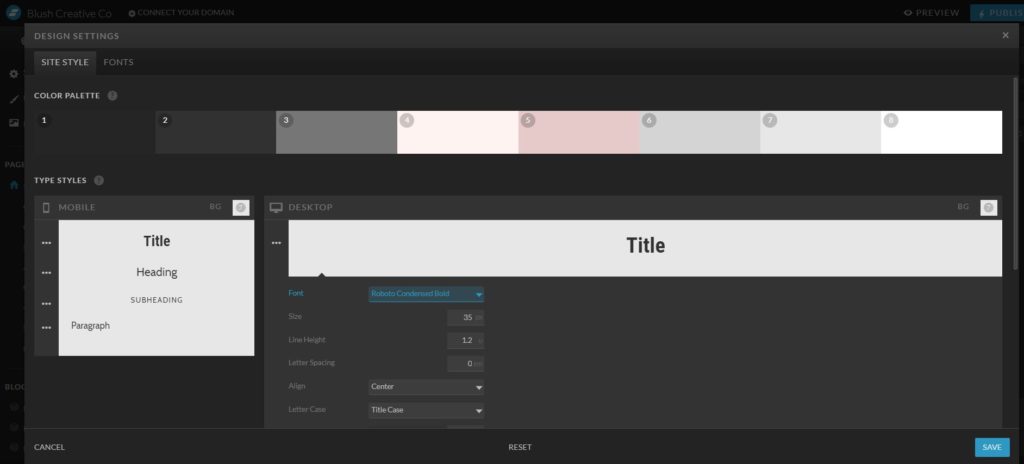
Step Four: How to set it as a “type style” for your website. If you are wanting to use it consistantly throughout your website as a heading or title font, you’ll want to set it as a standard type style. Click “design settings” again and under the “site style” tab, click the 3 dots next to whichever item you want to make it standard for – for example “title”. Click the arrow next to font and select the custom font from the pulldown menu. This will make the change throughout your template. You may need to adjust other settings as well such as sizing, spacing, etc. and then follow through on the mobile type styles and make it coordinate!
Hopefully that helps you get your custom fonts loaded so that you can start using them on your website. It’s so important to be consistent in your branding so it’s great that you’ve taken this step to add in your custom font!


