


You found a Showit template you love. The layout feels right, the aesthetic is close to what you had in mind, and you can already picture your own photos in it. But now you’re staring at the editor wondering where to actually start.
The good news: customizing a Showit template is more straightforward than it looks. Showit’s drag-and-drop editor gives you complete control over colors, fonts, images, and layout — and once you know the order to work through it, the whole process moves quickly.
This guide walks you through exactly how to customize a Showit template from start to finish, in the order that makes the most sense. Work through these steps and you’ll have a site that looks and feels like your brand — not someone else’s.
Before You Start: Have These Ready
Before you open Showit, gather a few things so you’re not stopping mid-flow to hunt them down:
- Your brand colors (hex codes if you have them — if not, a mood board works fine to eyeball)
- Your fonts (the names of your primary and secondary fonts, or a general sense of the style you want)
- Your logo file (PNG with a transparent background is ideal)
- 10–15 photos that represent your brand — professional headshots, lifestyle images, or quality stock photos
- A rough idea of your navigation pages (Home, About, Services, Contact are standard — adjust from there)
You don’t need everything to be perfect before you start. The goal of this first pass is to get the site feeling like yours visually, then you’ll layer in your content and copy afterward.
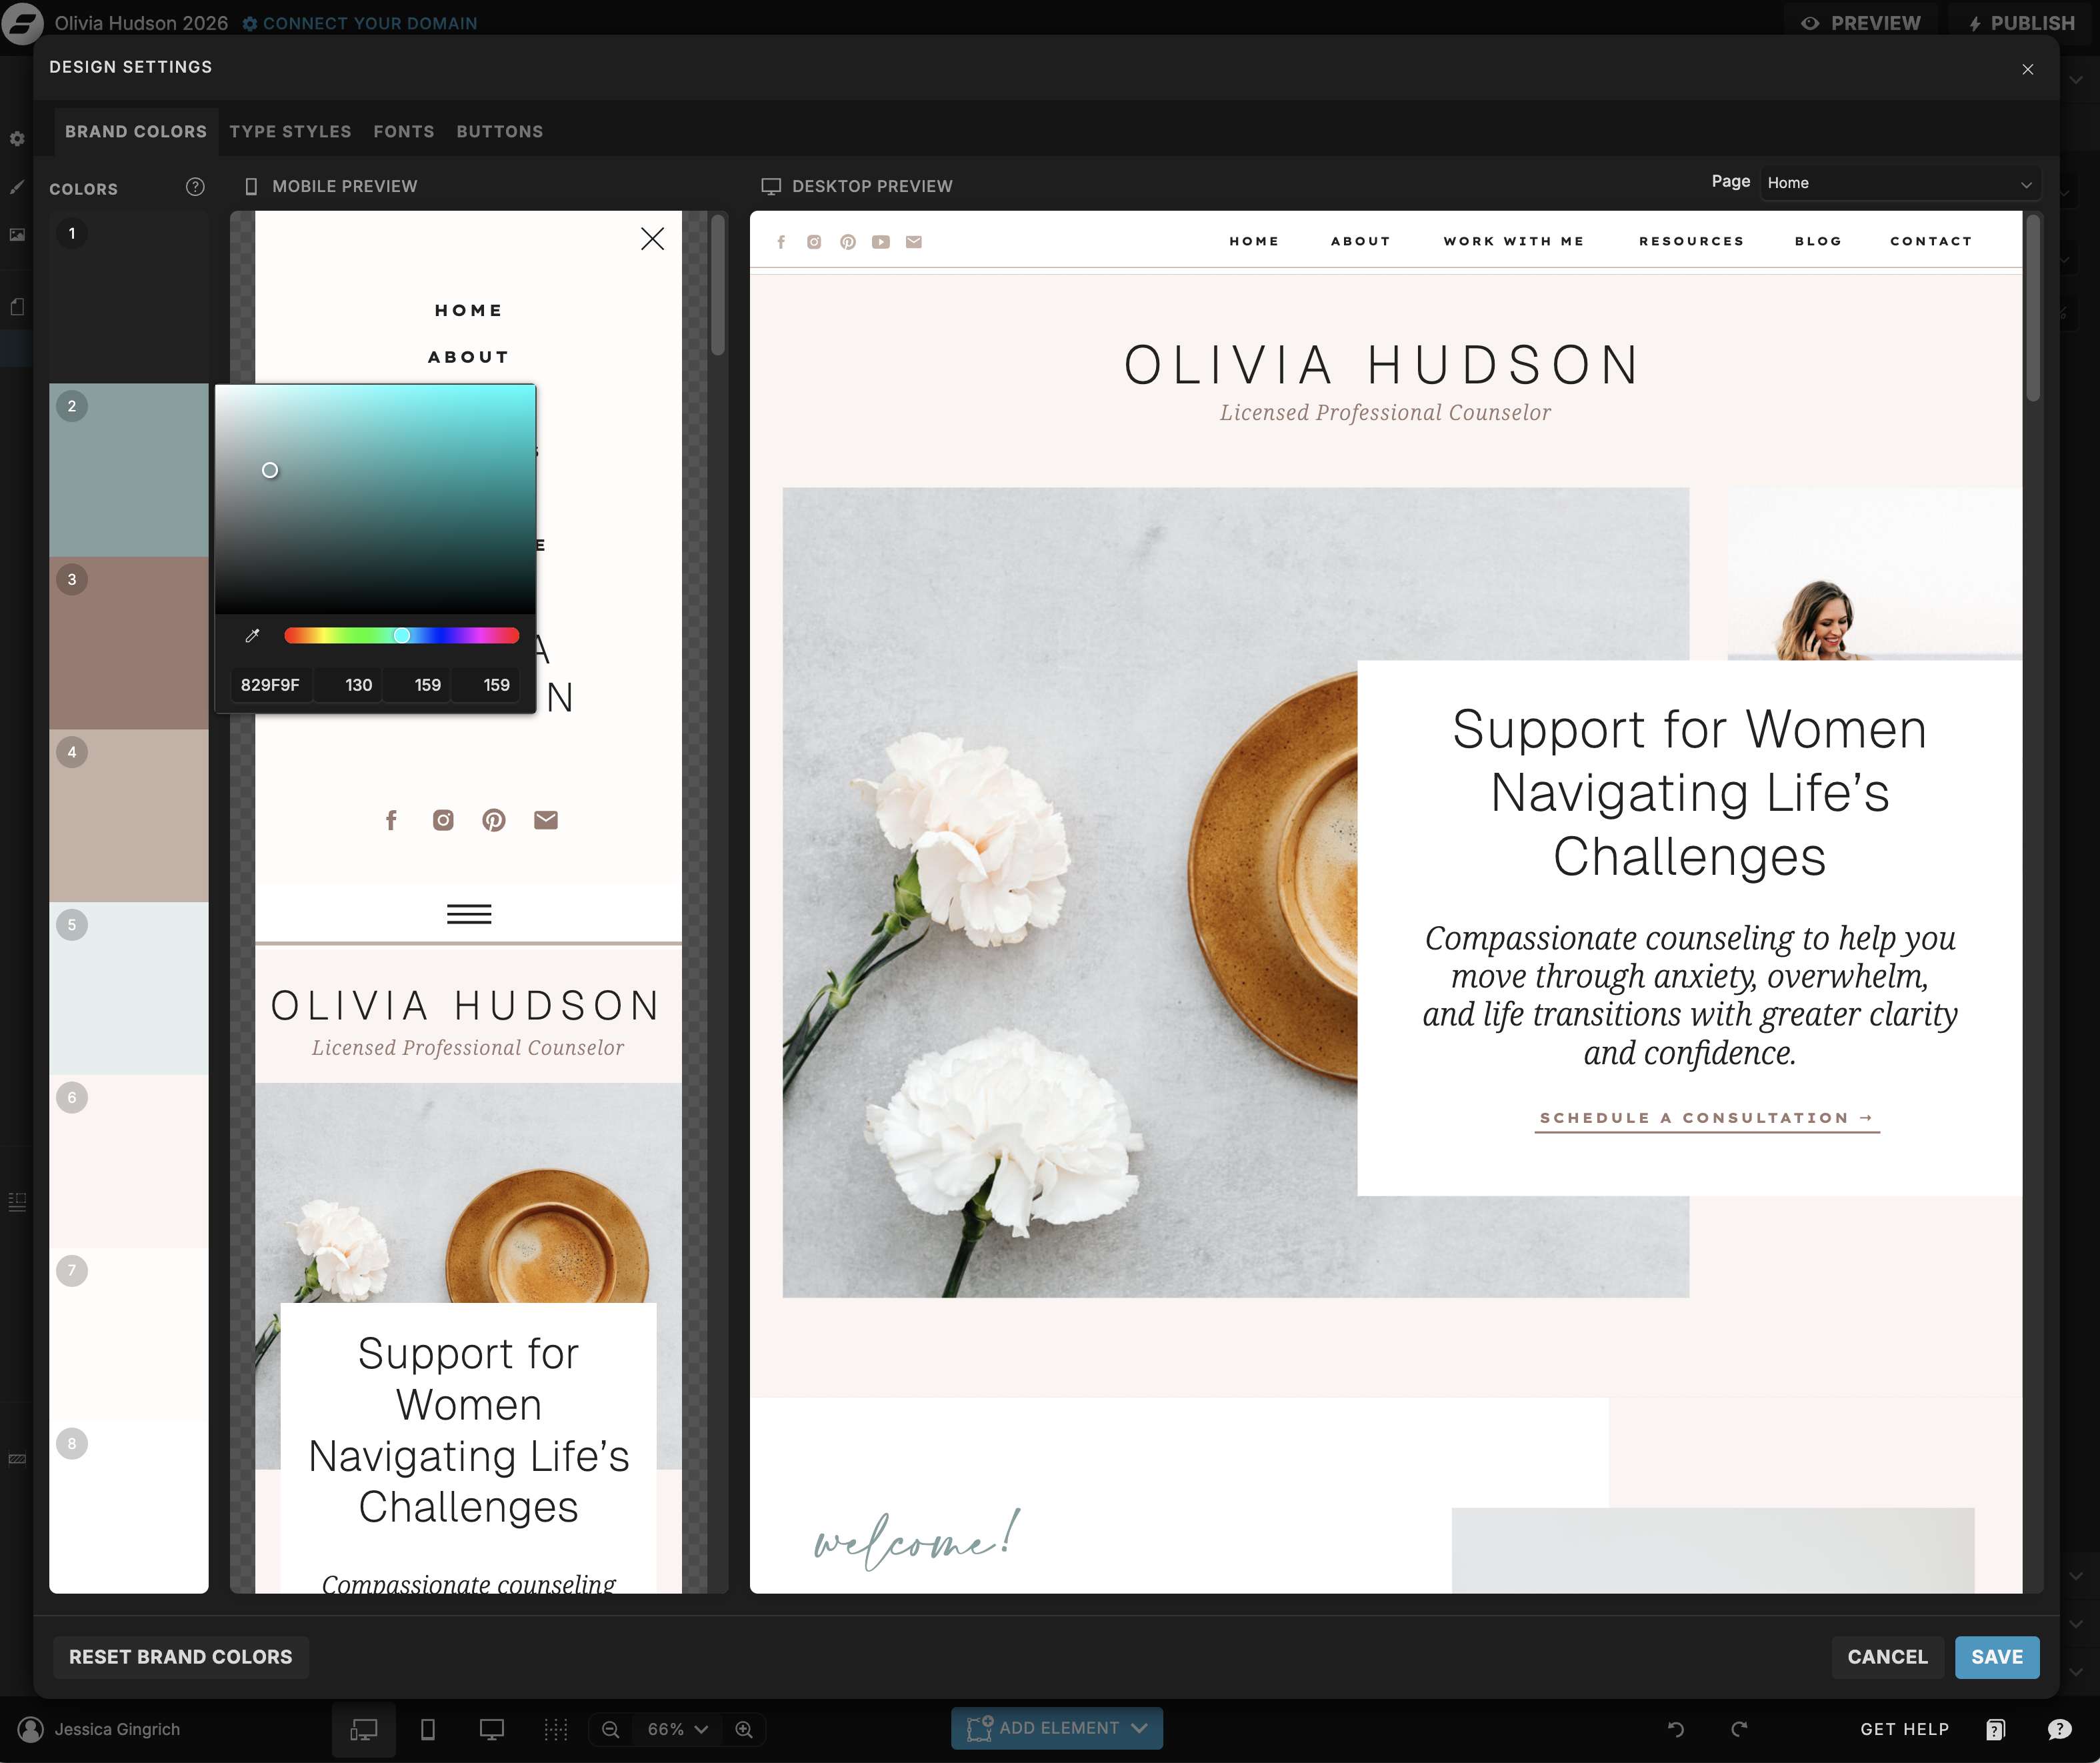
Step 1: Update Your Color Palette
Colors are the fastest way to make a template feel like your brand, and Showit makes this easier than most platforms. Rather than changing every element individually, start by identifying the main background colors, text colors, and accent colors used throughout the template — then swap them out systematically.
Click on any element to see its fill or text color in the right-hand panel. From there you can type in your hex code directly. Work through the homepage first, then carry those same colors through to your other pages.
Quick tip: If you don’t have official brand colors yet, choose one neutral base (cream, white, or warm gray), one deeper tone for text, and one accent color. Keep it to three or four total — restraint is what makes a site feel cohesive.
Step 2: Add Your Logo
Once your colors are in place, add your logo to the navigation. Click on the existing logo element in the header, delete it, and insert your own PNG file in its place. Resize as needed — most logos look best at a modest size in the nav, not oversized.
If you don’t have a logo yet, a simple text-based version in your brand font works perfectly well as a placeholder while you get the rest of the site set up.
Quick tip: Check your logo on both the light and dark versions of your nav if your template has both. A white logo may disappear on a light background — having both a dark and light version of your logo file on hand saves time.
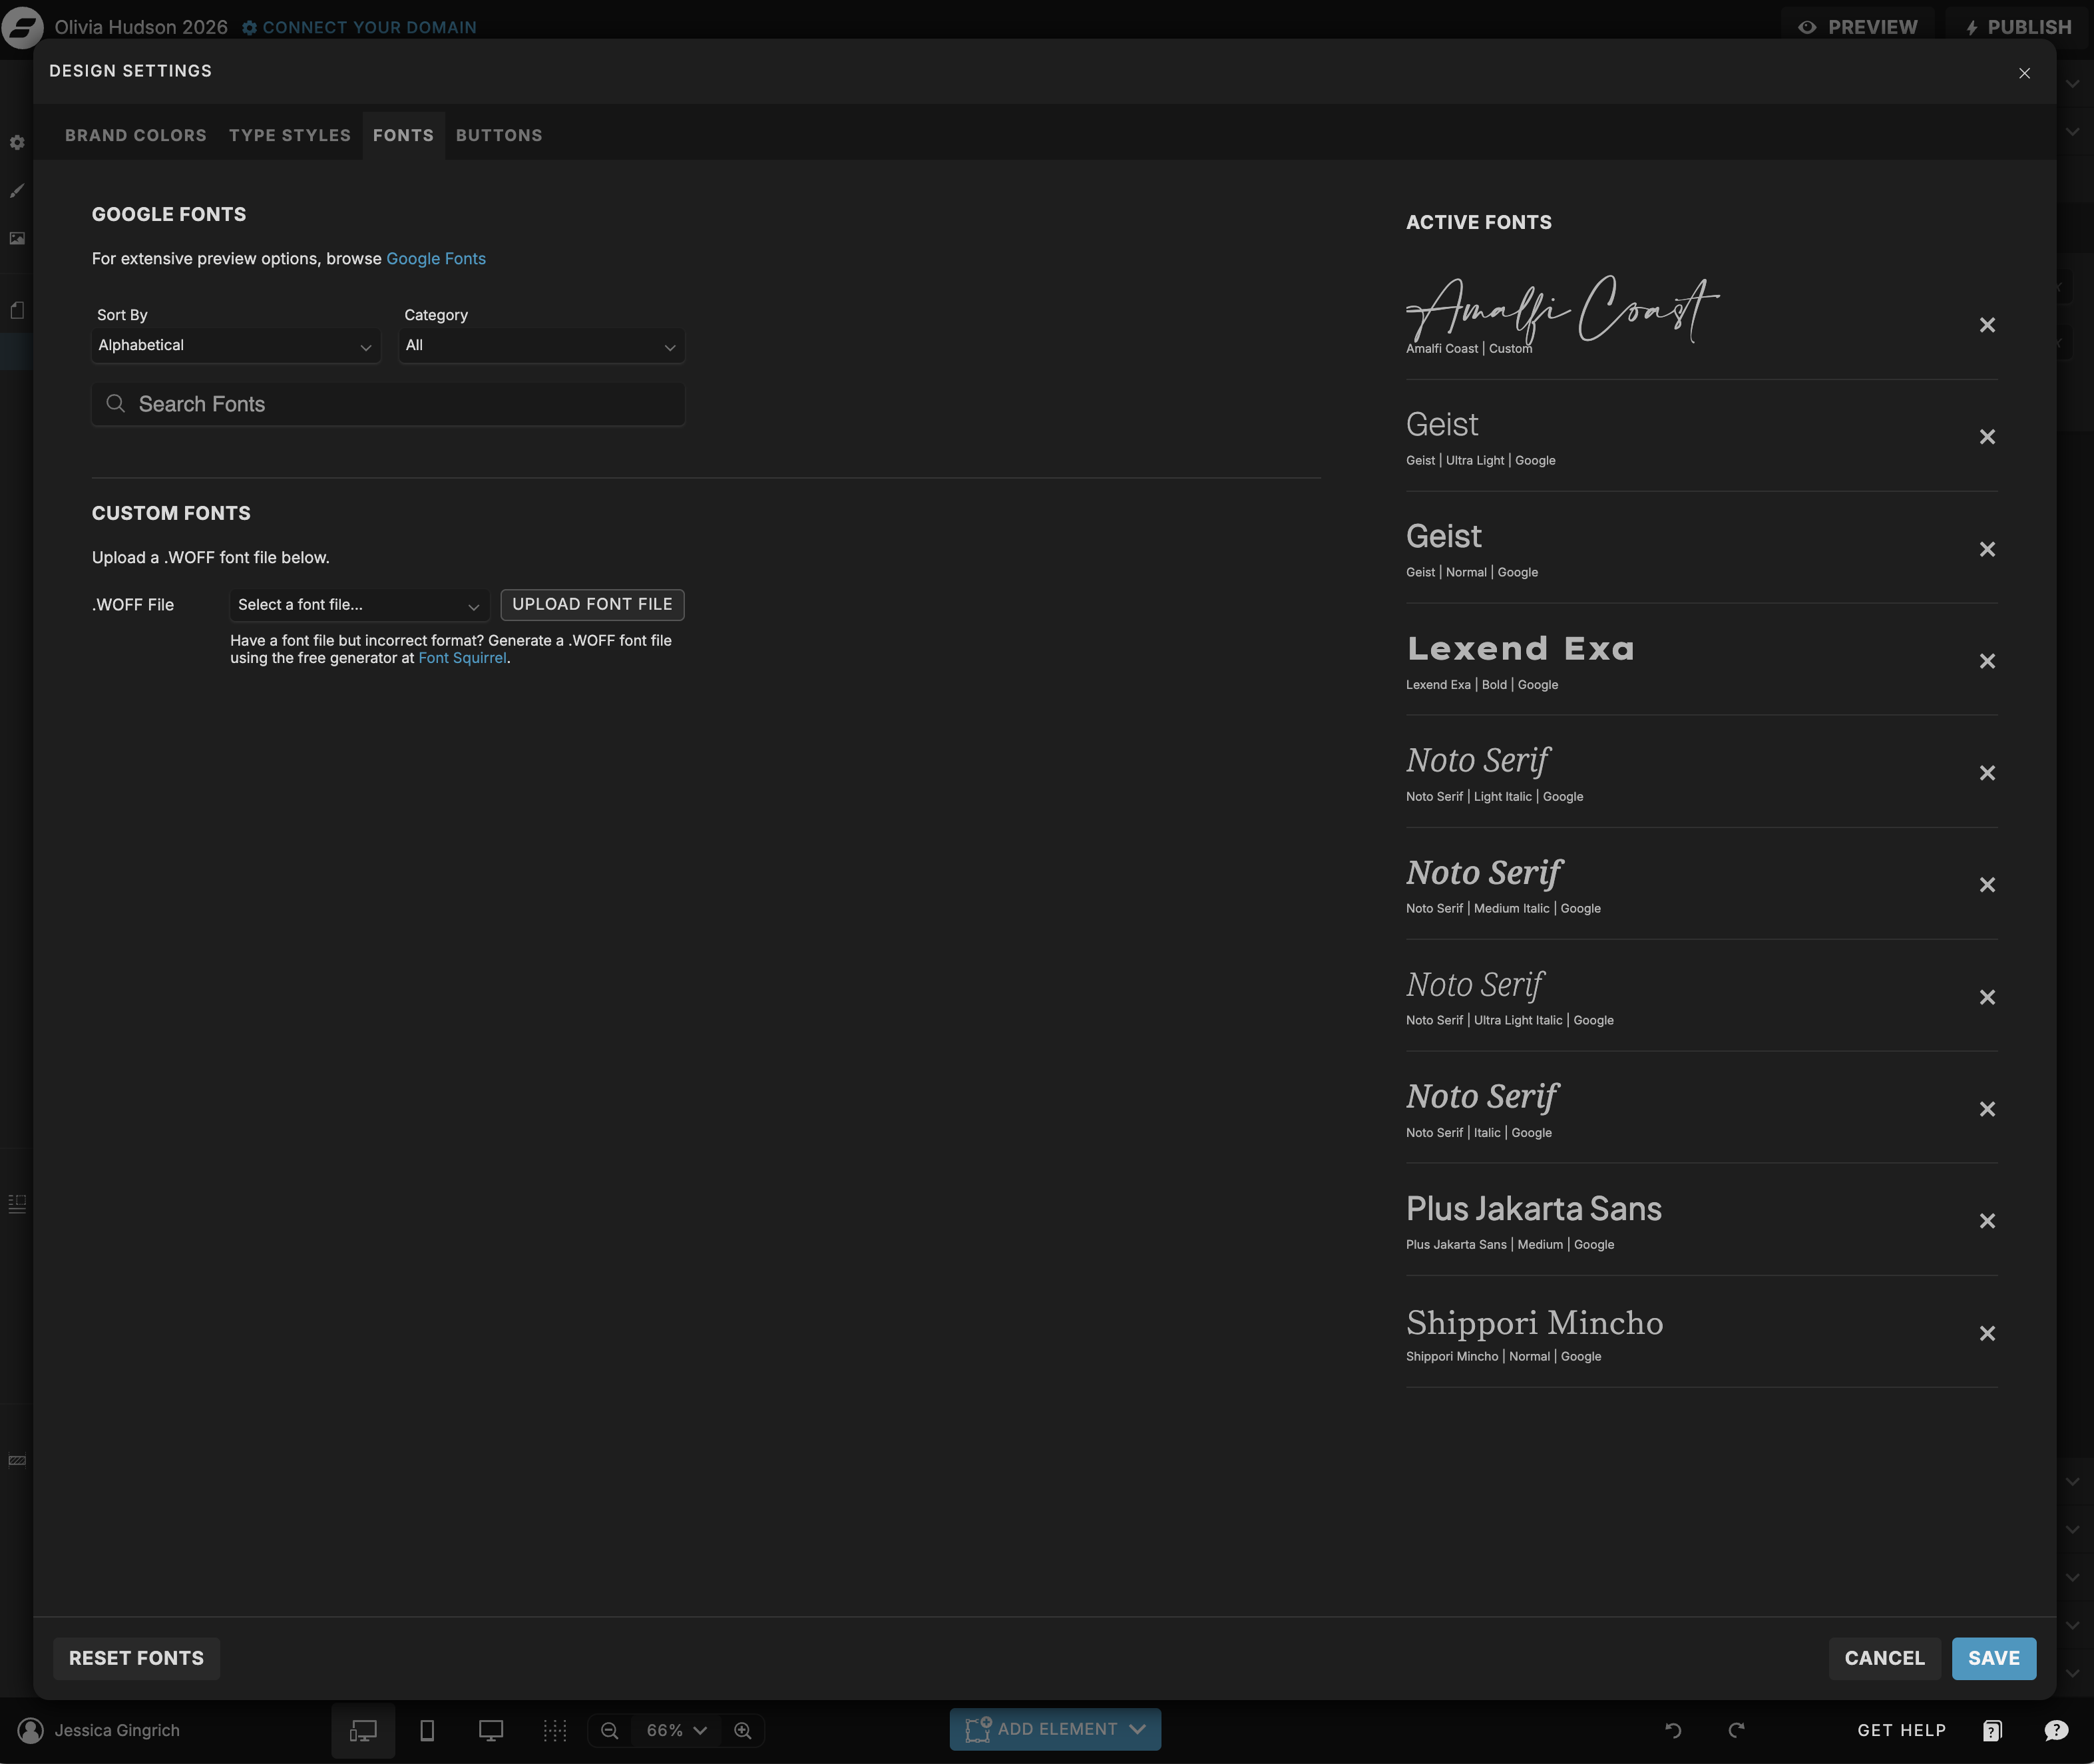
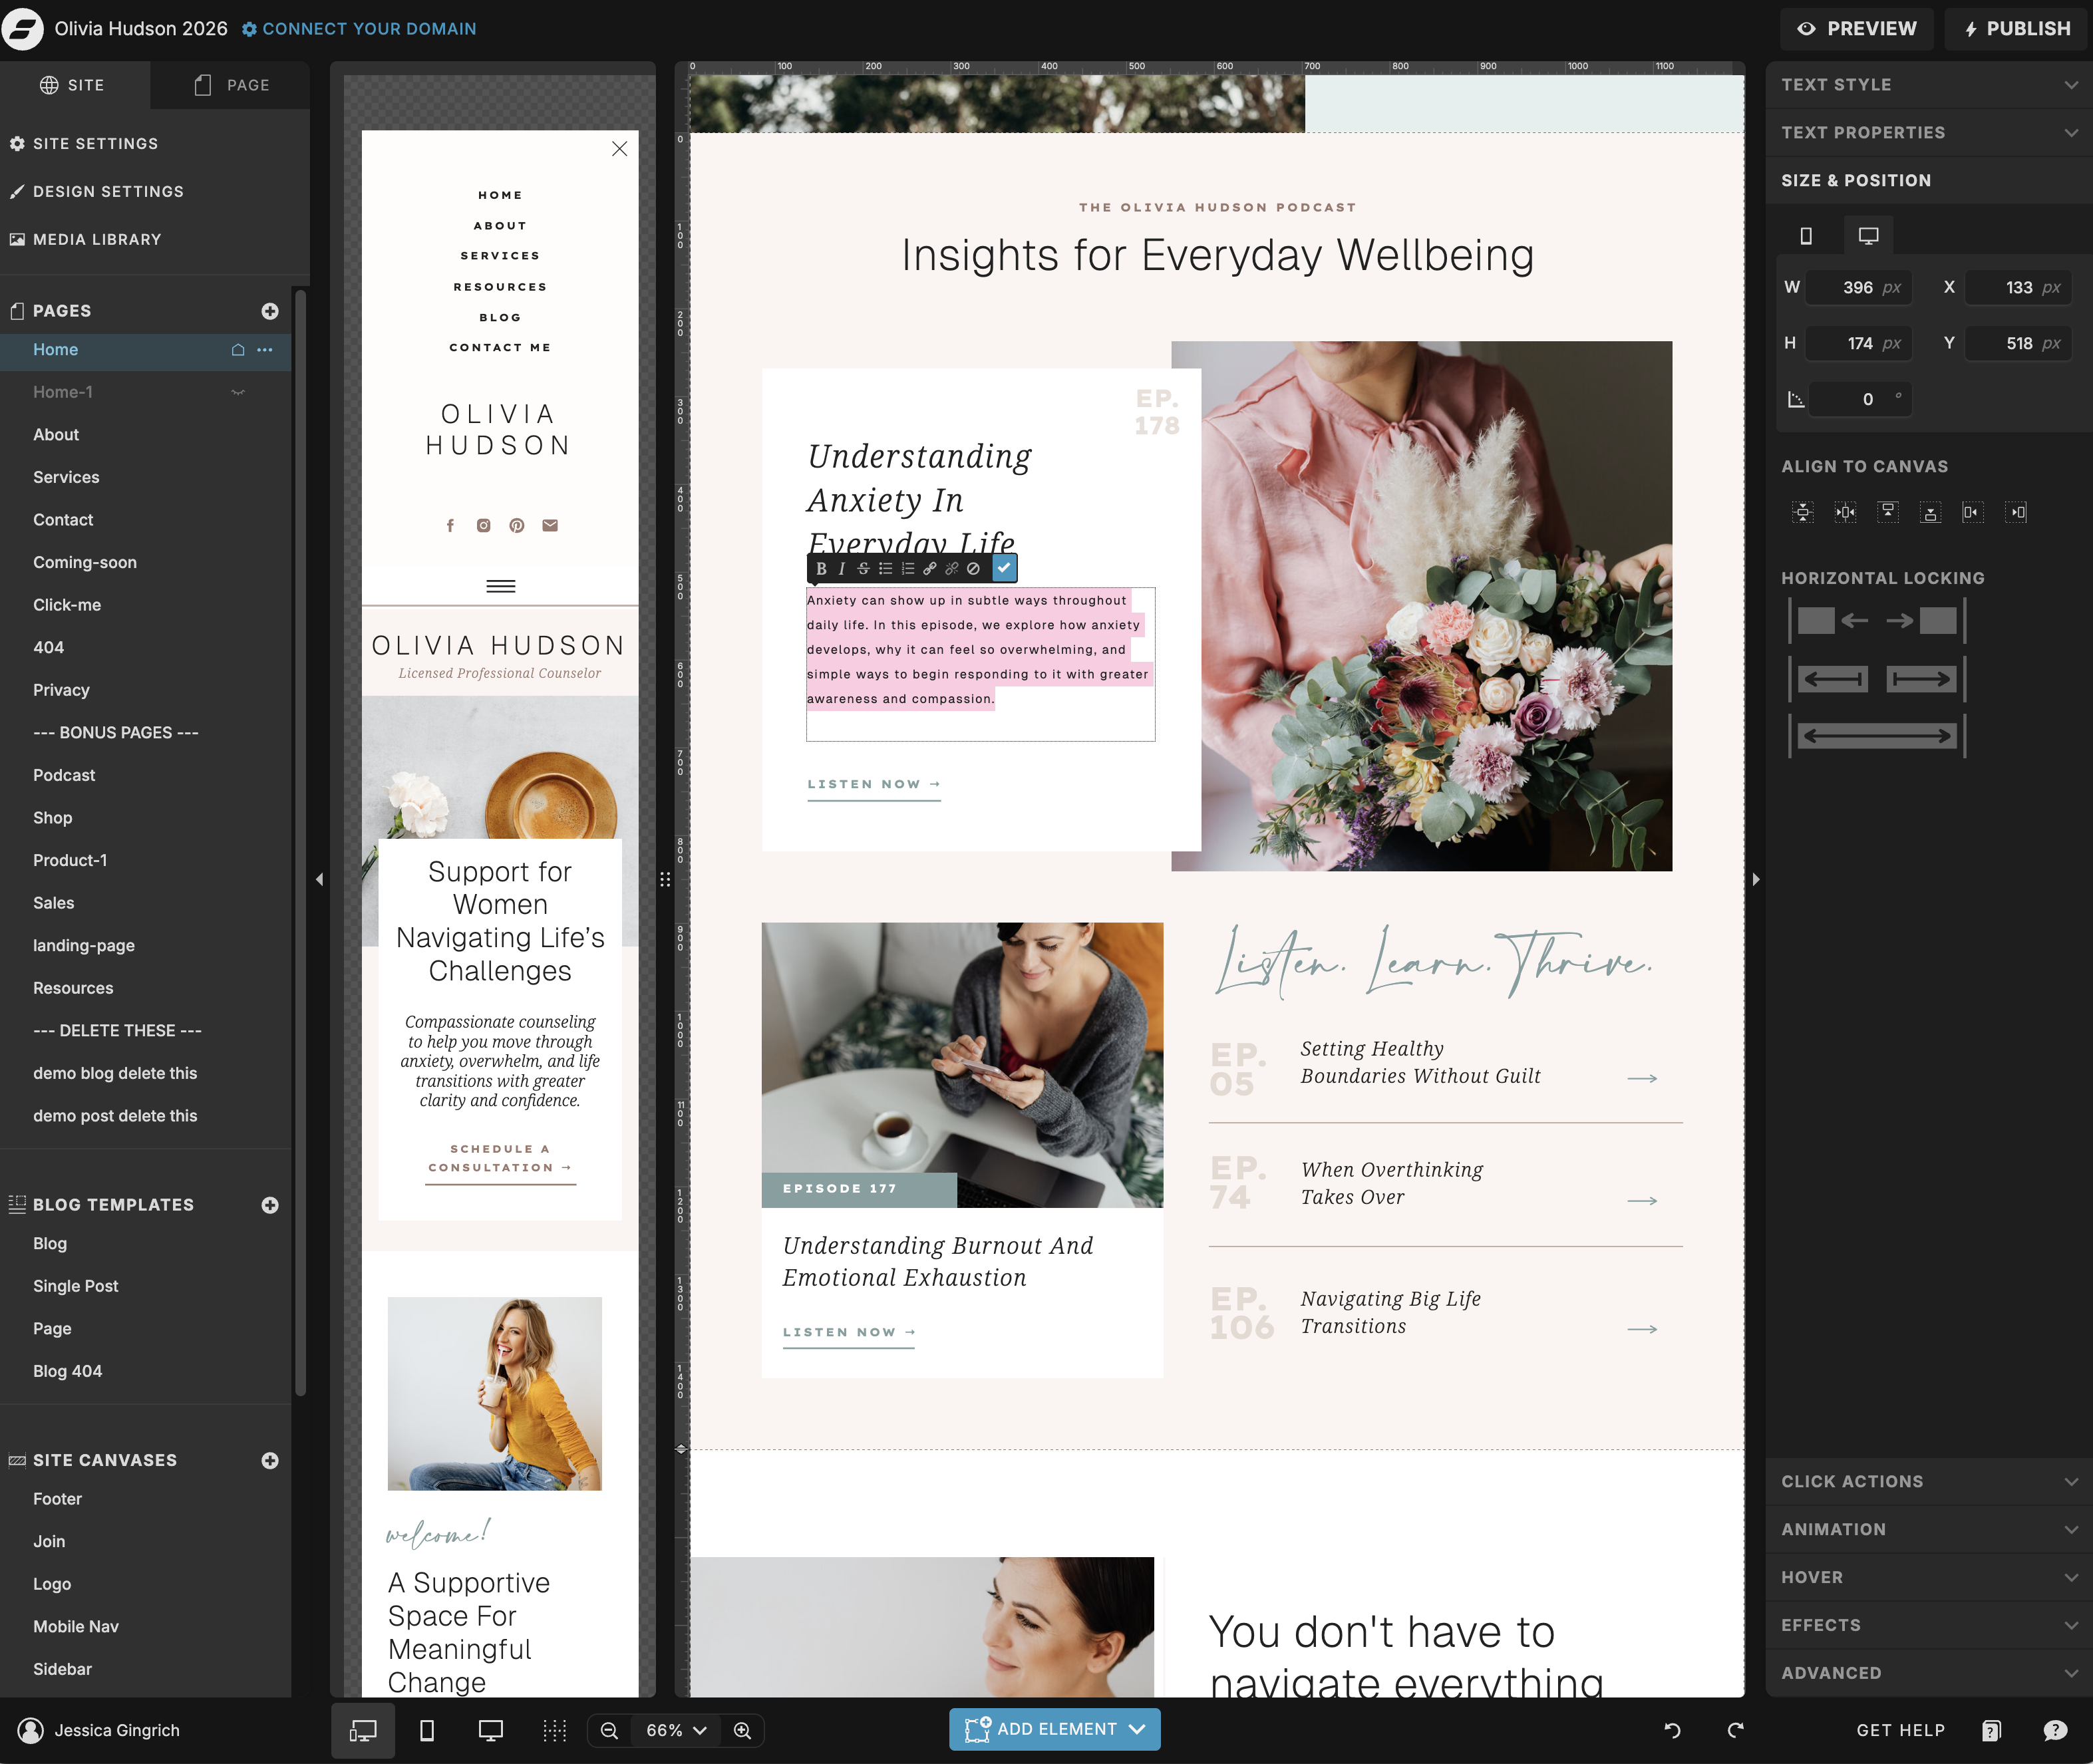
Step 3: Switch Your Fonts
Fonts carry a lot of the personality of a design. Showit lets you connect Google Fonts for free, or upload a custom font if you have a licensed file. To change a font, click on any text element and update the font family in the right-hand panel. You can also use Showit’s global text styles to update heading and body fonts across the entire site at once — this is the most efficient approach.
Most templates use two fonts: a display or script font for headings and a clean sans-serif or serif for body text. Stick to that same structure with your own fonts and the hierarchy will stay intact.
Quick tip: If you’re not sure which fonts to use, browse Google Fonts and look for pairings that match the overall feeling of your brand — refined, warm, editorial, playful. A script paired with a simple sans-serif is a reliable combination for service-based businesses.
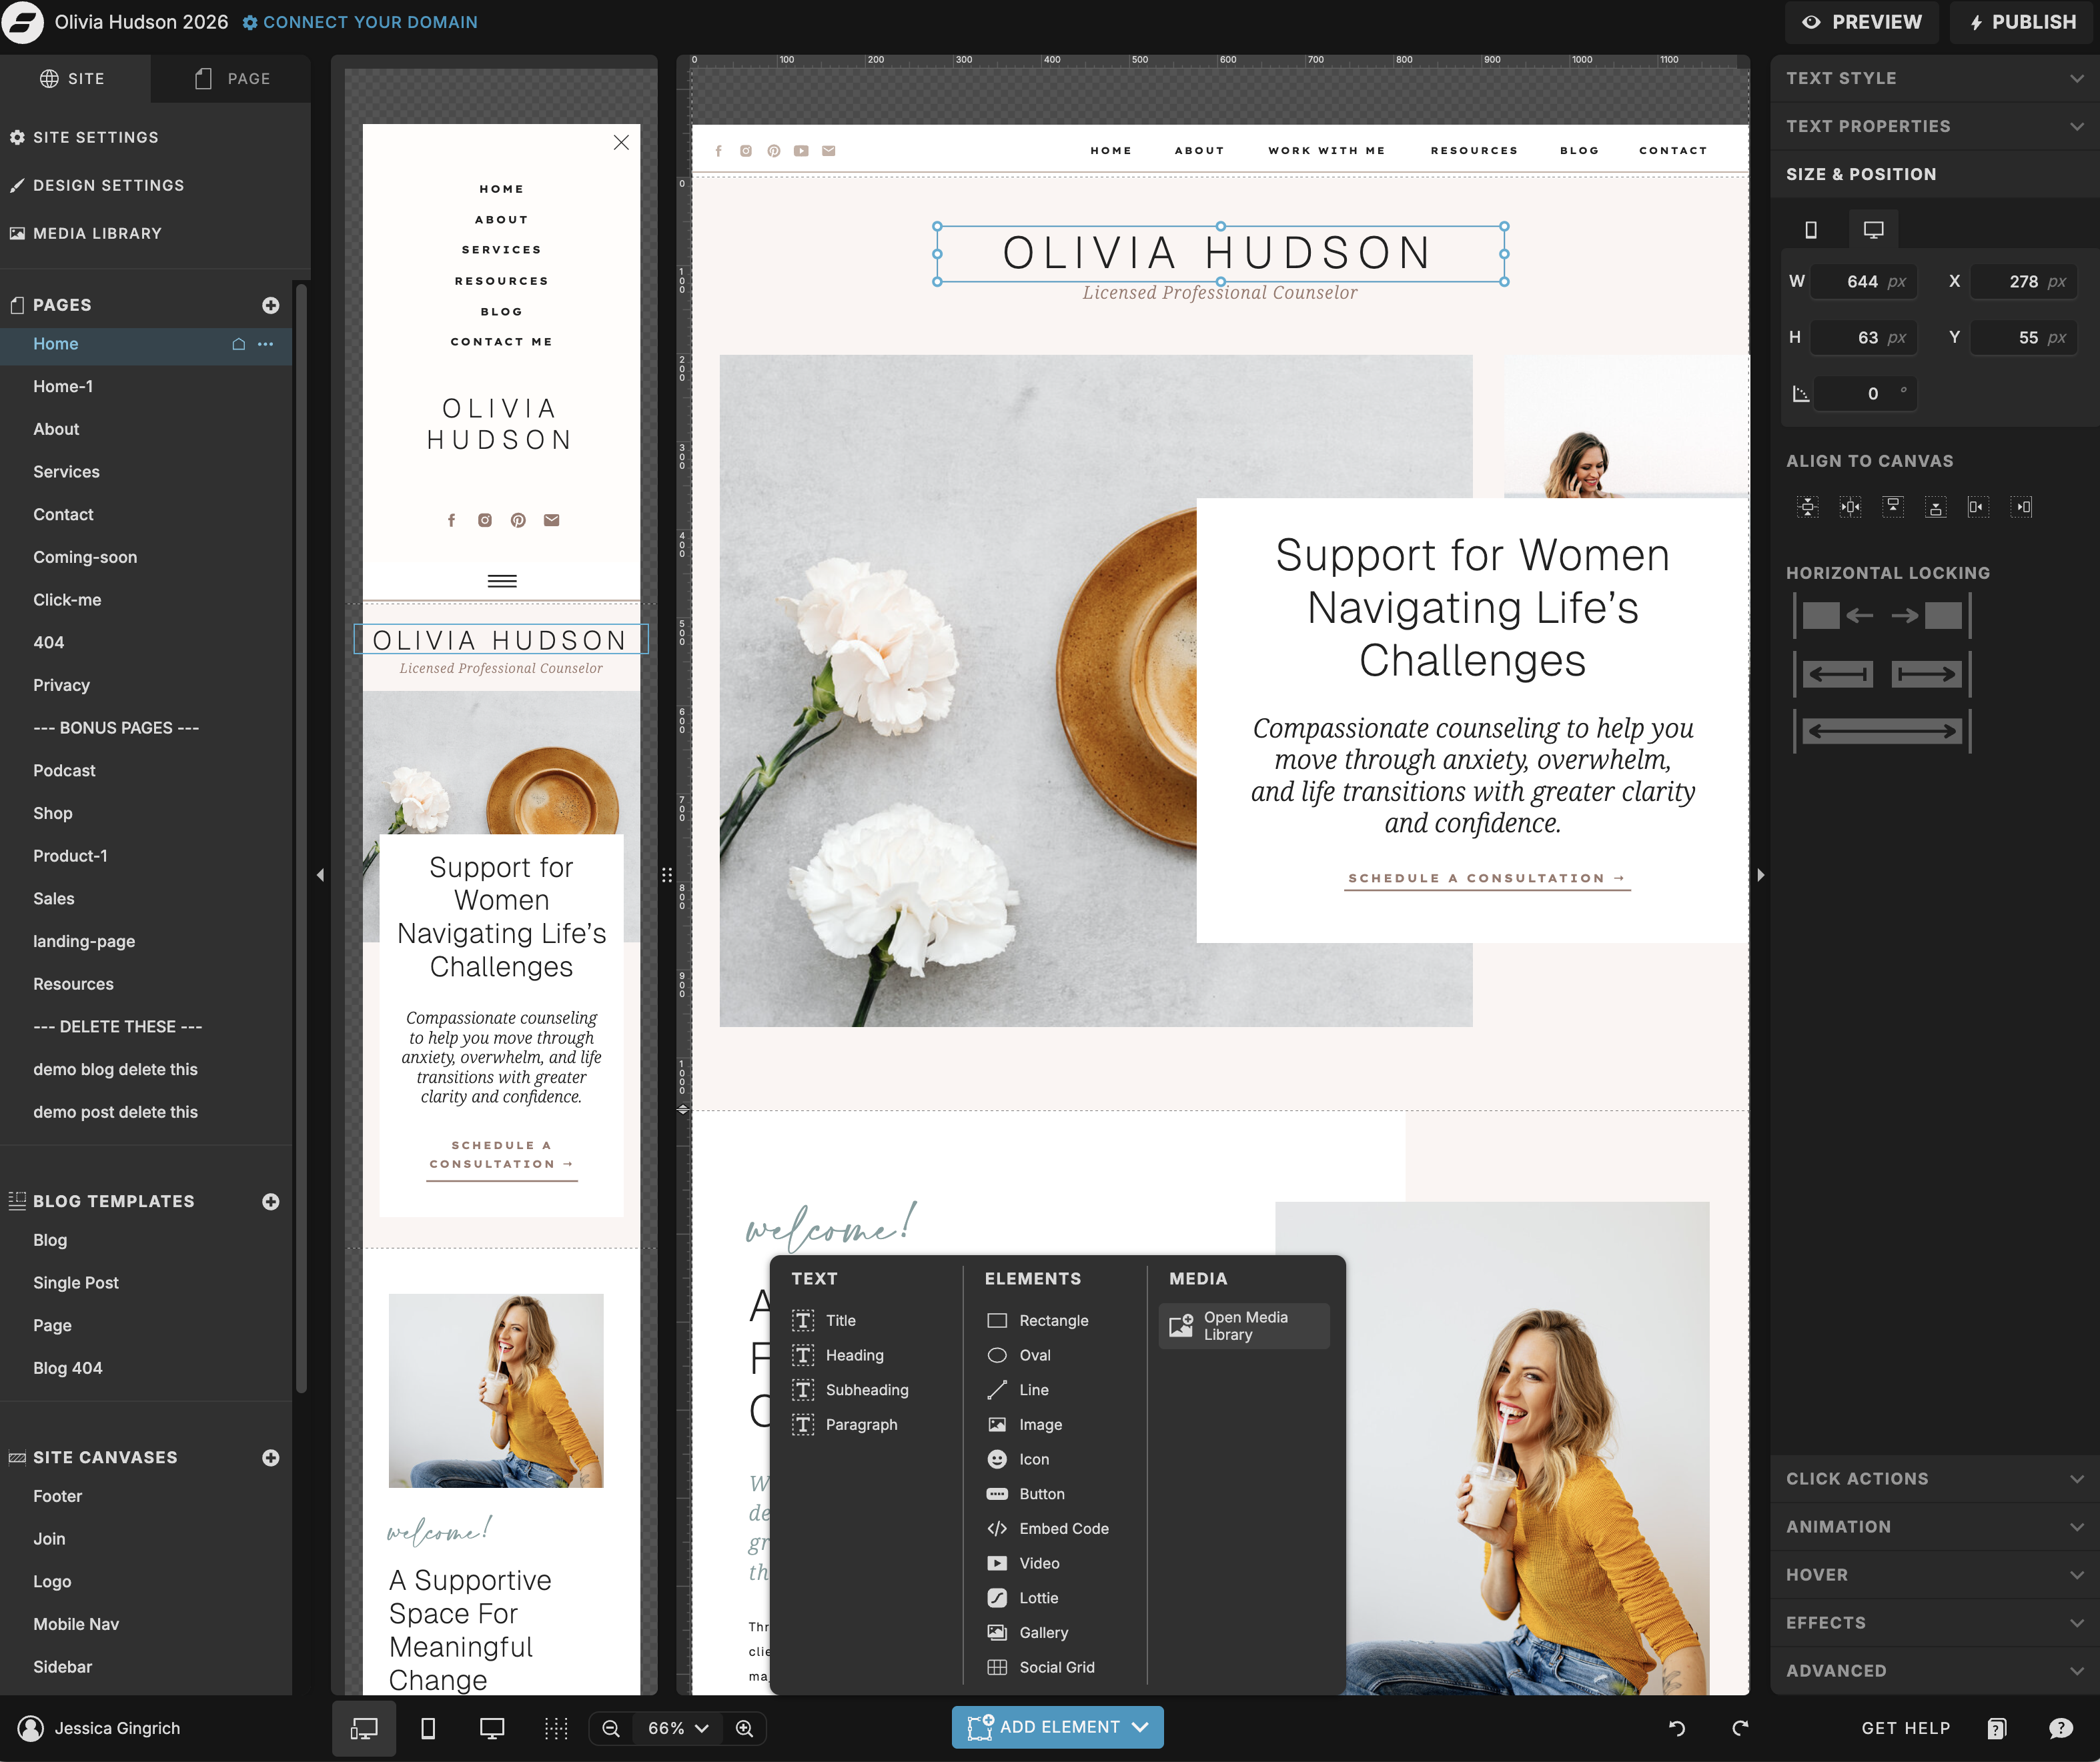
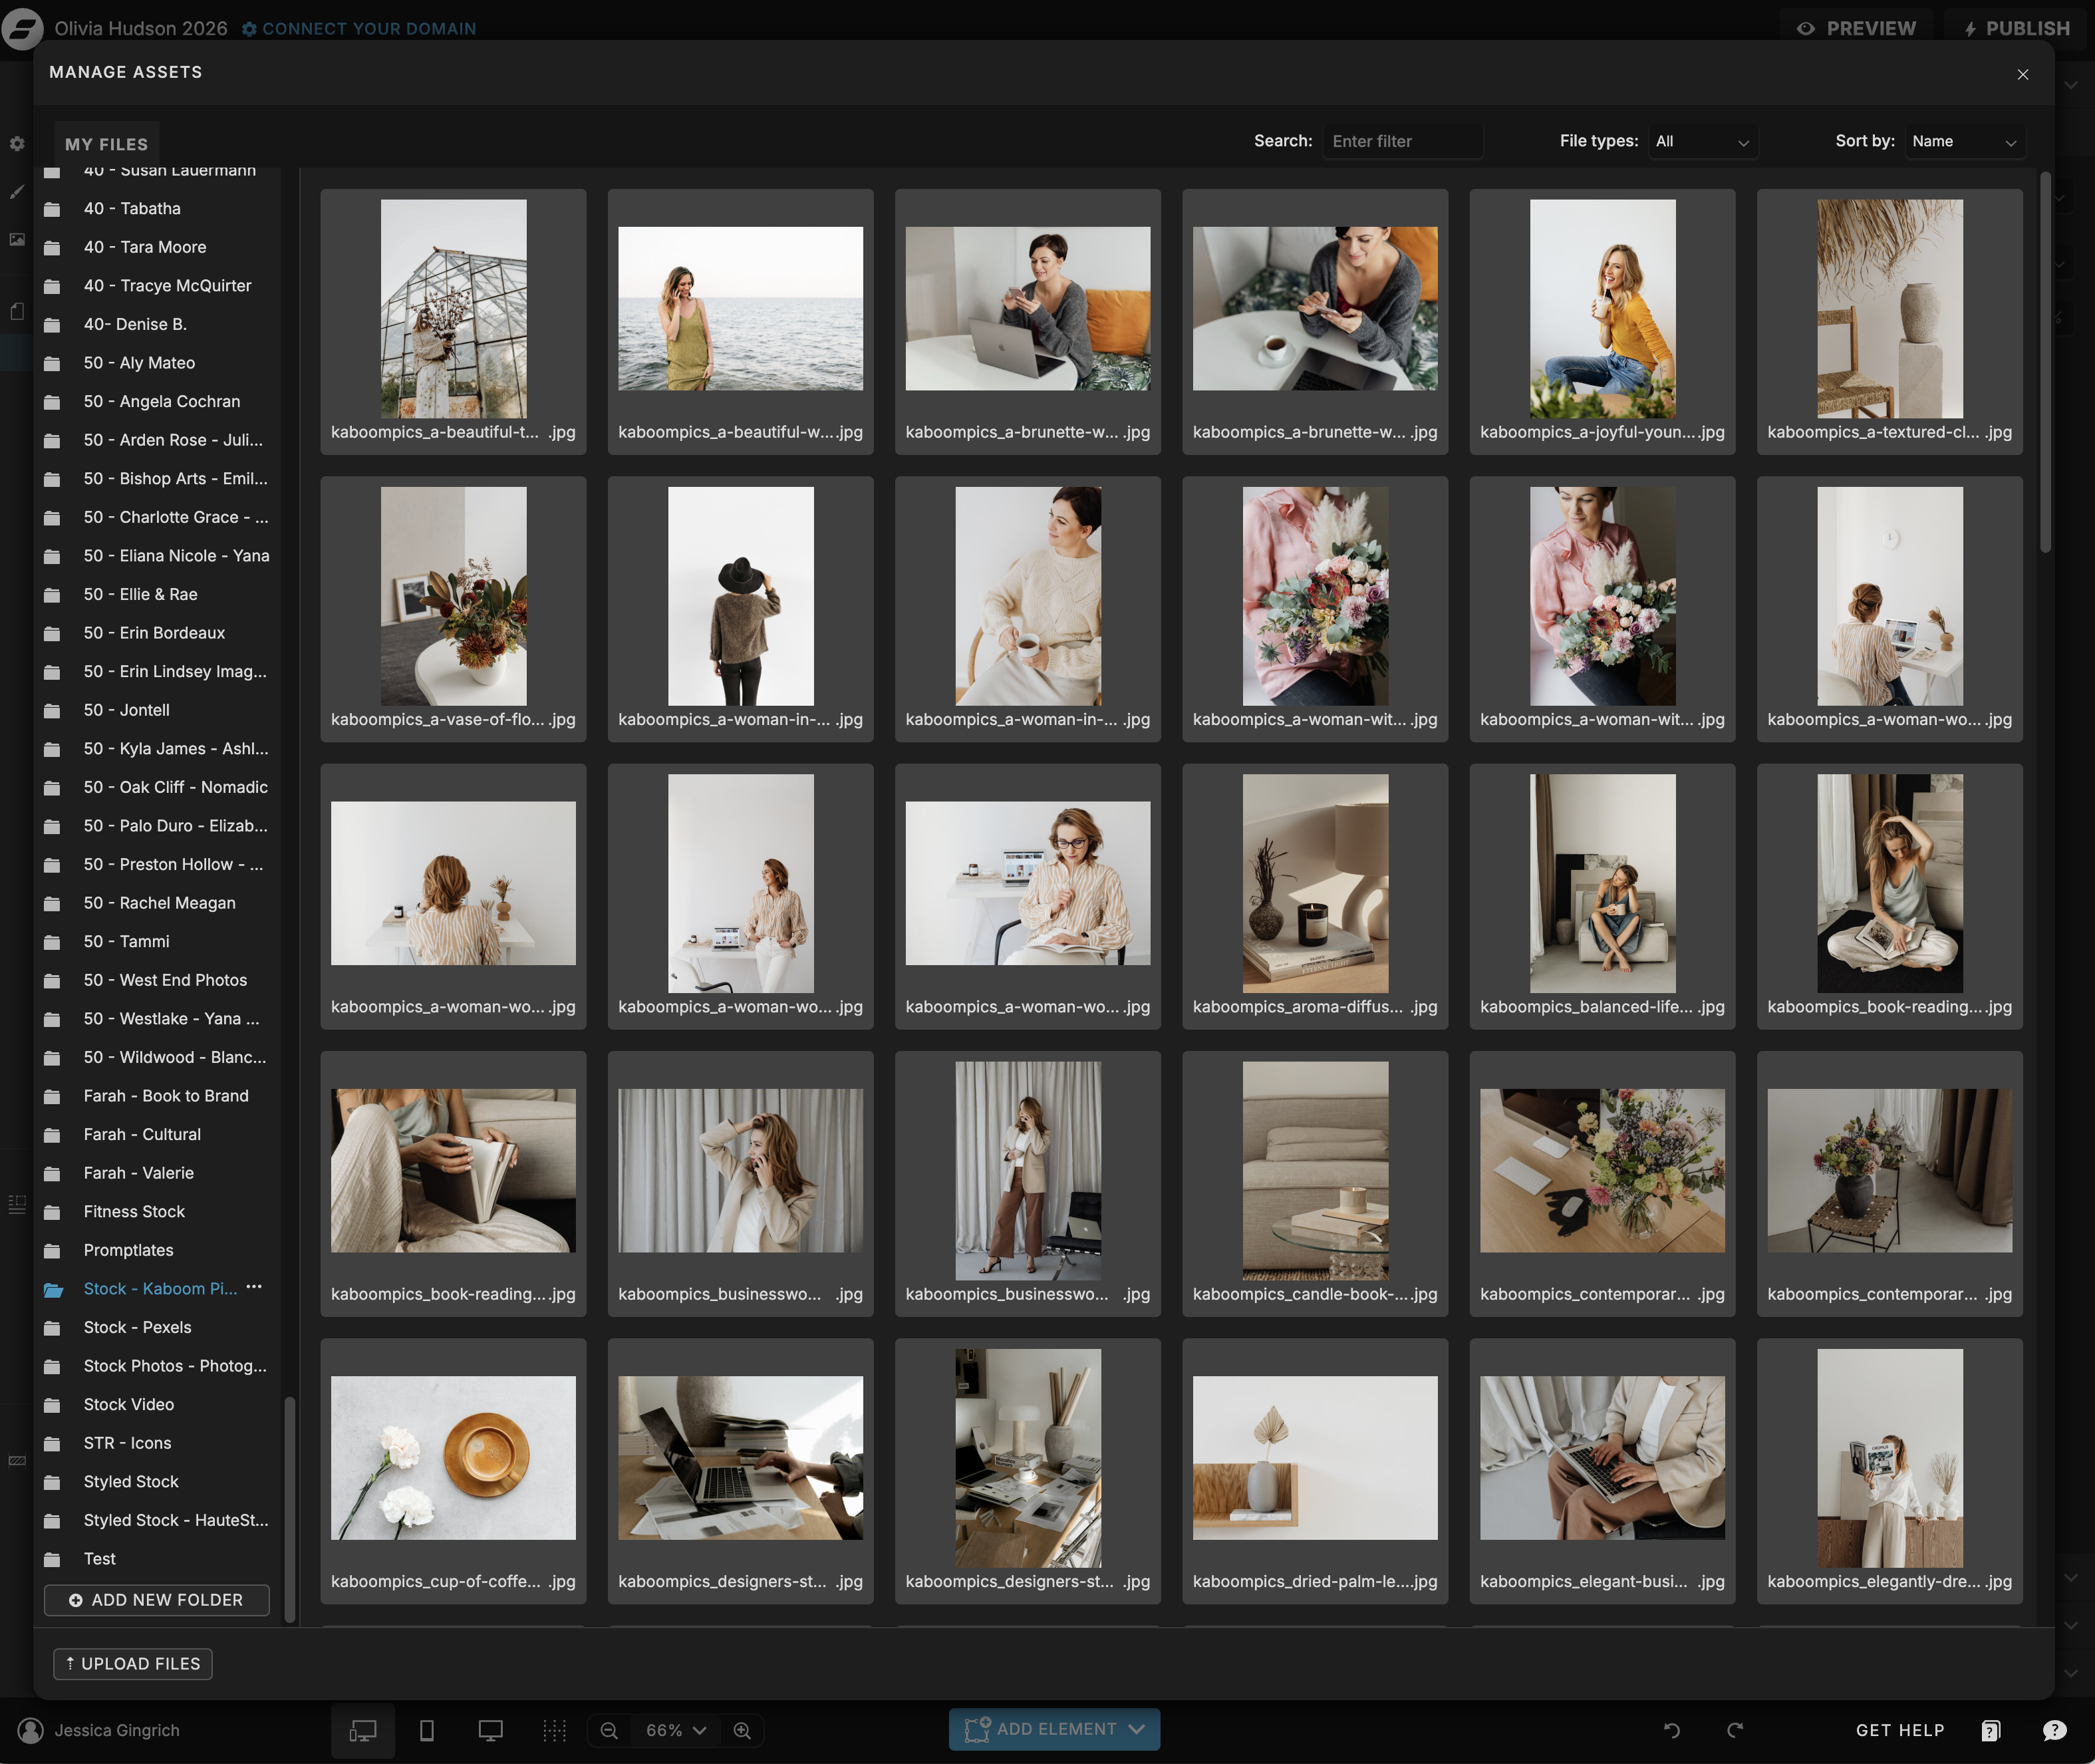
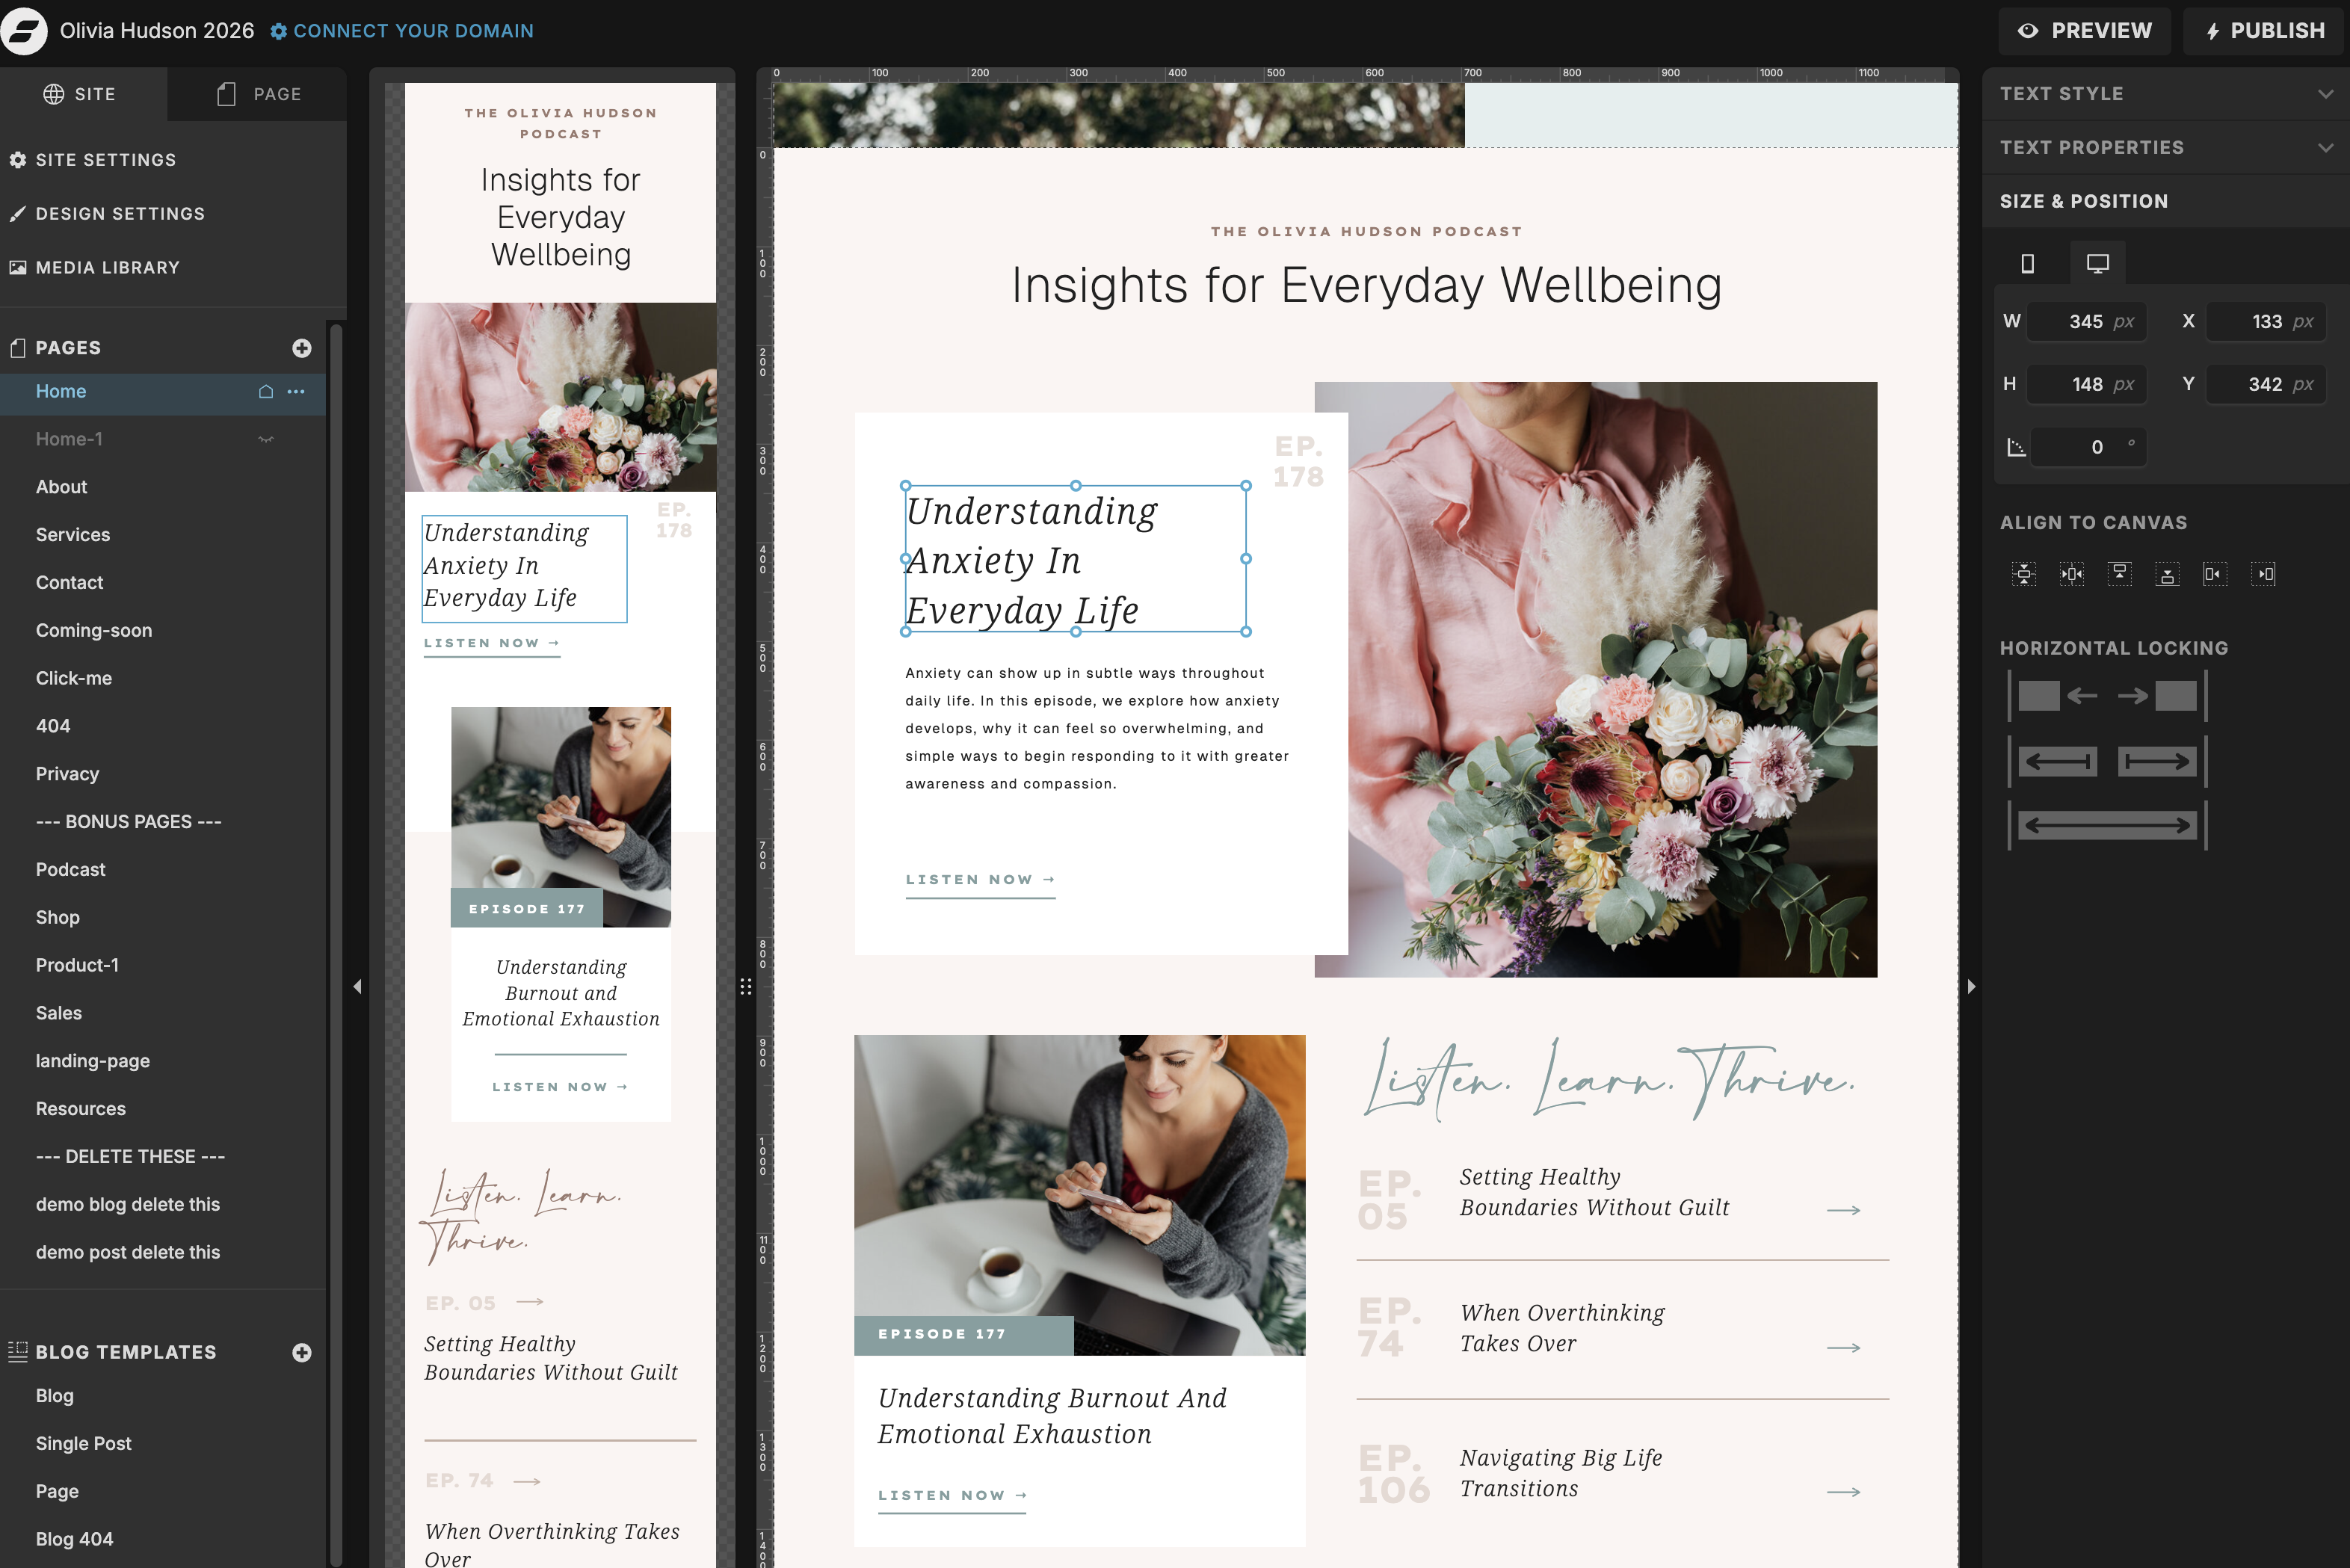
Step 4: Swap In Your Images
Images are where the template really starts to become yours. Double click on any image element and then select your own image or use the upload option in the panel. Showit gives you control over positioning within the image frame — so even if your photo proportions are slightly different, you can adjust to make it work.
Start with your homepage hero image — it’s the largest and most impactful. Once that’s in place, work through the rest of the page top to bottom. Don’t worry about getting every image perfect on the first pass; you can always come back and refine.
Quick tip: Consistency matters more than perfection. Photos with a similar tone, lighting, and color temperature will look more cohesive than technically better photos that clash with each other. Quality stock photos work well if they’re consistent.
Step 5: Update Your Navigation and Page Structure
Most Showit templates come with a standard set of pages: Home, About, Services, Contact, and Blog. Rename these to match your actual page names, remove any pages you don’t need, and add any that are missing.
To update the nav links, click on the navigation element and edit the text and URL for each item. If you’re adding or removing pages, make sure the nav reflects your final page structure before you go live — broken or placeholder links are one of the most common things to miss.
Quick tip: Keep your navigation simple. Five items or fewer is ideal. If you have a lot to cover, consider what belongs in the nav versus in the footer or on individual pages.
Step 6: Edit Your Homepage Content
With the visual foundation in place, now you can start working in your actual copy. The homepage is the most important page to get right — it needs to communicate clearly who you help, what you do, and what someone should do next, all within the first scroll.
Work section by section from top to bottom. Replace the placeholder text with your own words, keeping the length and structure similar to what the template provides. The layouts are designed to work with a certain amount of content, so resist the urge to add significantly more copy than what’s there.
Quick tip: Don’t get stuck on perfect copy at this stage. Write a working version, get the site live, and refine from there. A clear, simple homepage beats a beautifully worded one that never launches.
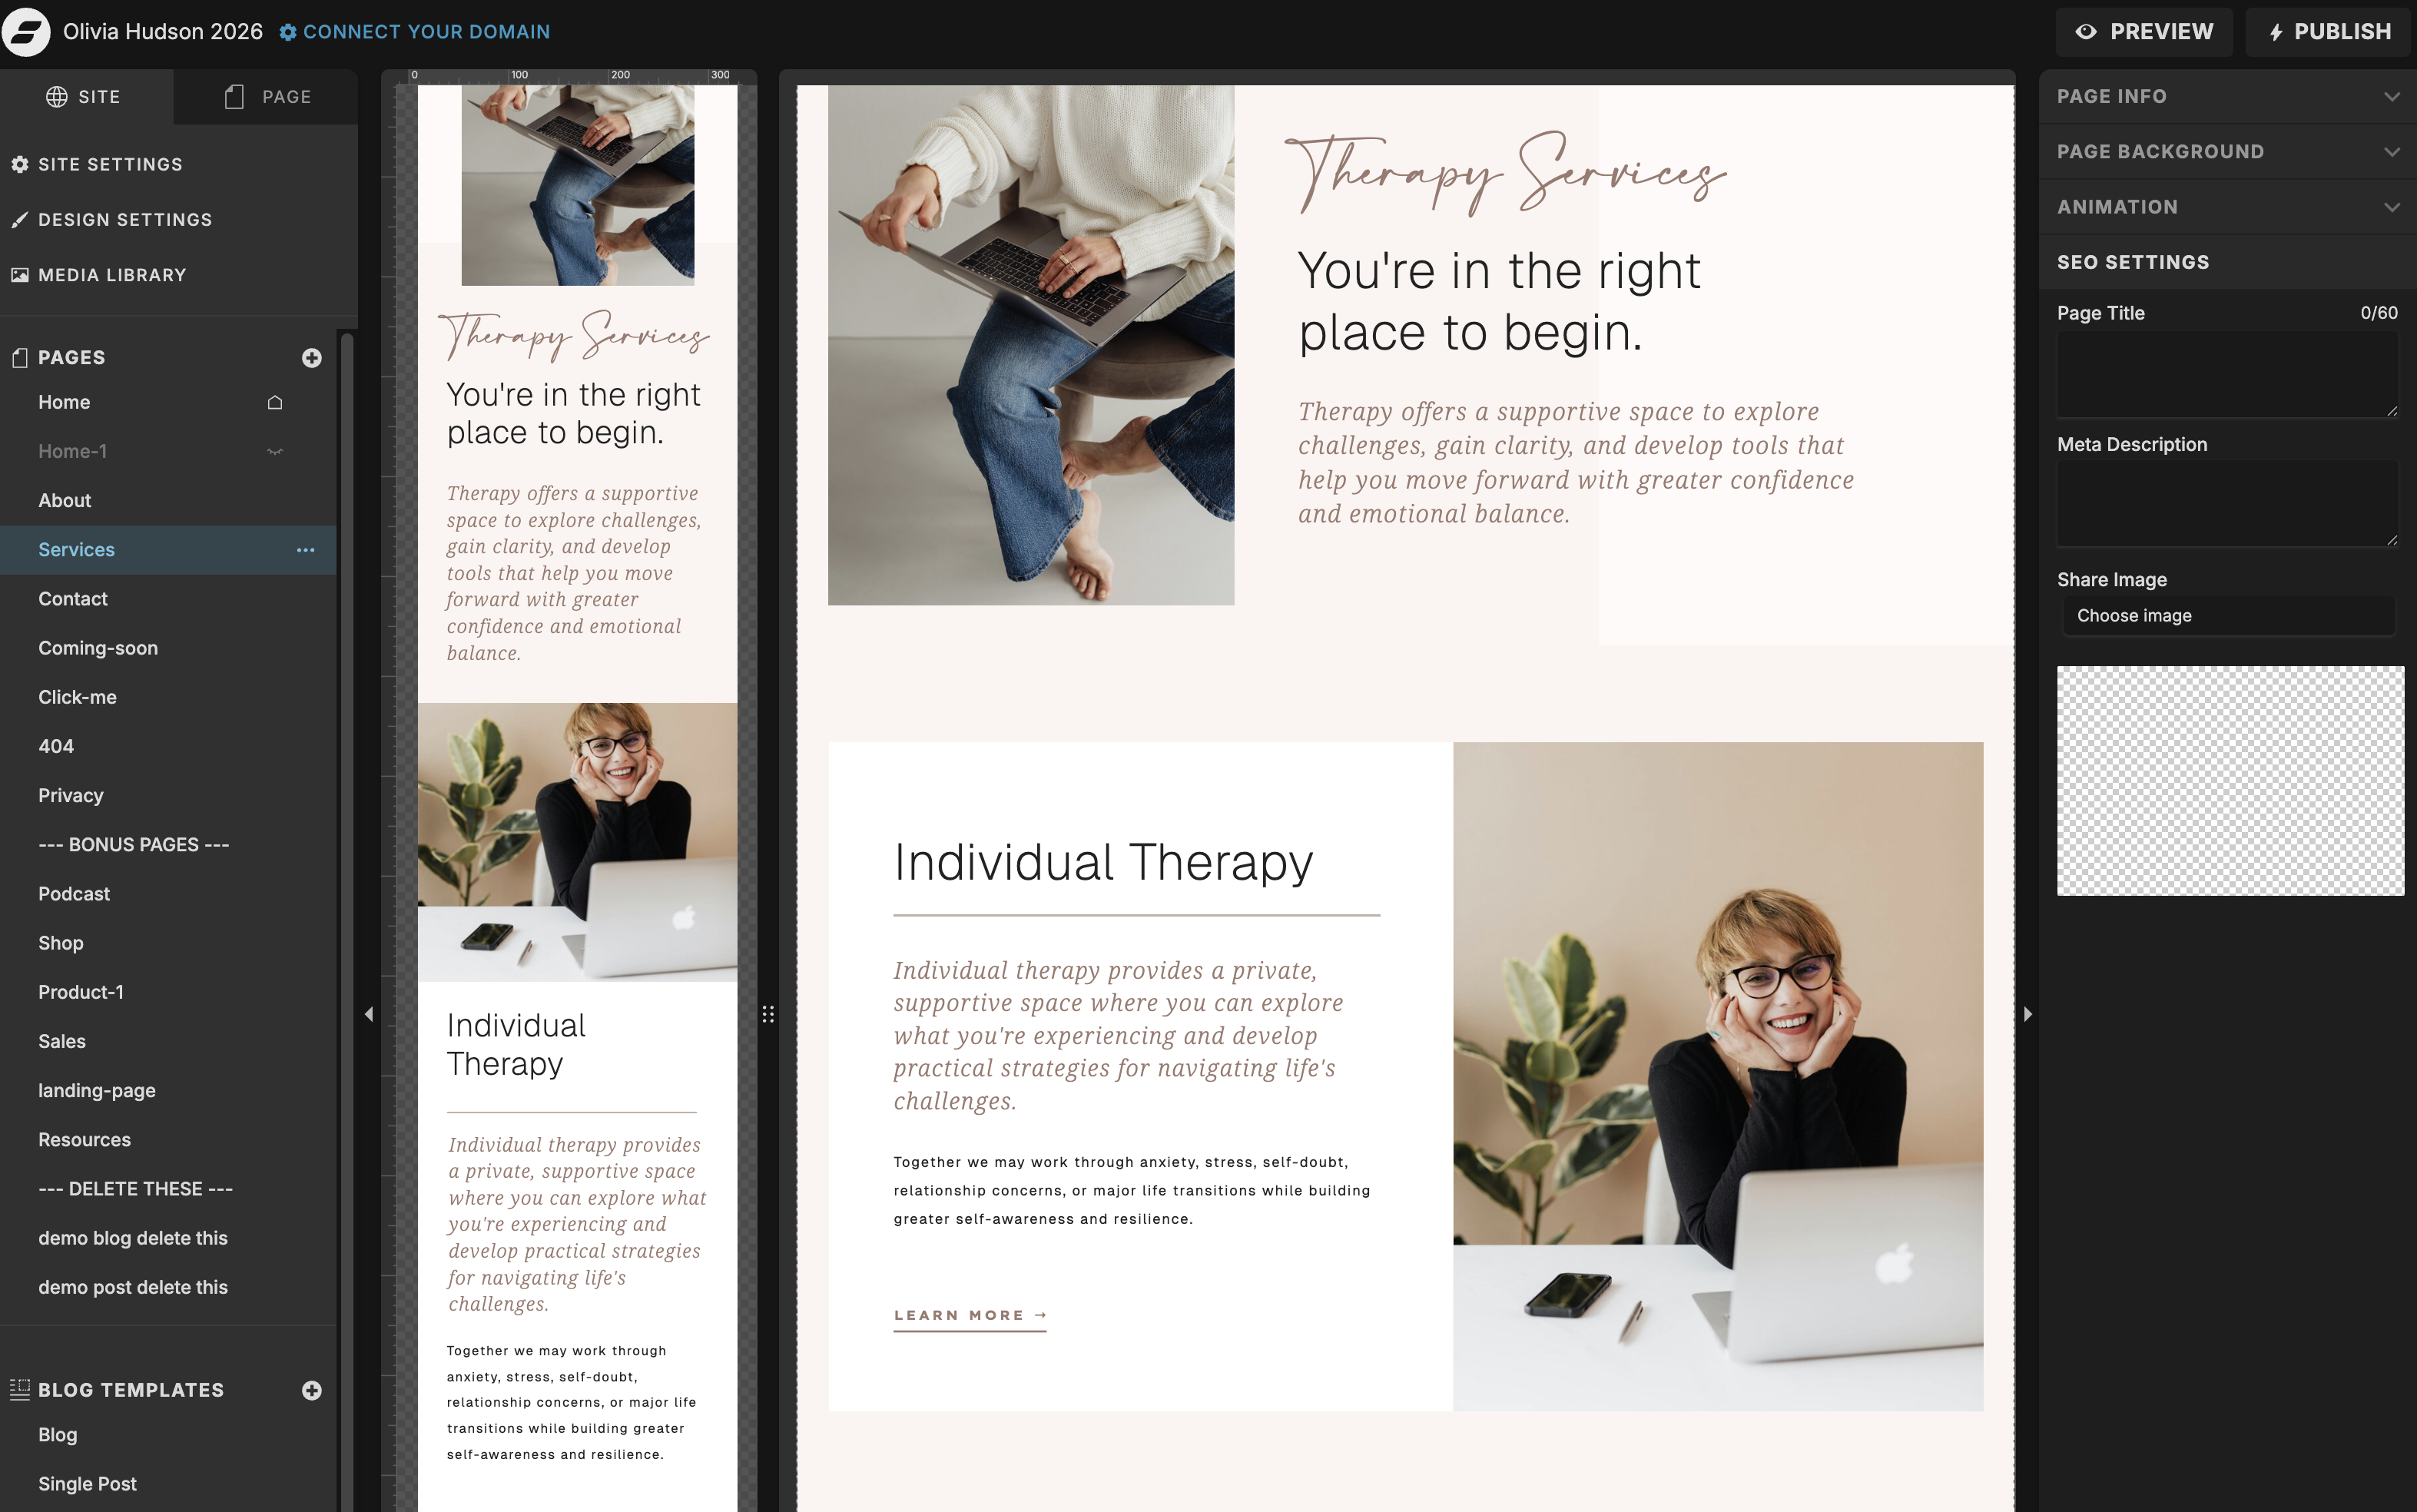
Step 7: Work Through Your Inner Pages
Once the homepage is in good shape, carry the same process through your other pages: update any remaining colors and fonts, swap in relevant images, and add your content. Your About, Services, and Contact pages will each take less time than the homepage since most of the visual work is already done.
Pay particular attention to your Services page — this is where most buying decisions get made. Make sure each service is described clearly, the outcome is obvious, and there’s a clear call to action pointing toward the next step.
Step 8: Check and Adjust Your Mobile Design
This is one of the most commonly skipped steps — and one of the most important. Showit lets you design your mobile layout separately from desktop, which means you have full control over how your site looks on a phone. But it also means the mobile version needs its own attention.
Switch to mobile view in Showit and scroll through each page. Check that text is readable, images are cropped well, and nothing is overlapping or cut off. Adjust font sizes, spacing, and element positioning as needed. Most of the heavy lifting is already done in a quality template, but it’s worth a careful pass before you go live.
Quick tip: More than half of your visitors are likely on mobile. A site that looks polished on desktop but messy on a phone will cost you credibility — and inquiries.
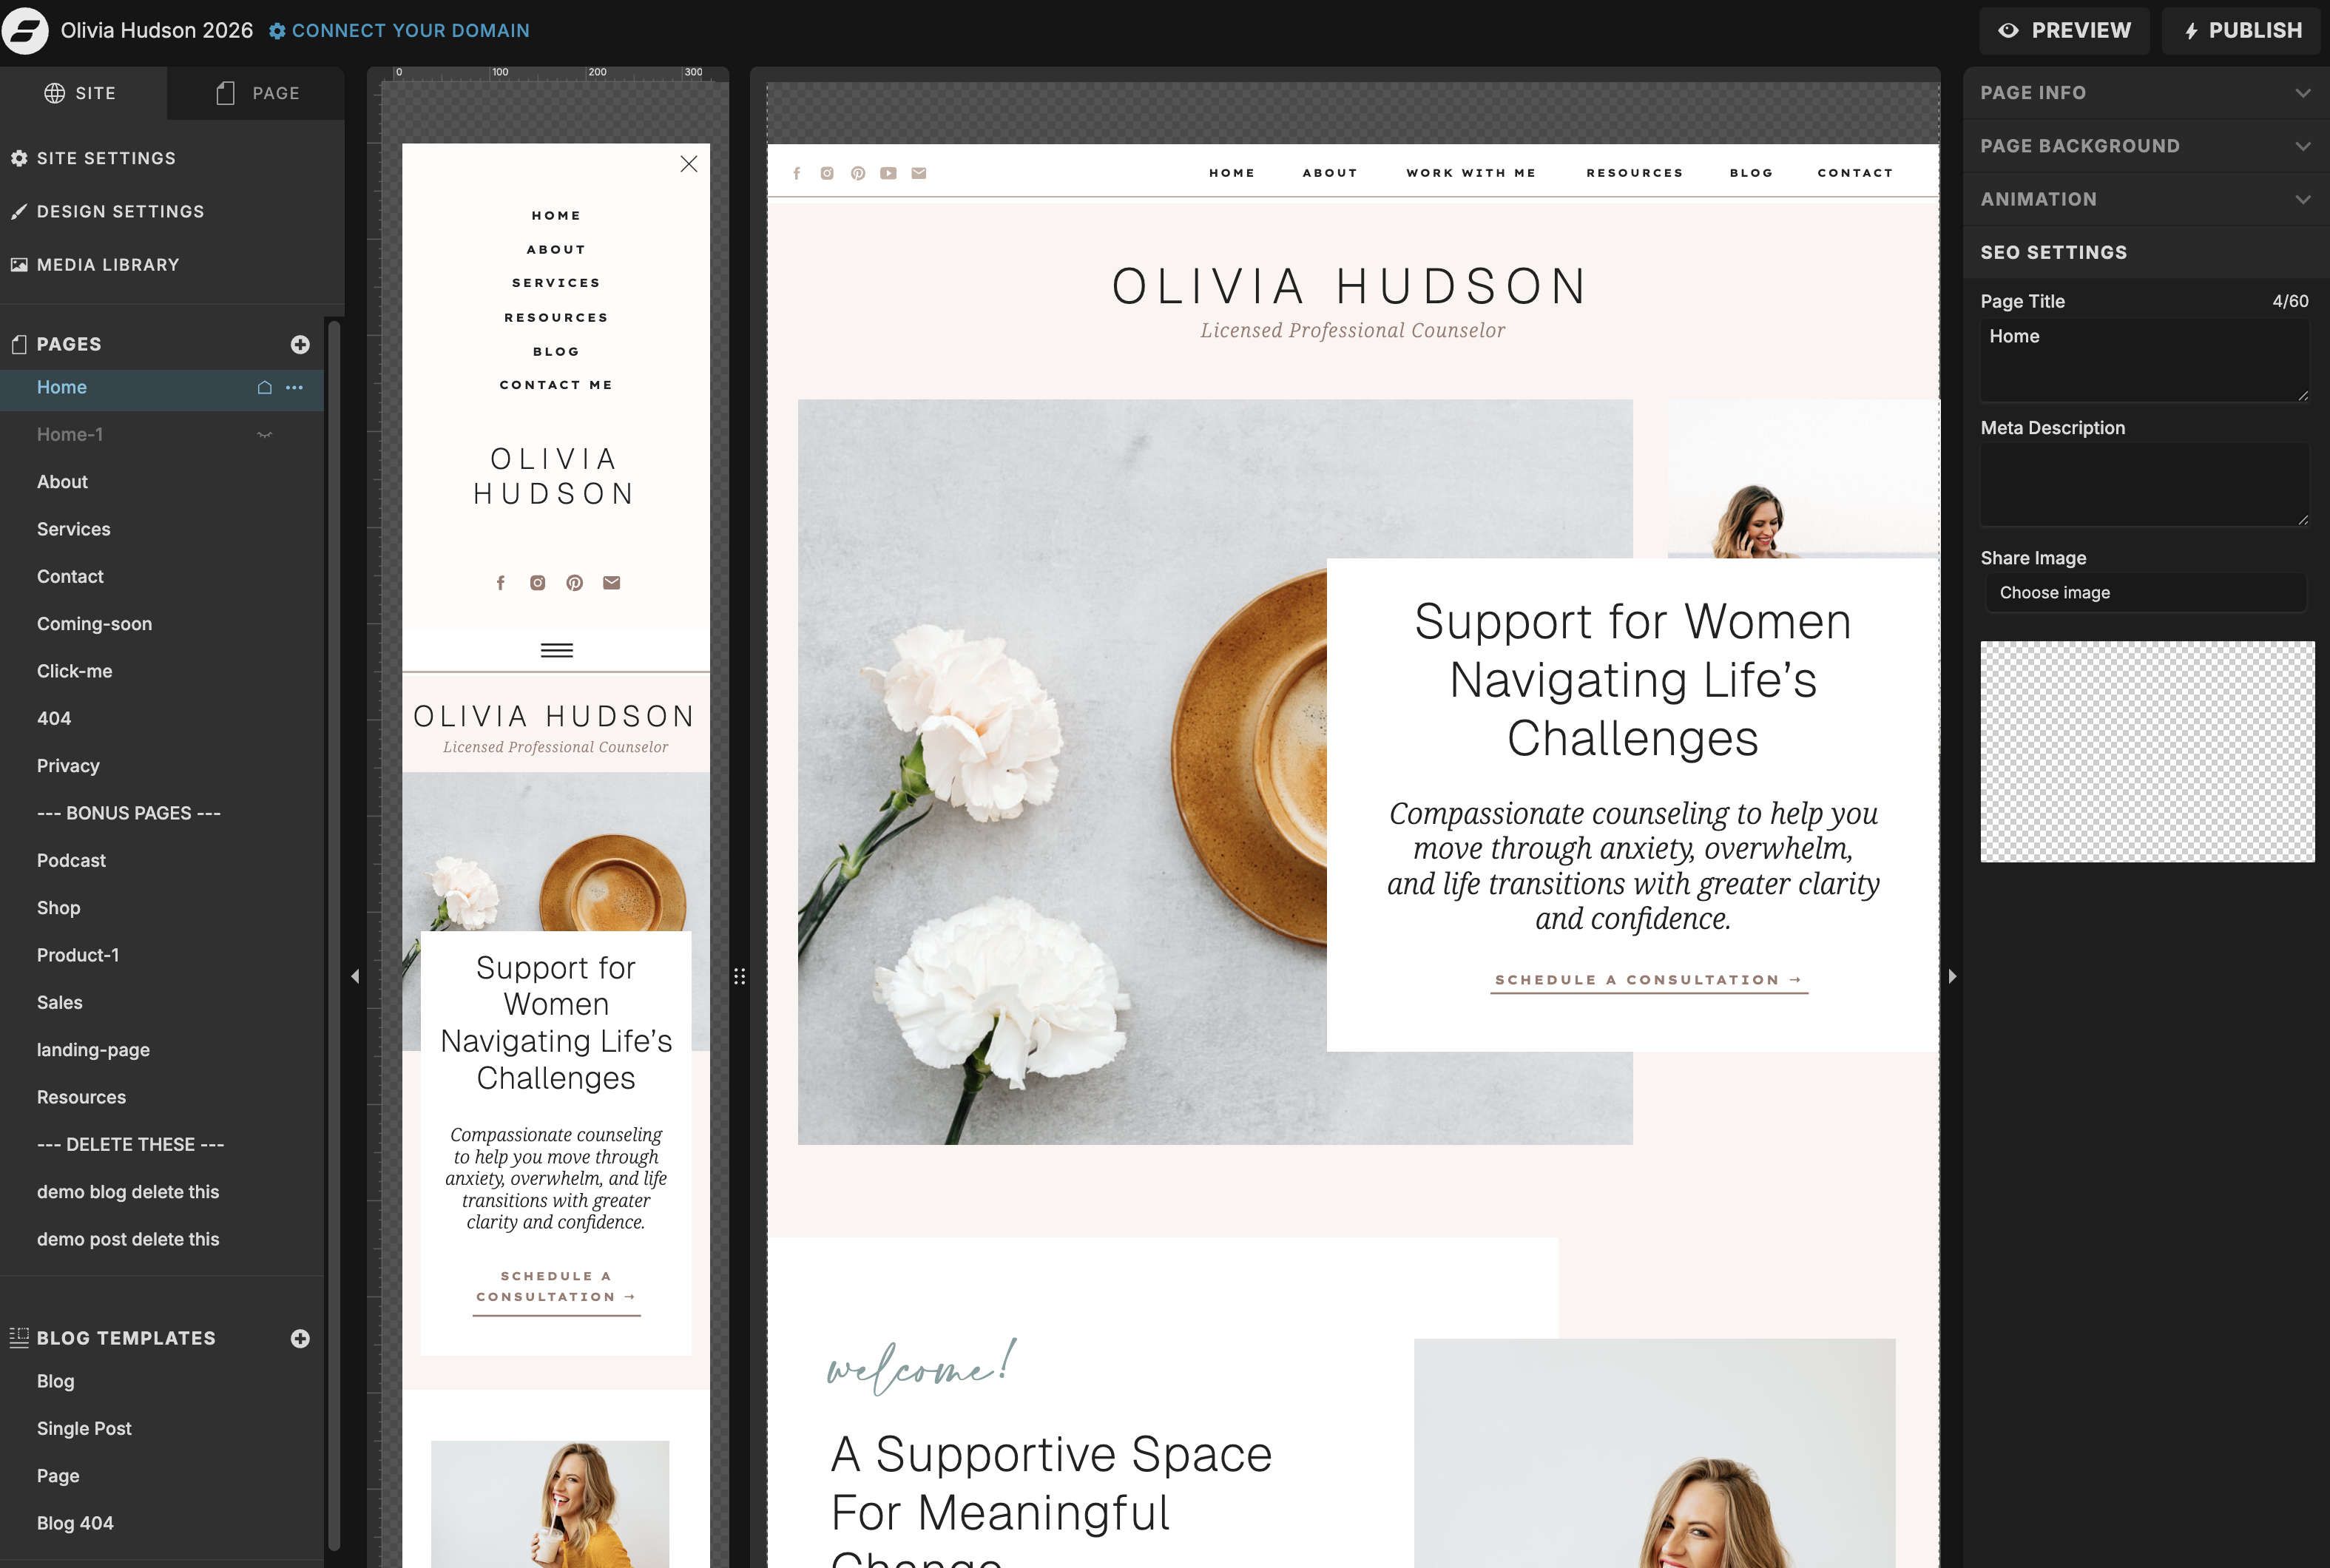
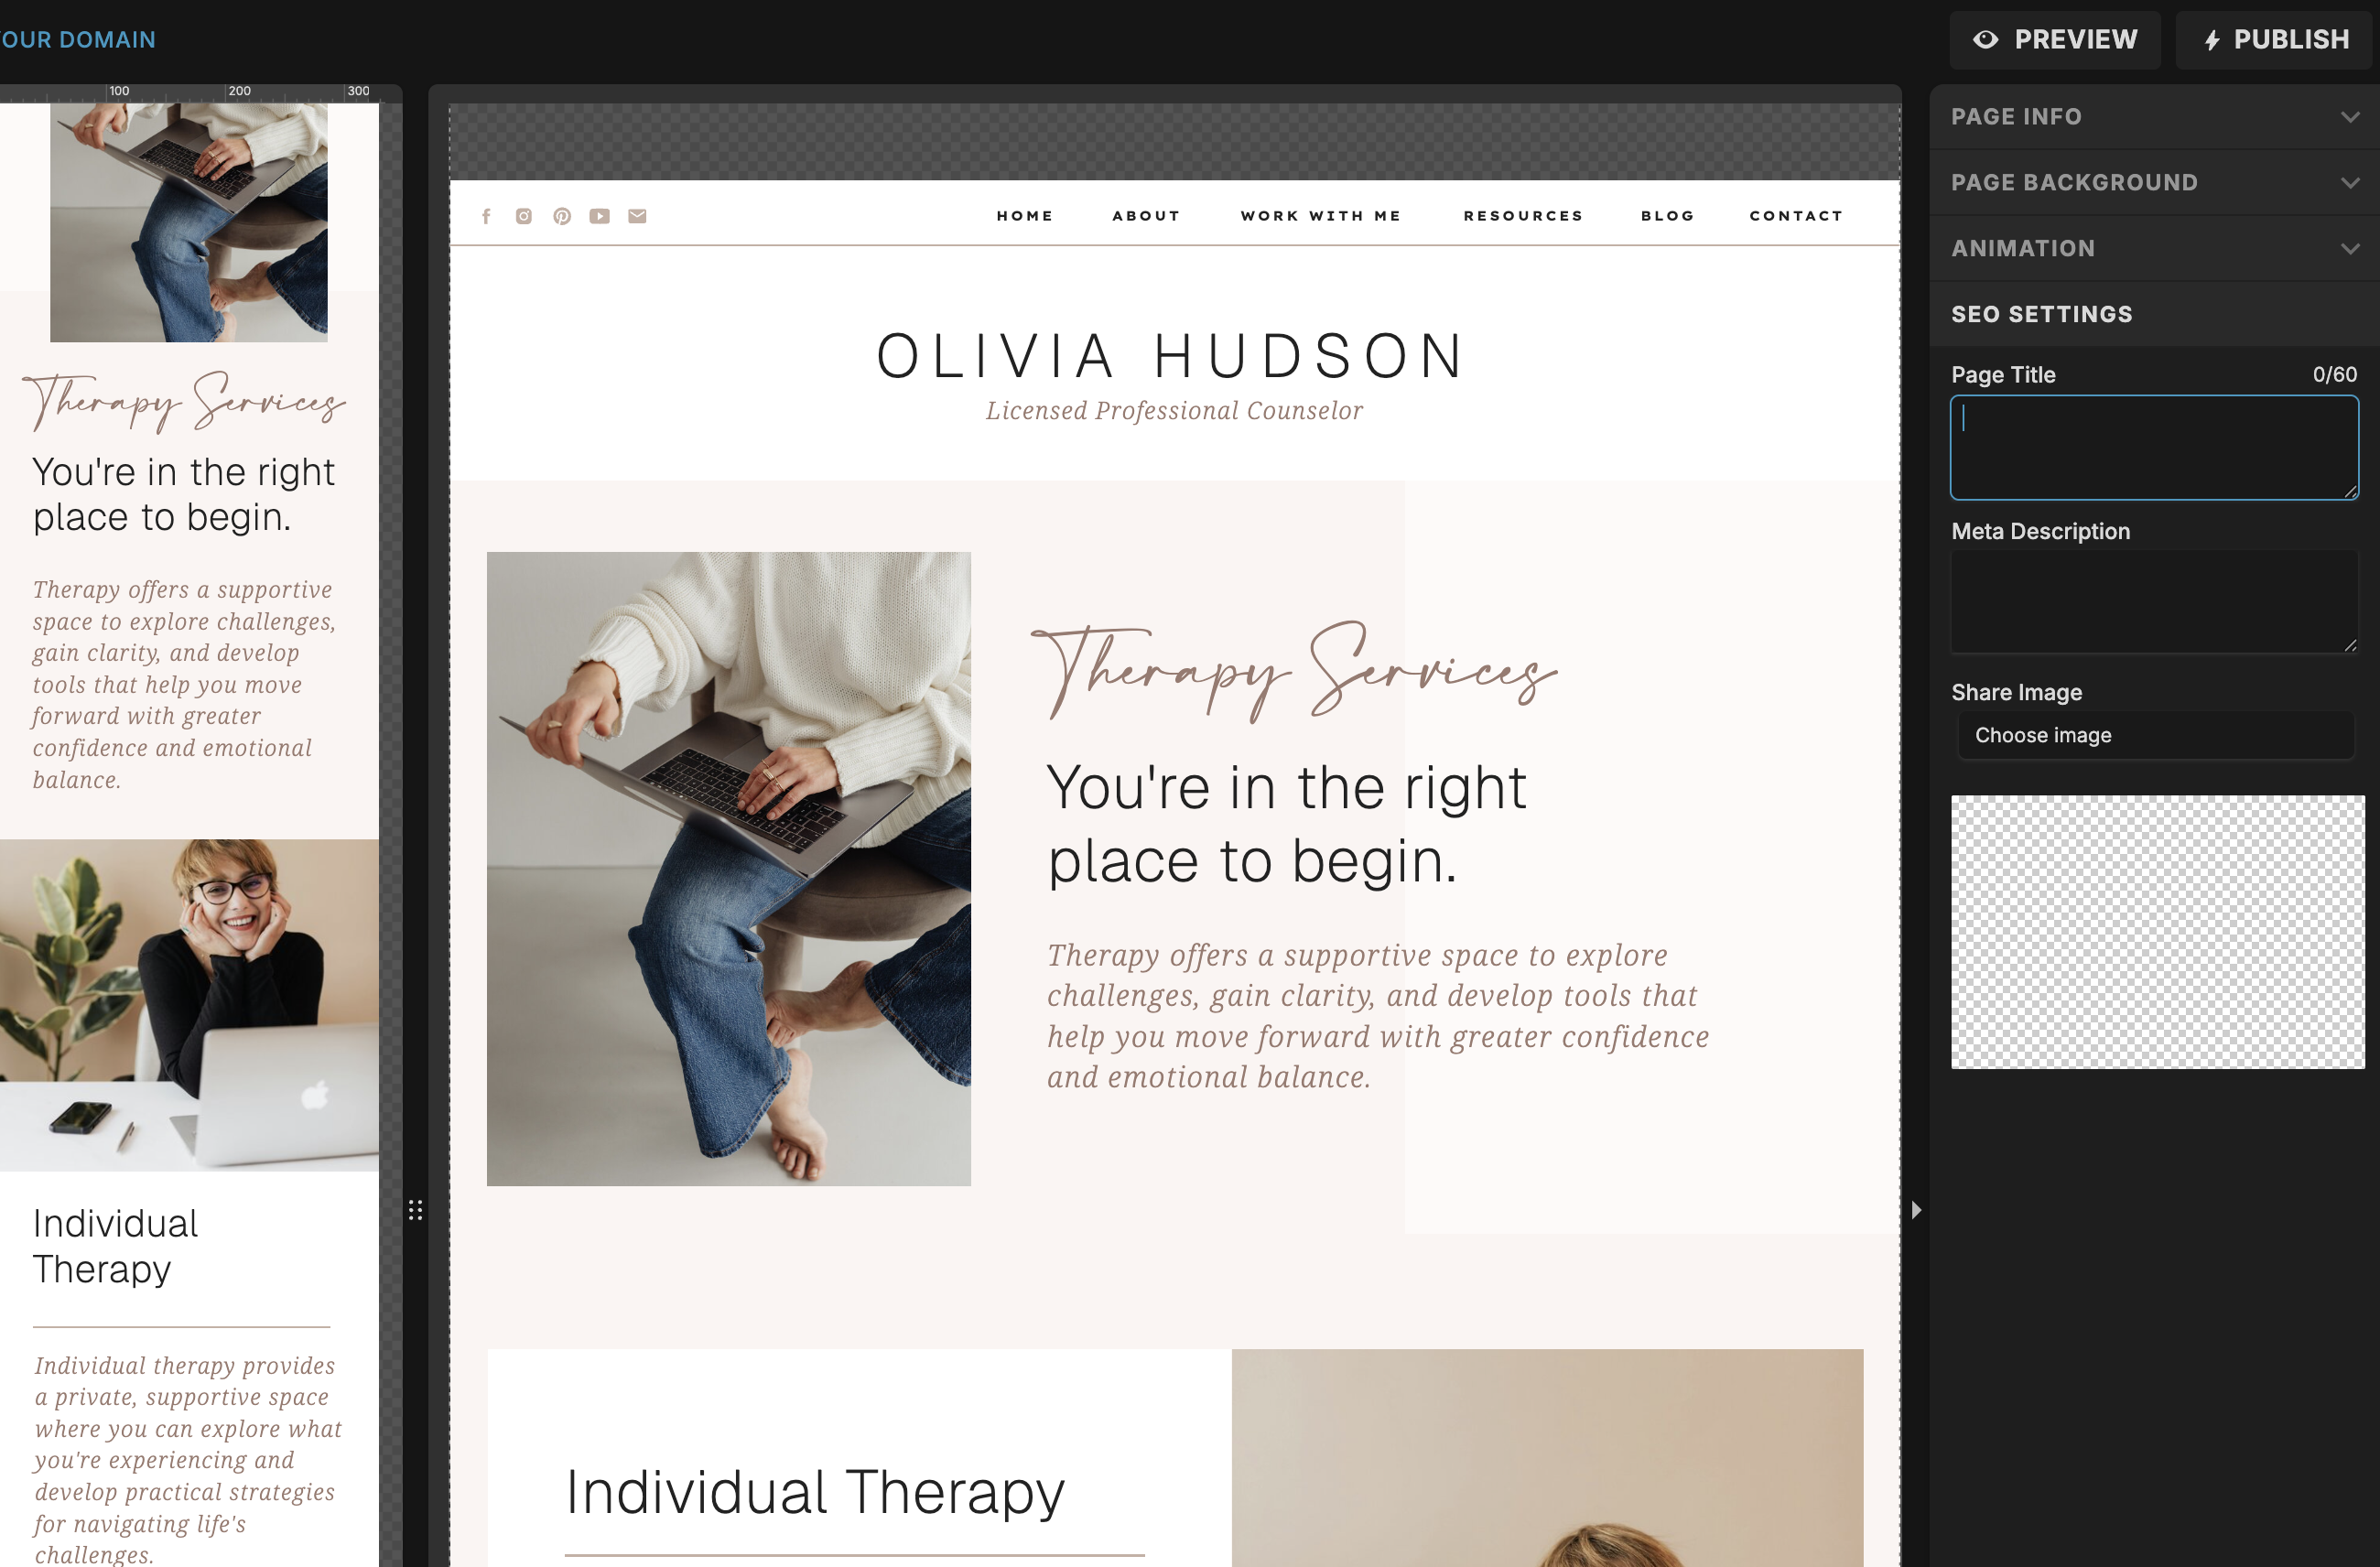
Step 9: Set Up Your SEO Basics
Before you publish, take a few minutes to fill in the basics. In Showit, you can add an SEO title and meta description for each page. These are what appear in Google search results, so they’re worth doing thoughtfully.
For each page, write a title that includes your main keyword and a description that tells someone exactly what they’ll find. Keep titles under 60 characters and descriptions under 160. Clear and accurate is what matters most at this stage.
Quick tip: Your homepage SEO title should include what you do and who you serve — not just your business name. That small change makes a real difference in how Google reads and ranks your page.
You’re Closer Than You Think
Customizing a Showit template doesn’t have to be a weeks-long project. Work through these steps in order, give yourself permission to do a solid first version rather than a perfect one, and you’ll have a site you’re proud to share far sooner than you’d expect.
If you haven’t chosen a template yet, the shop has options for a range of industries and aesthetics — each one comes with a live demo so you can see exactly what you’re working with before you buy.


