


Want to add a notification bar to your Showit website so you can promote a sale, freebie or whatever your little heart desires? I’ll walk you through the process, it’s super easy and a great way to get eyes on your current promotion as it’s the first thing visitors see when they enter your site!
Step One: Create a notification bar canvas
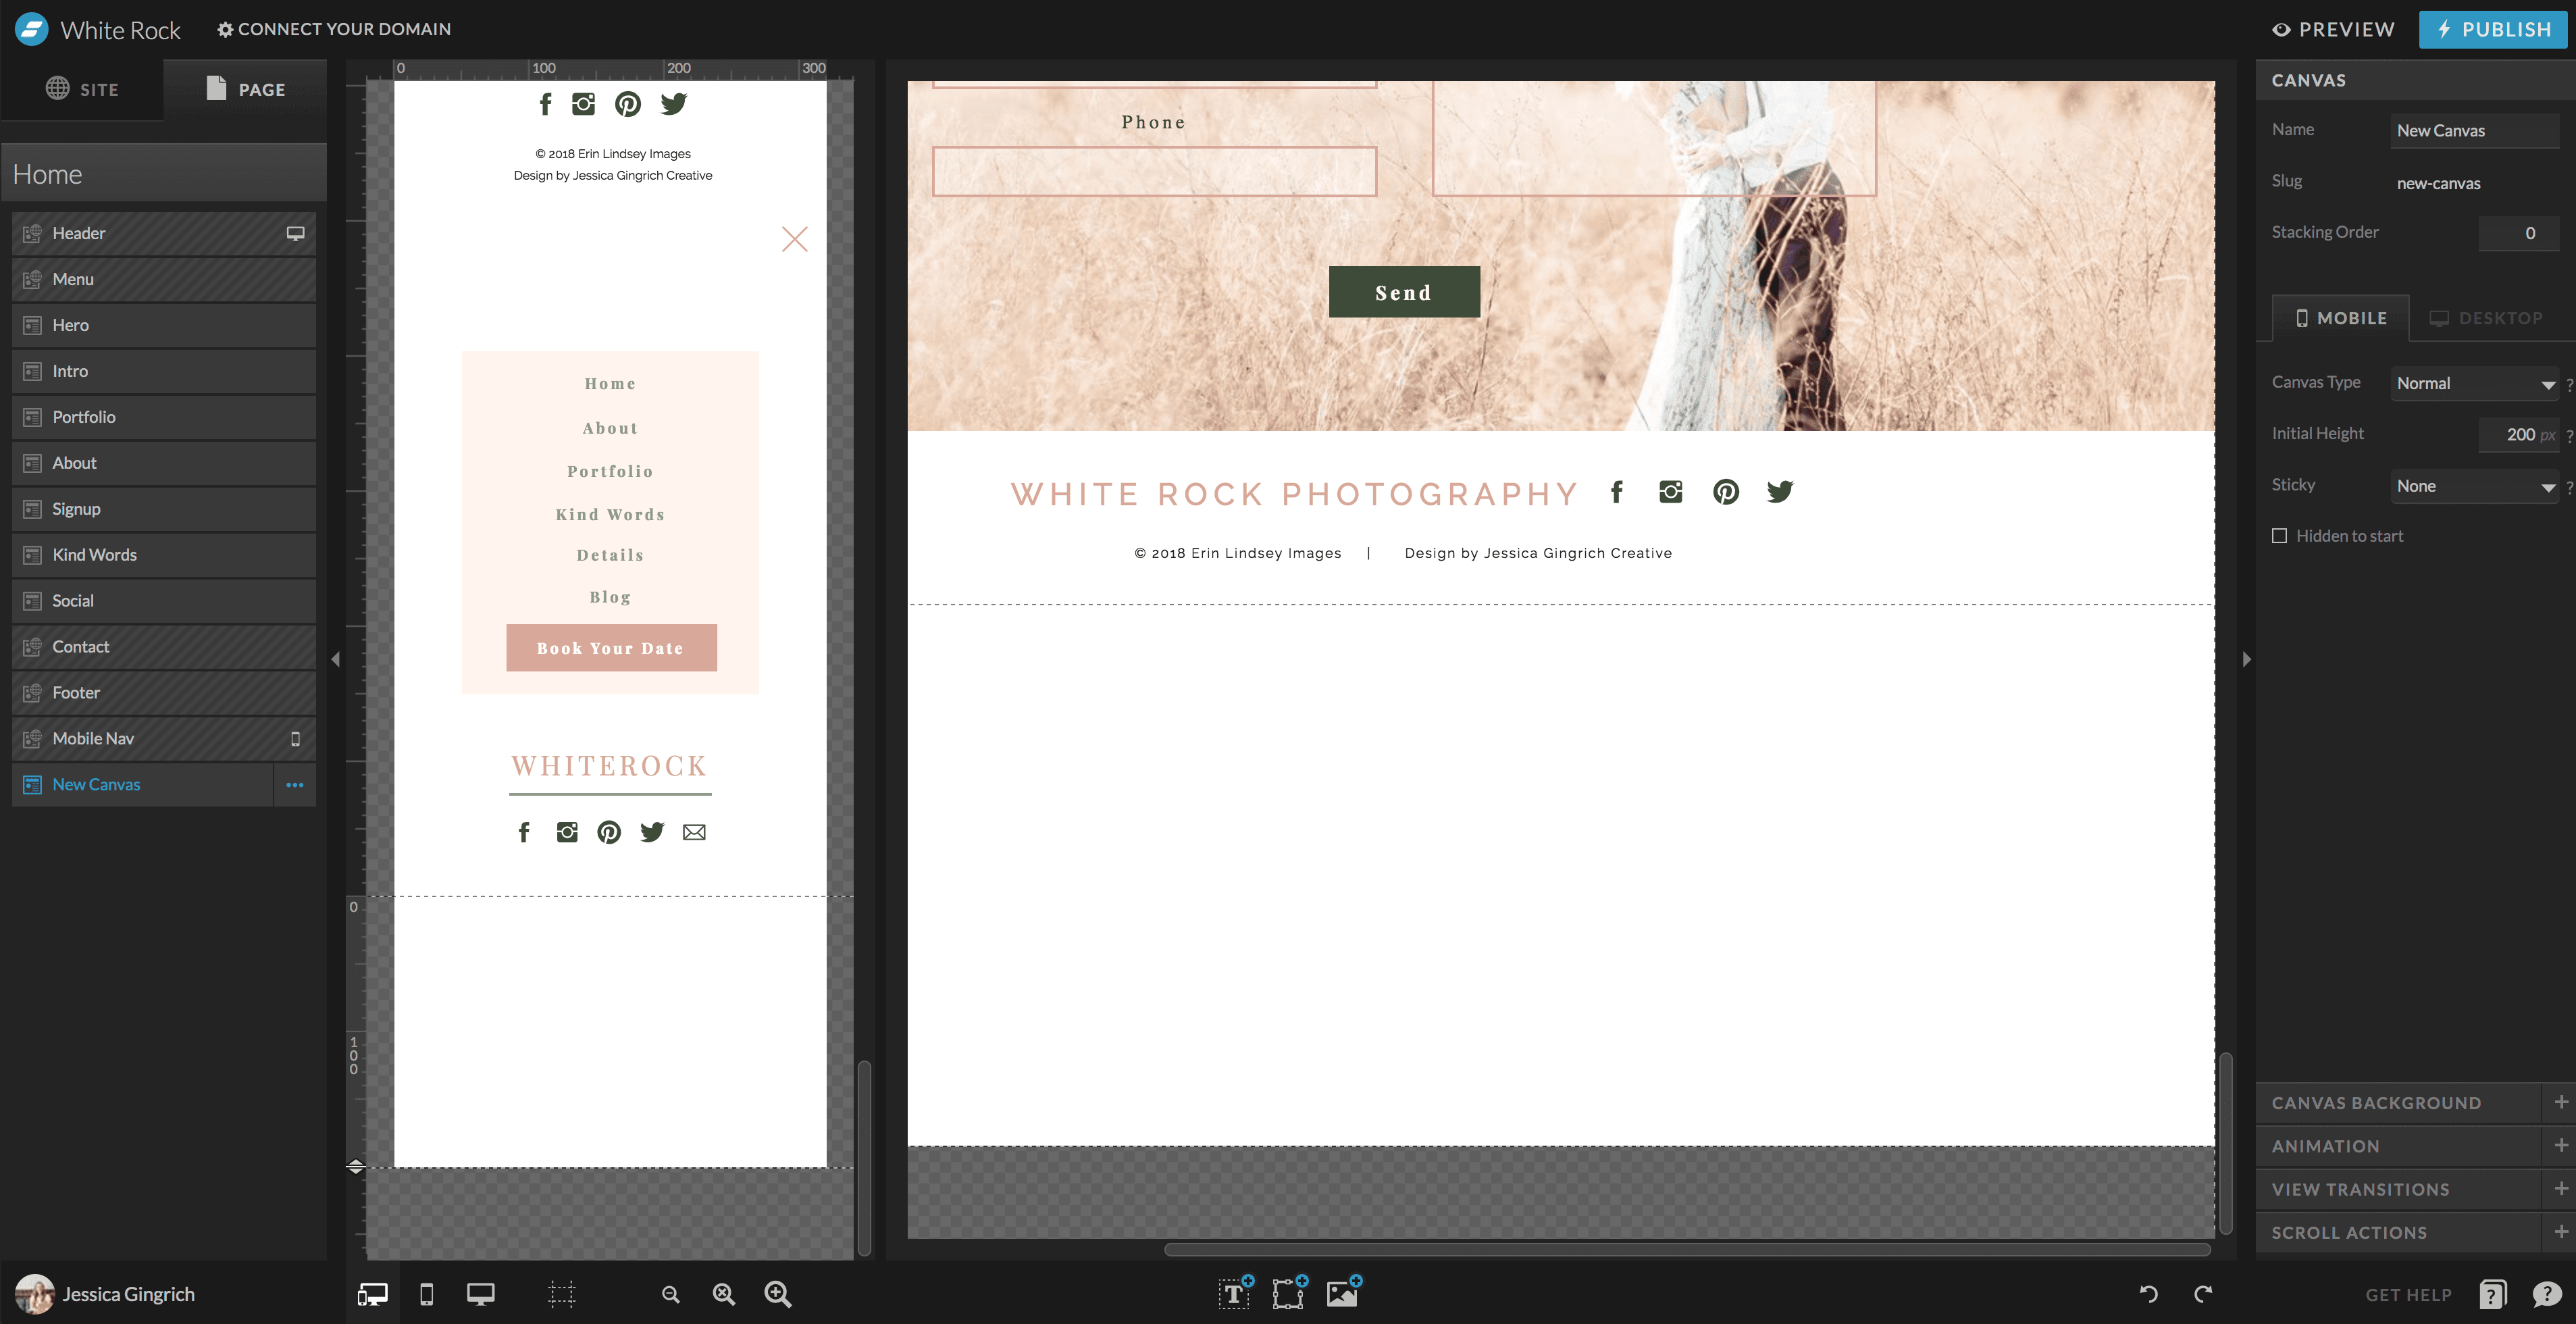
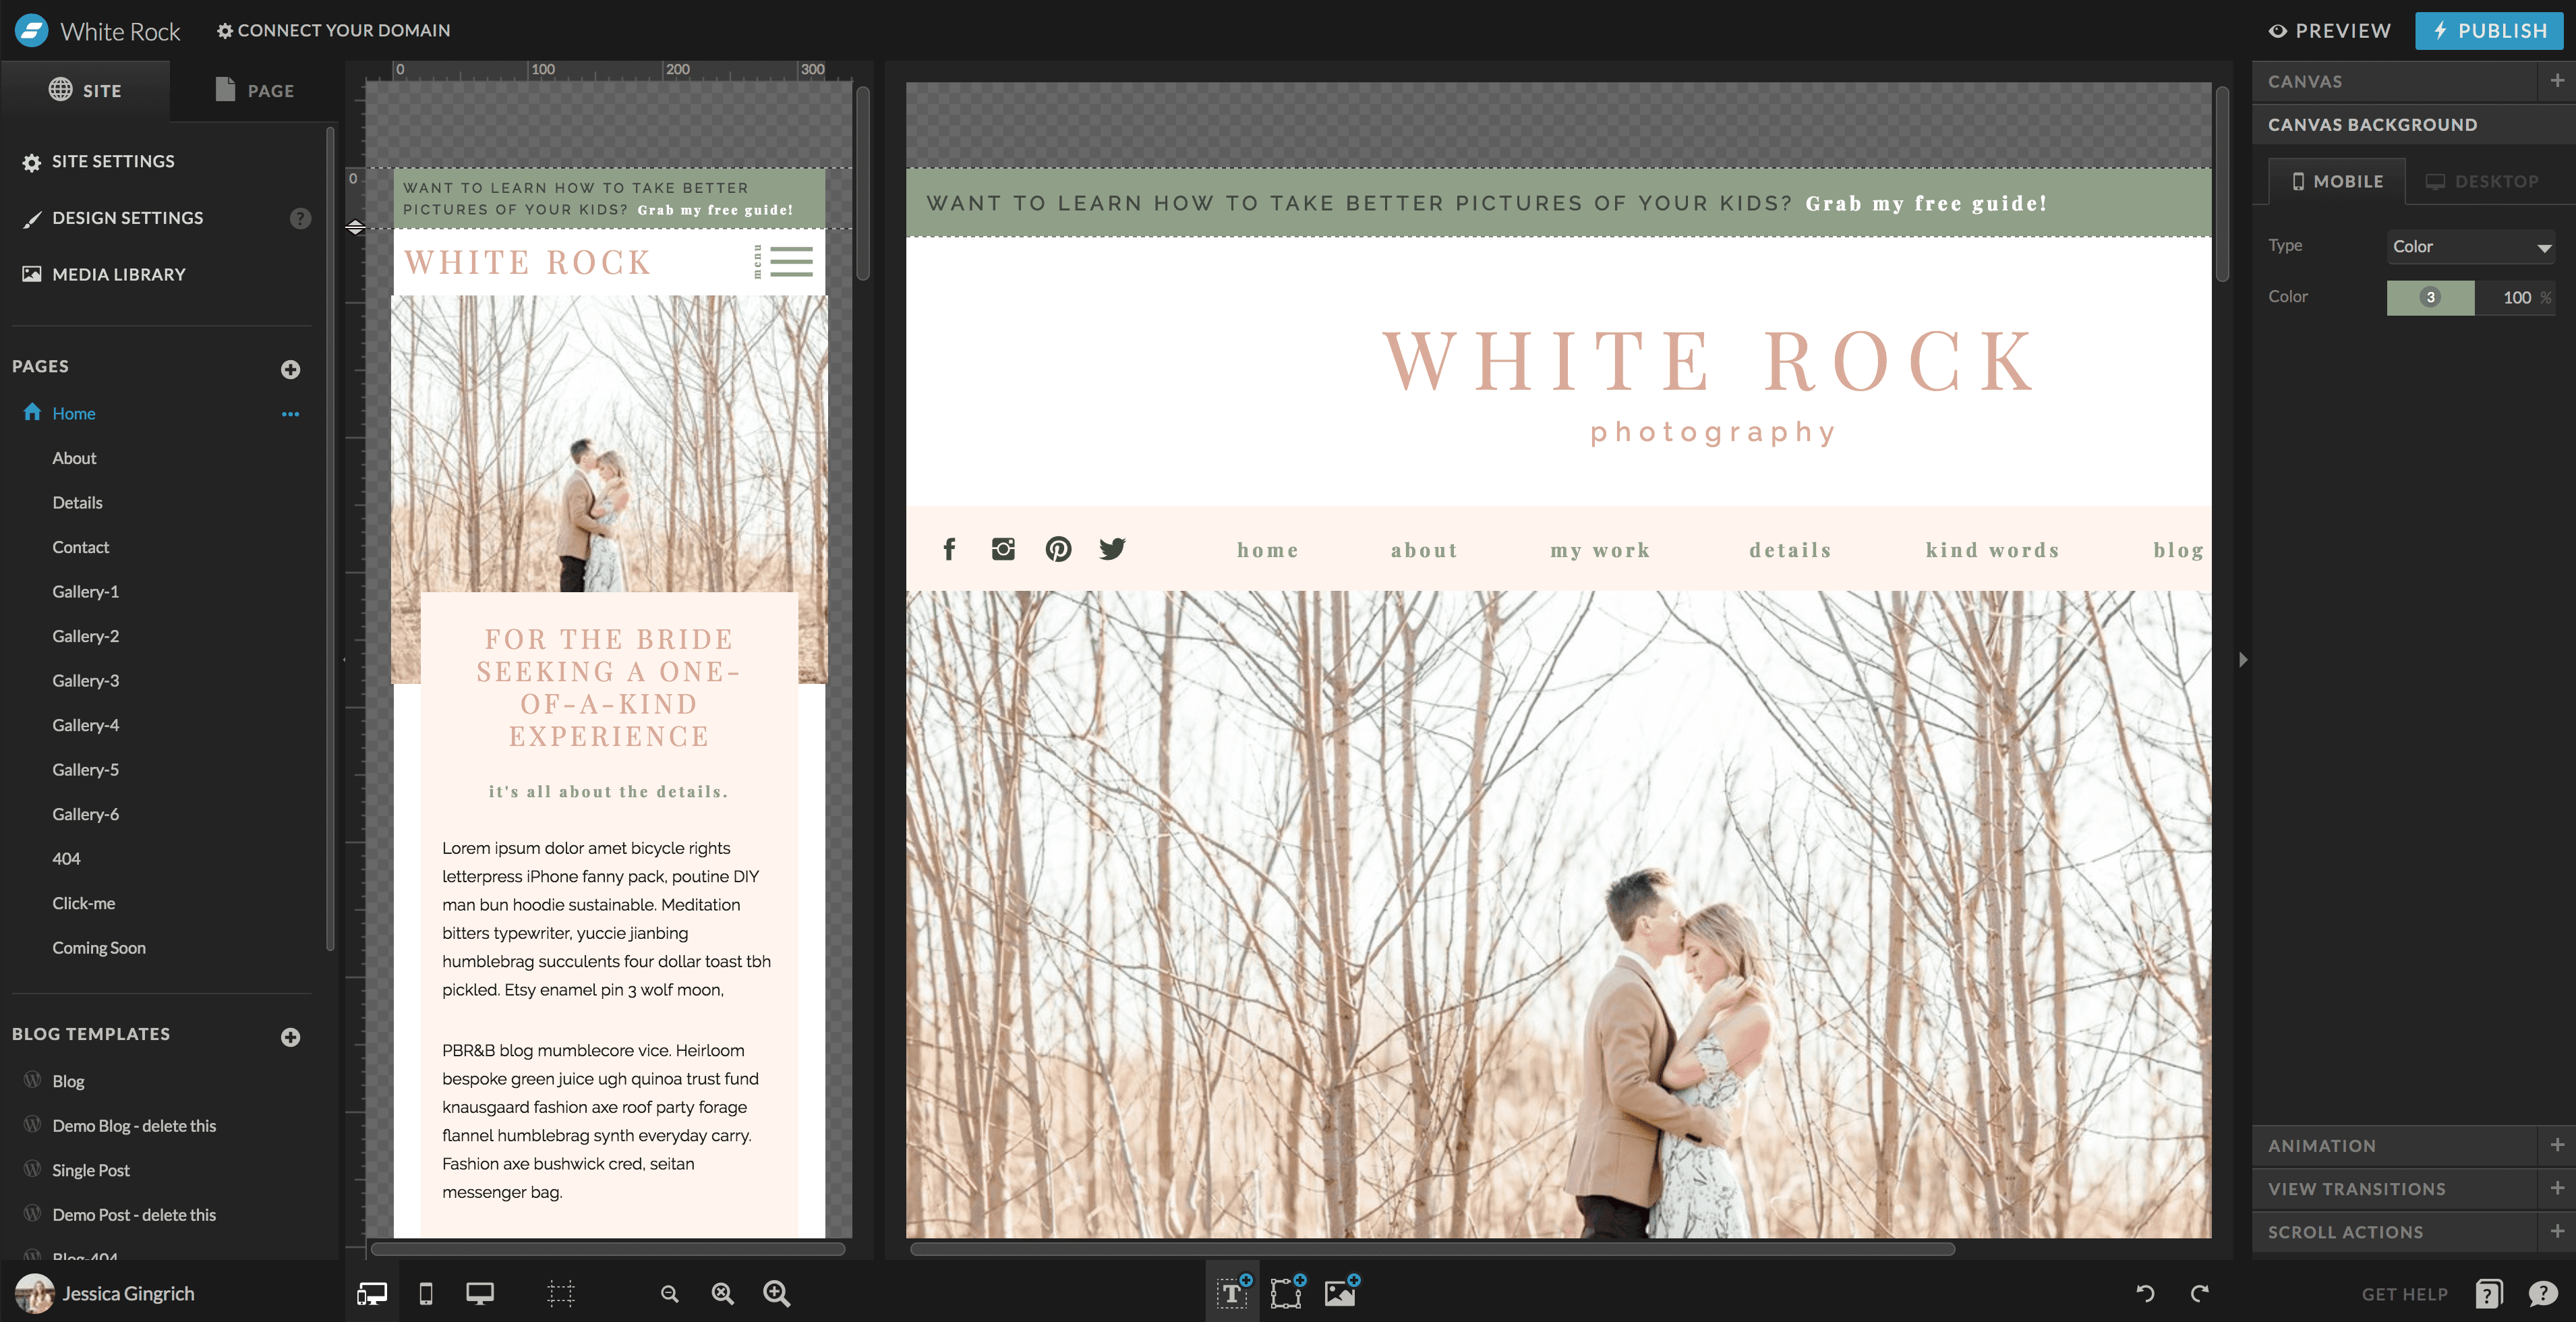
Login to your the Showit dashboard and your website and go to the page you want to add it to. Under the “pages” tab, click the 3 dots next to the page title and click “Add Blank Canvas”. This will populate a canvas at the bottom of the page, scroll down to find it. Then click the canvas on the left panel so it is current and hold and drag it to the top of the page.

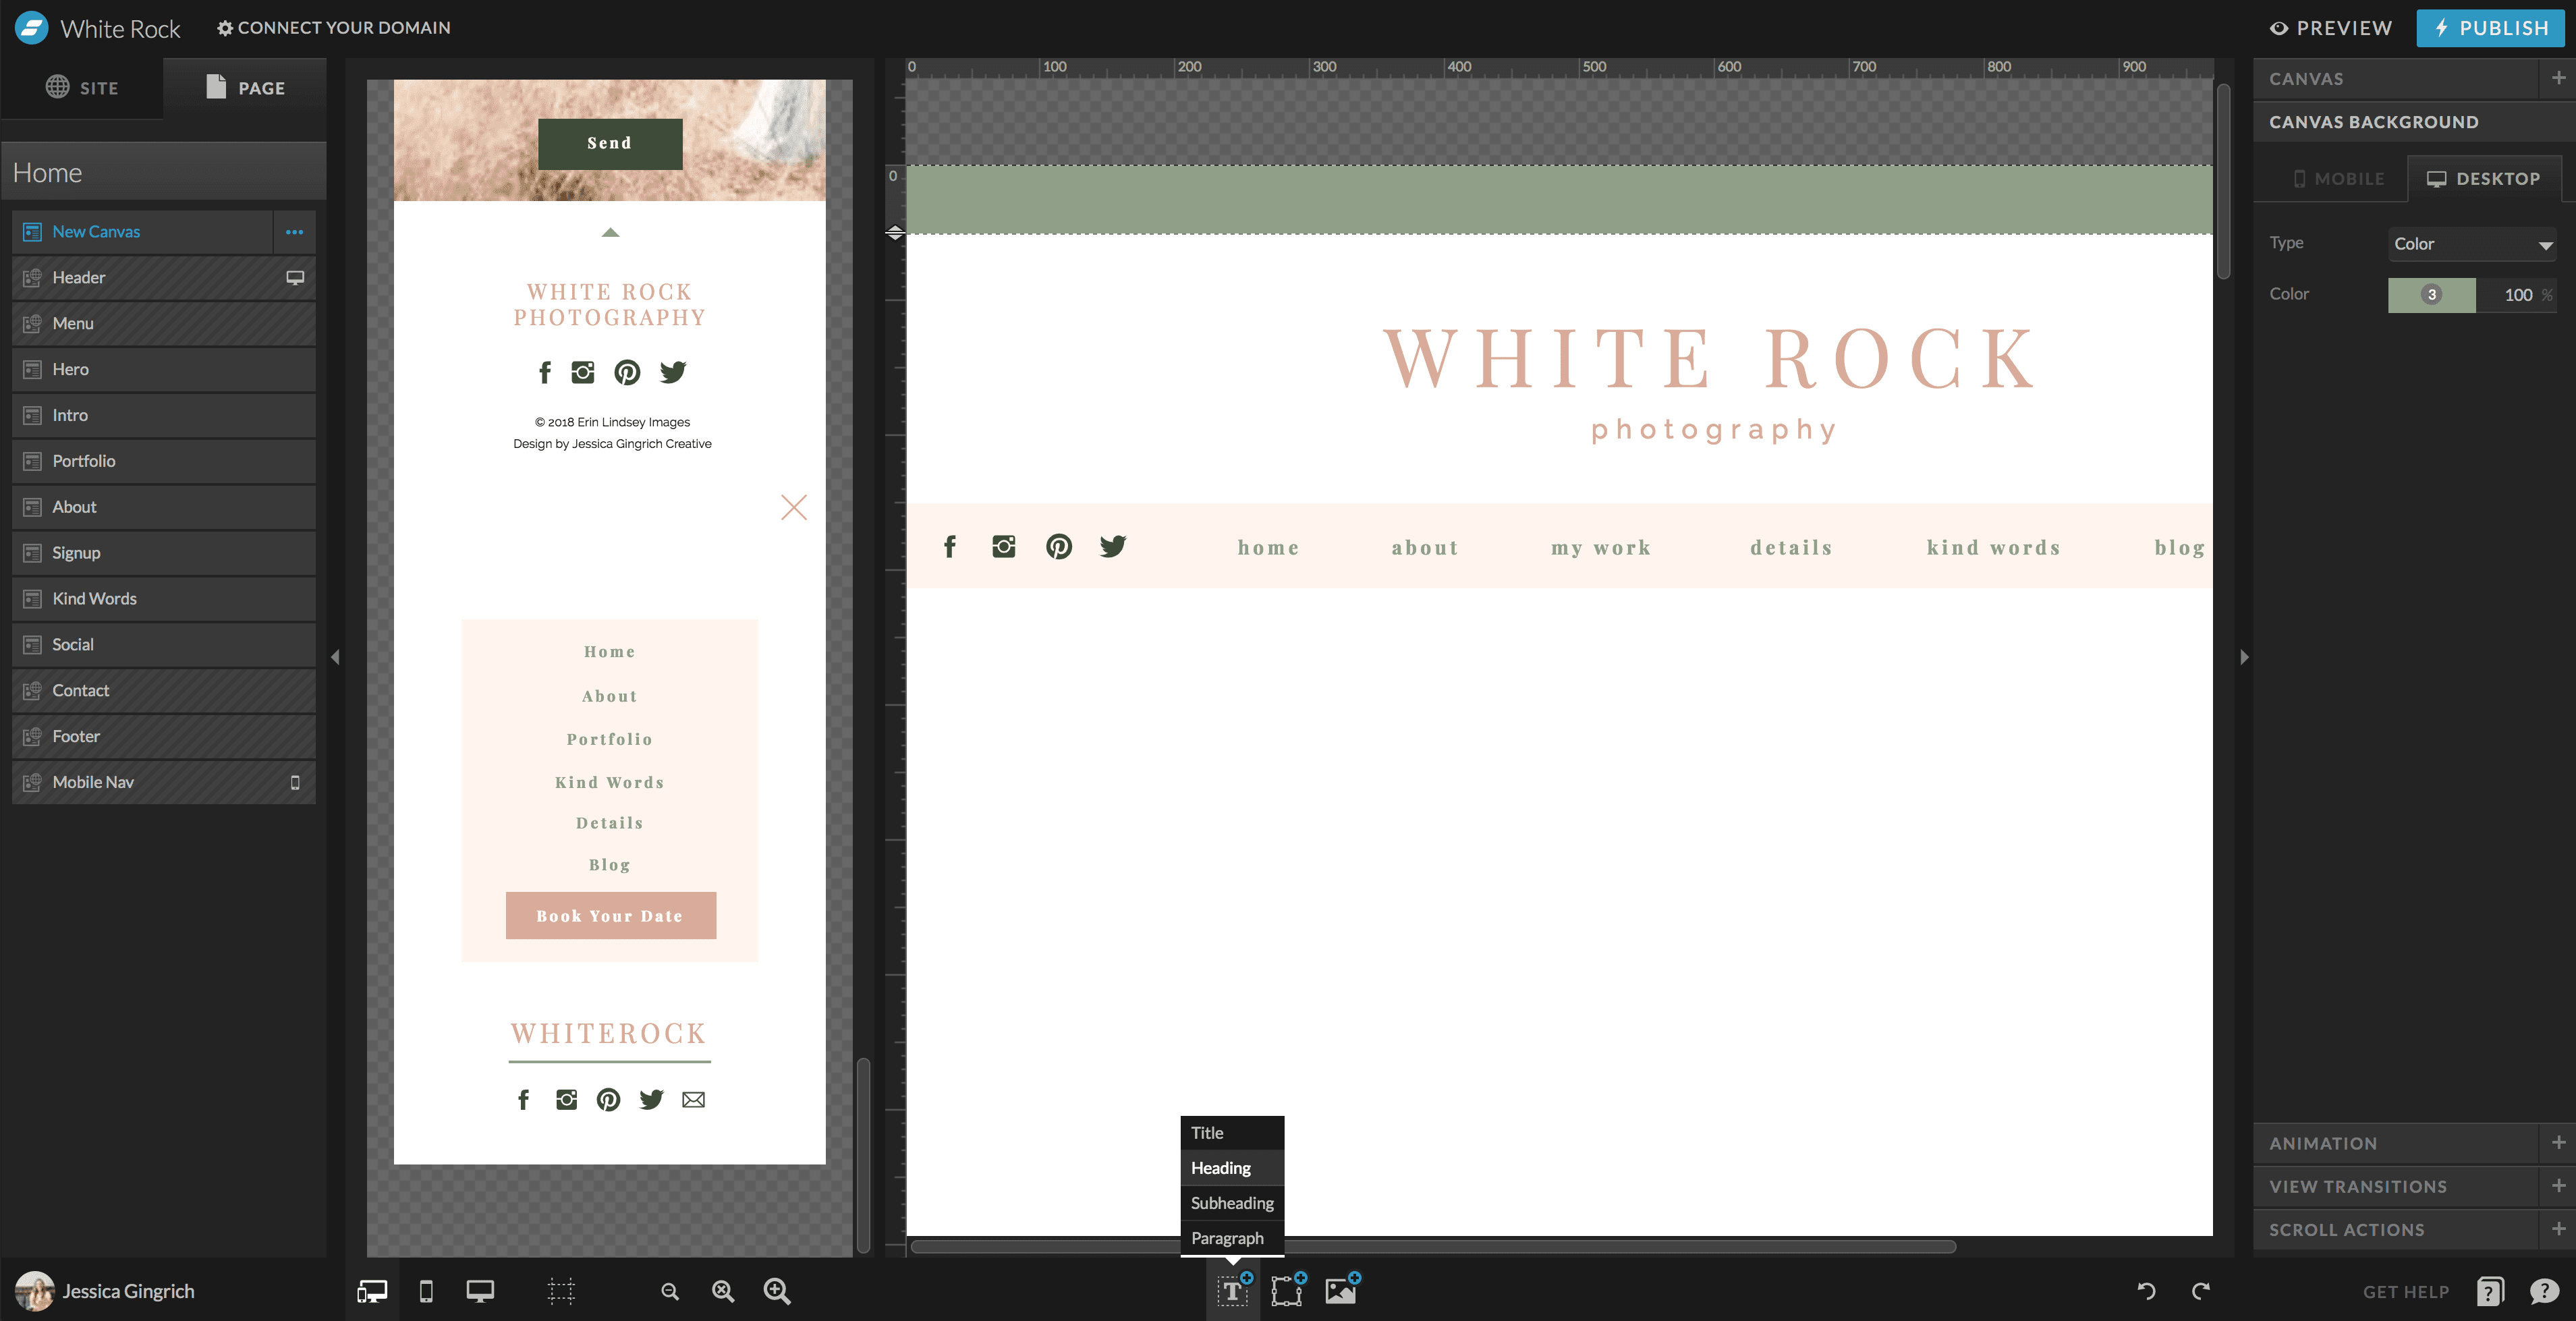
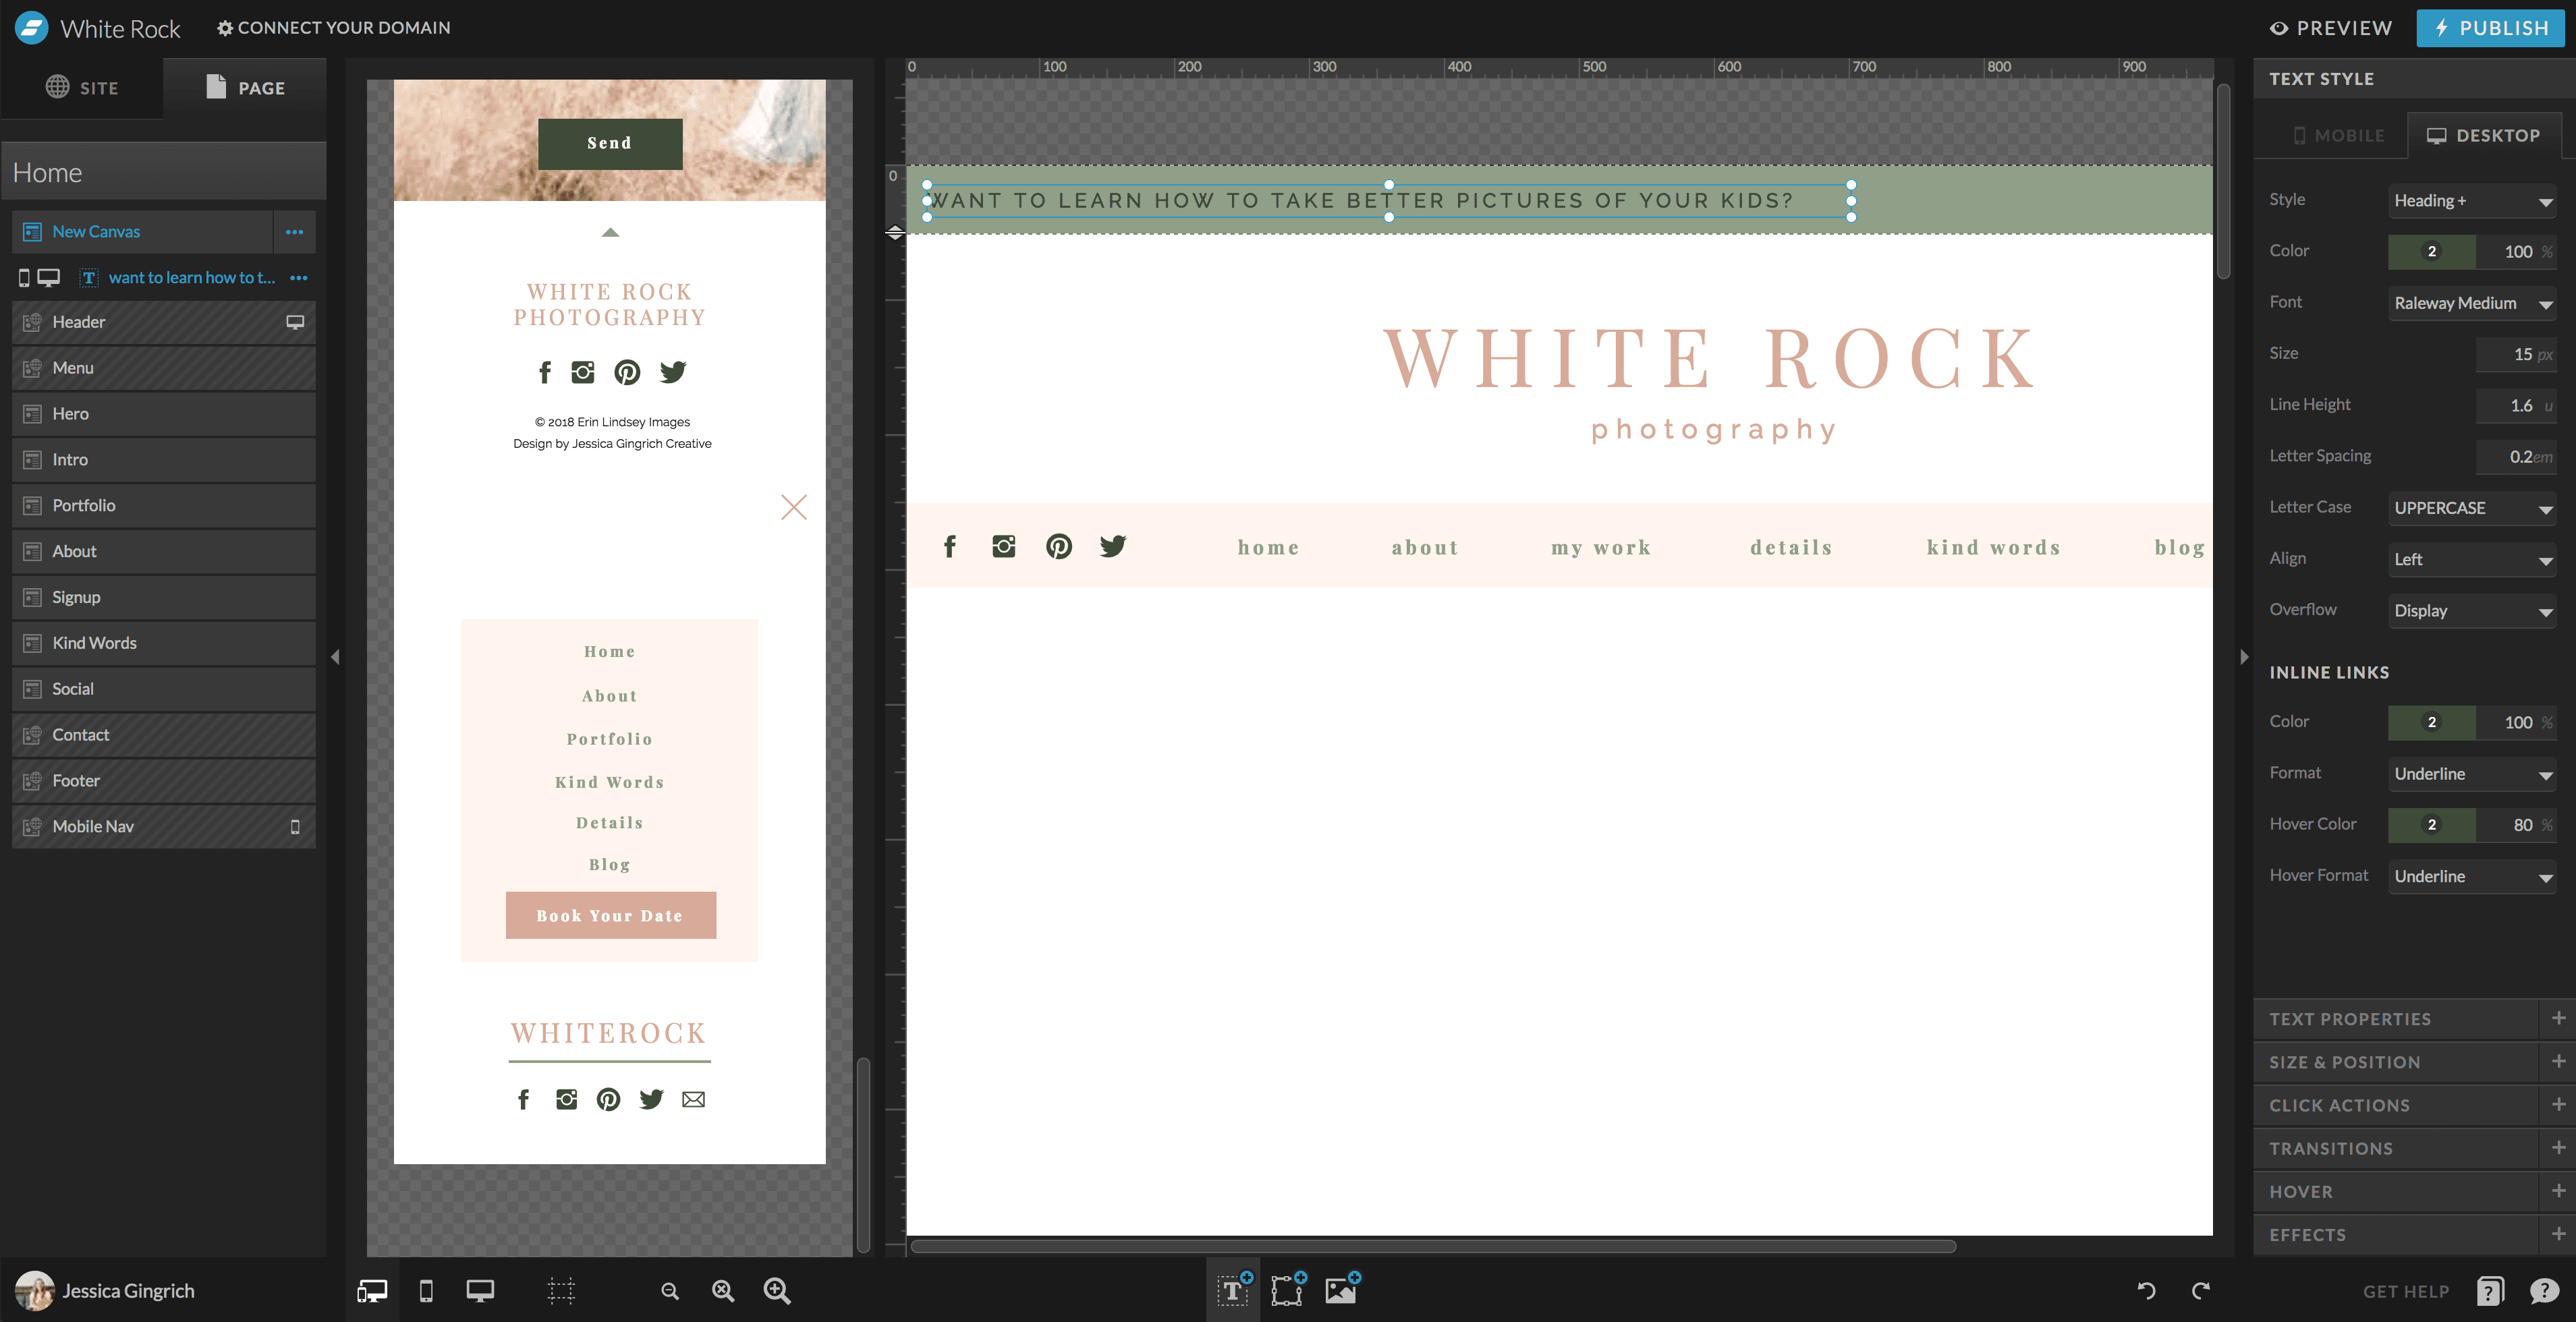
Step Two: Resize the canvas and add your content.
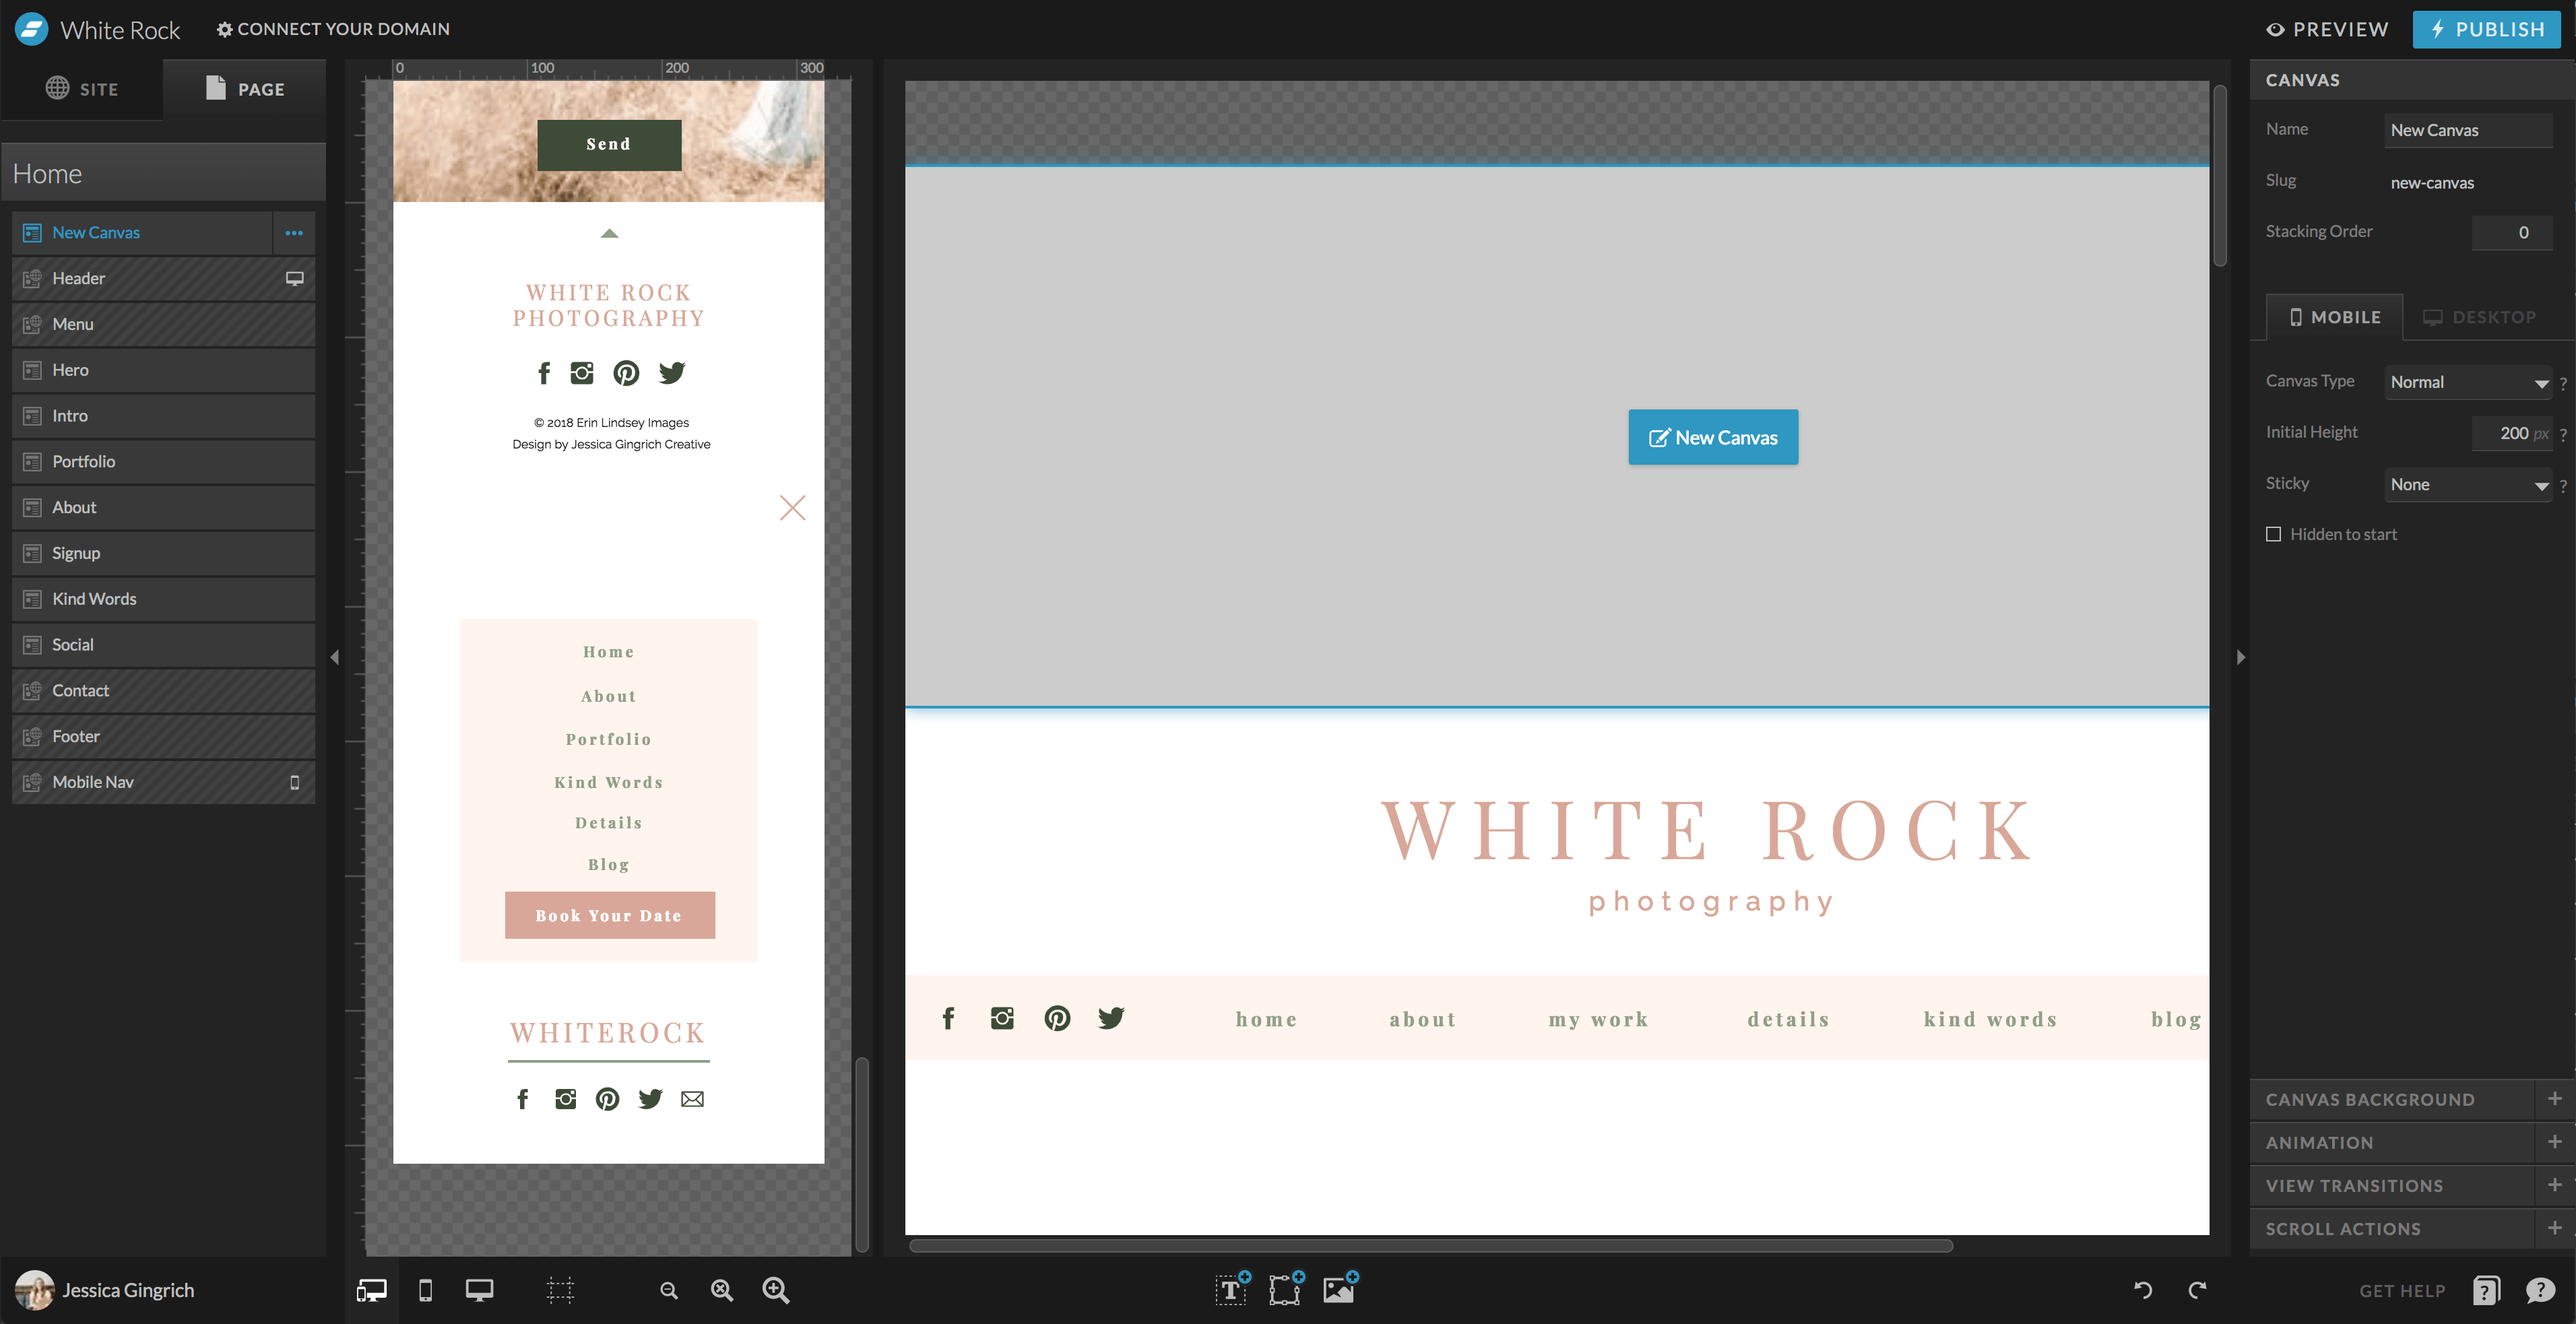
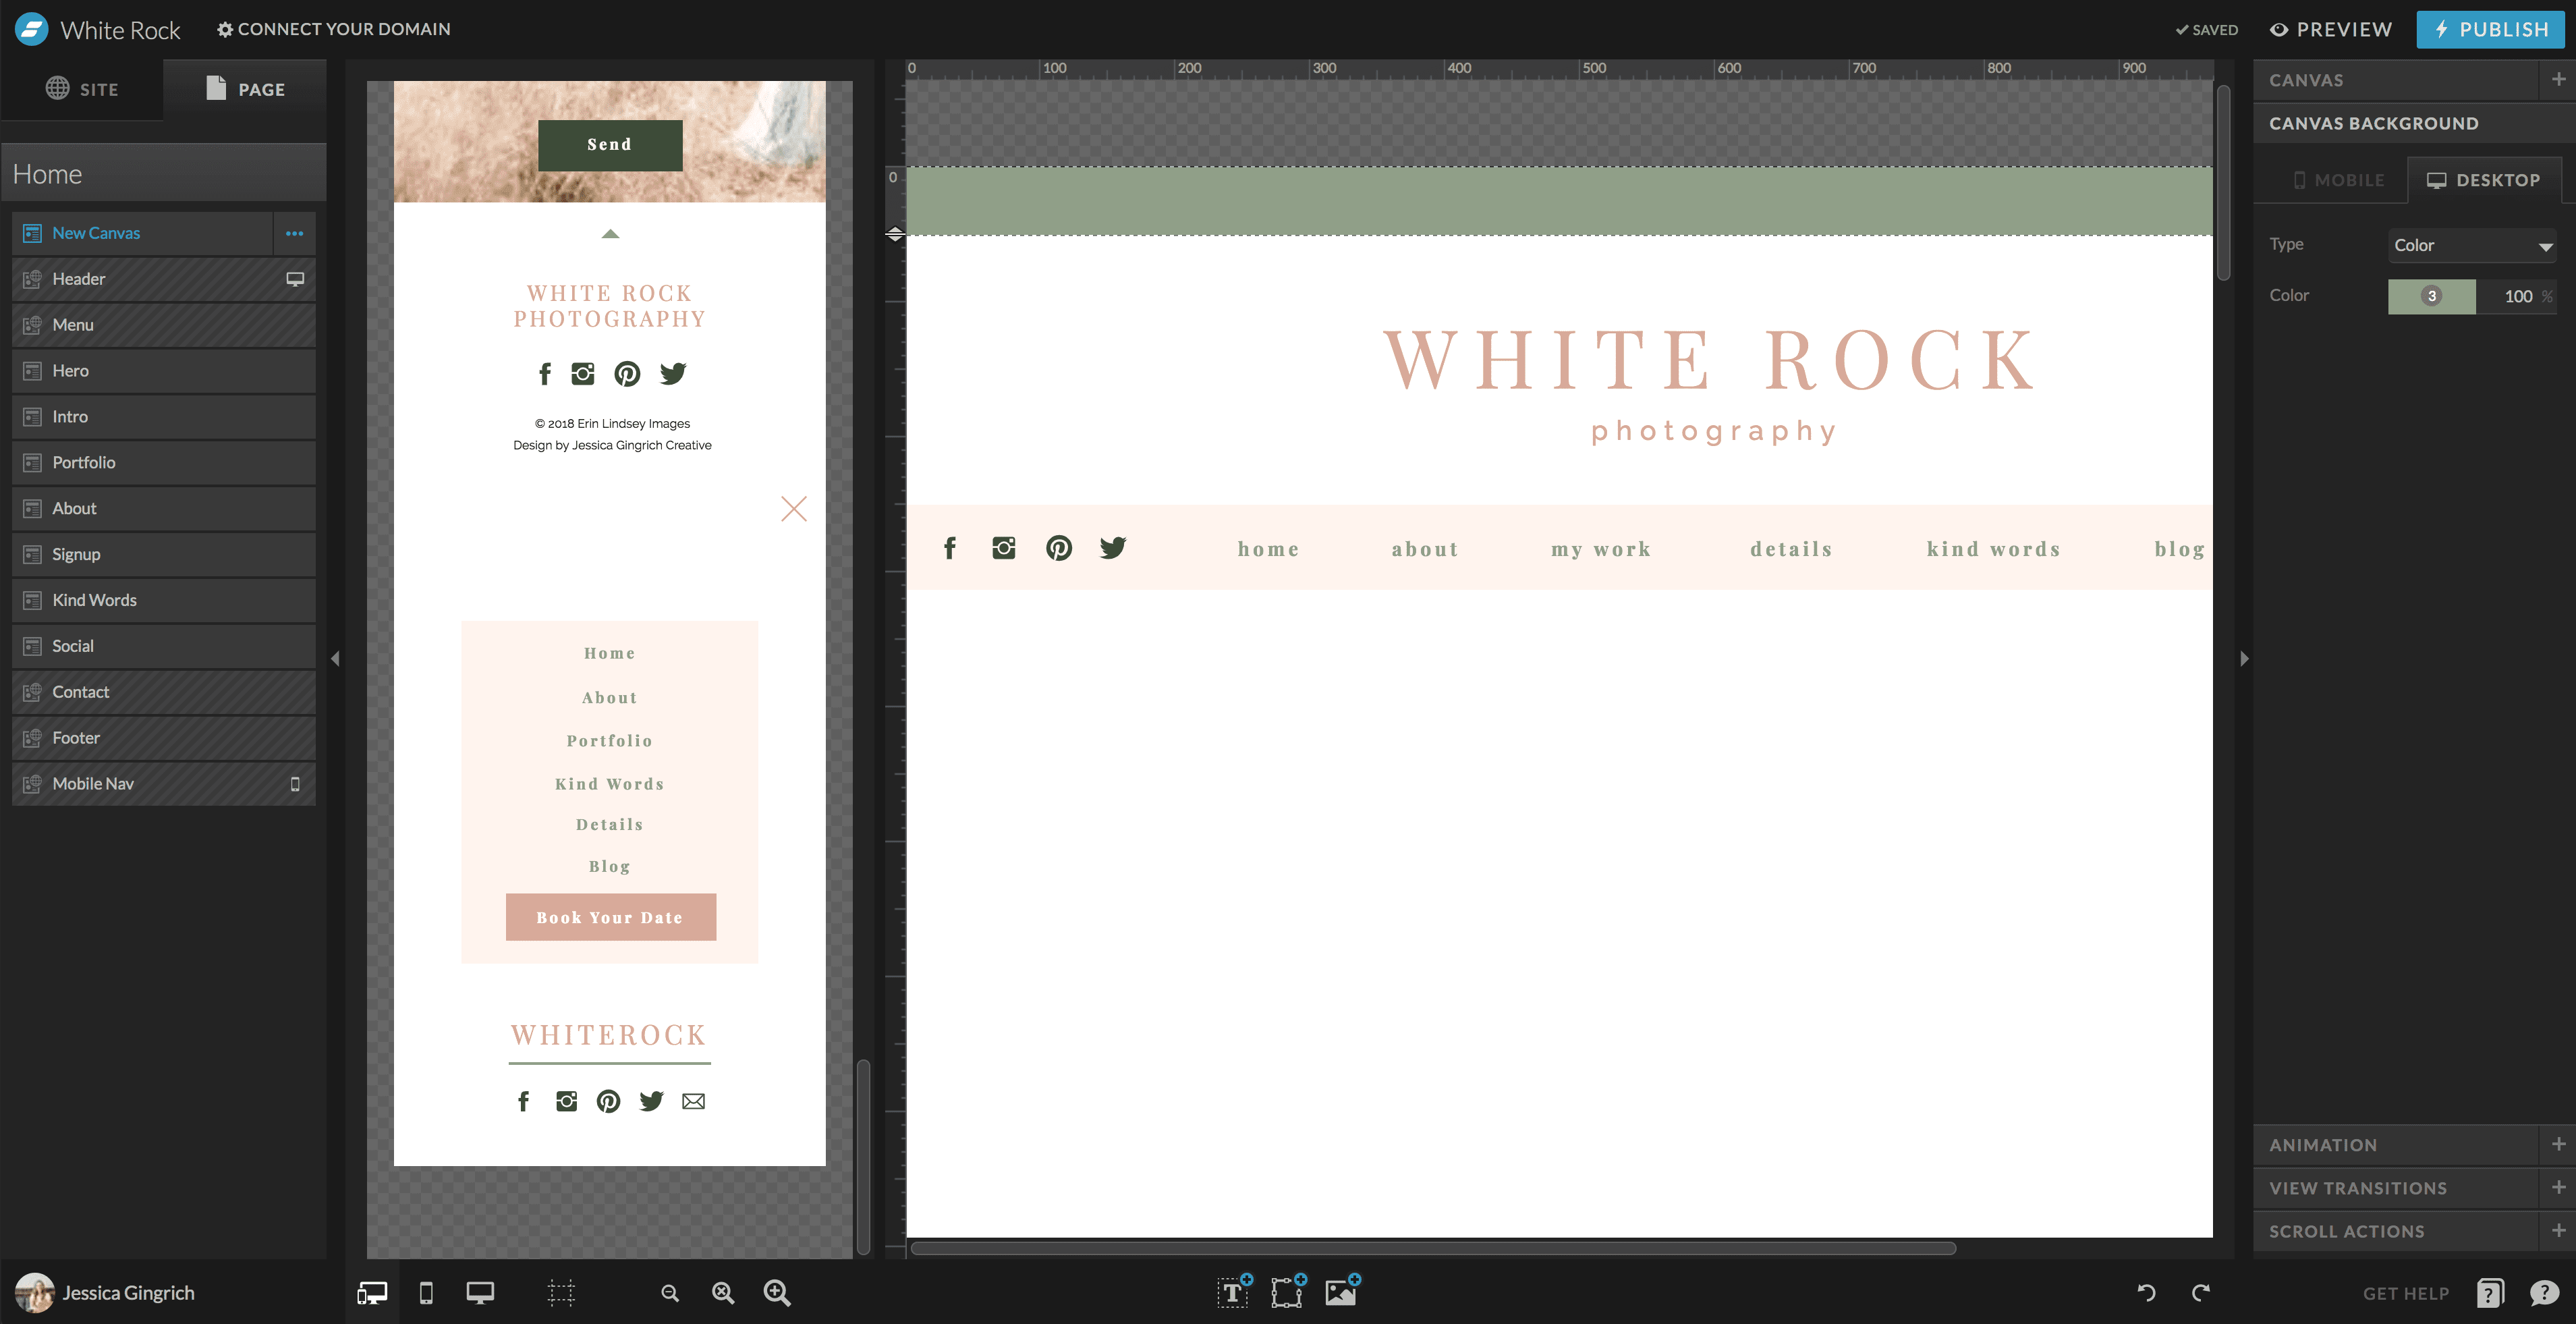
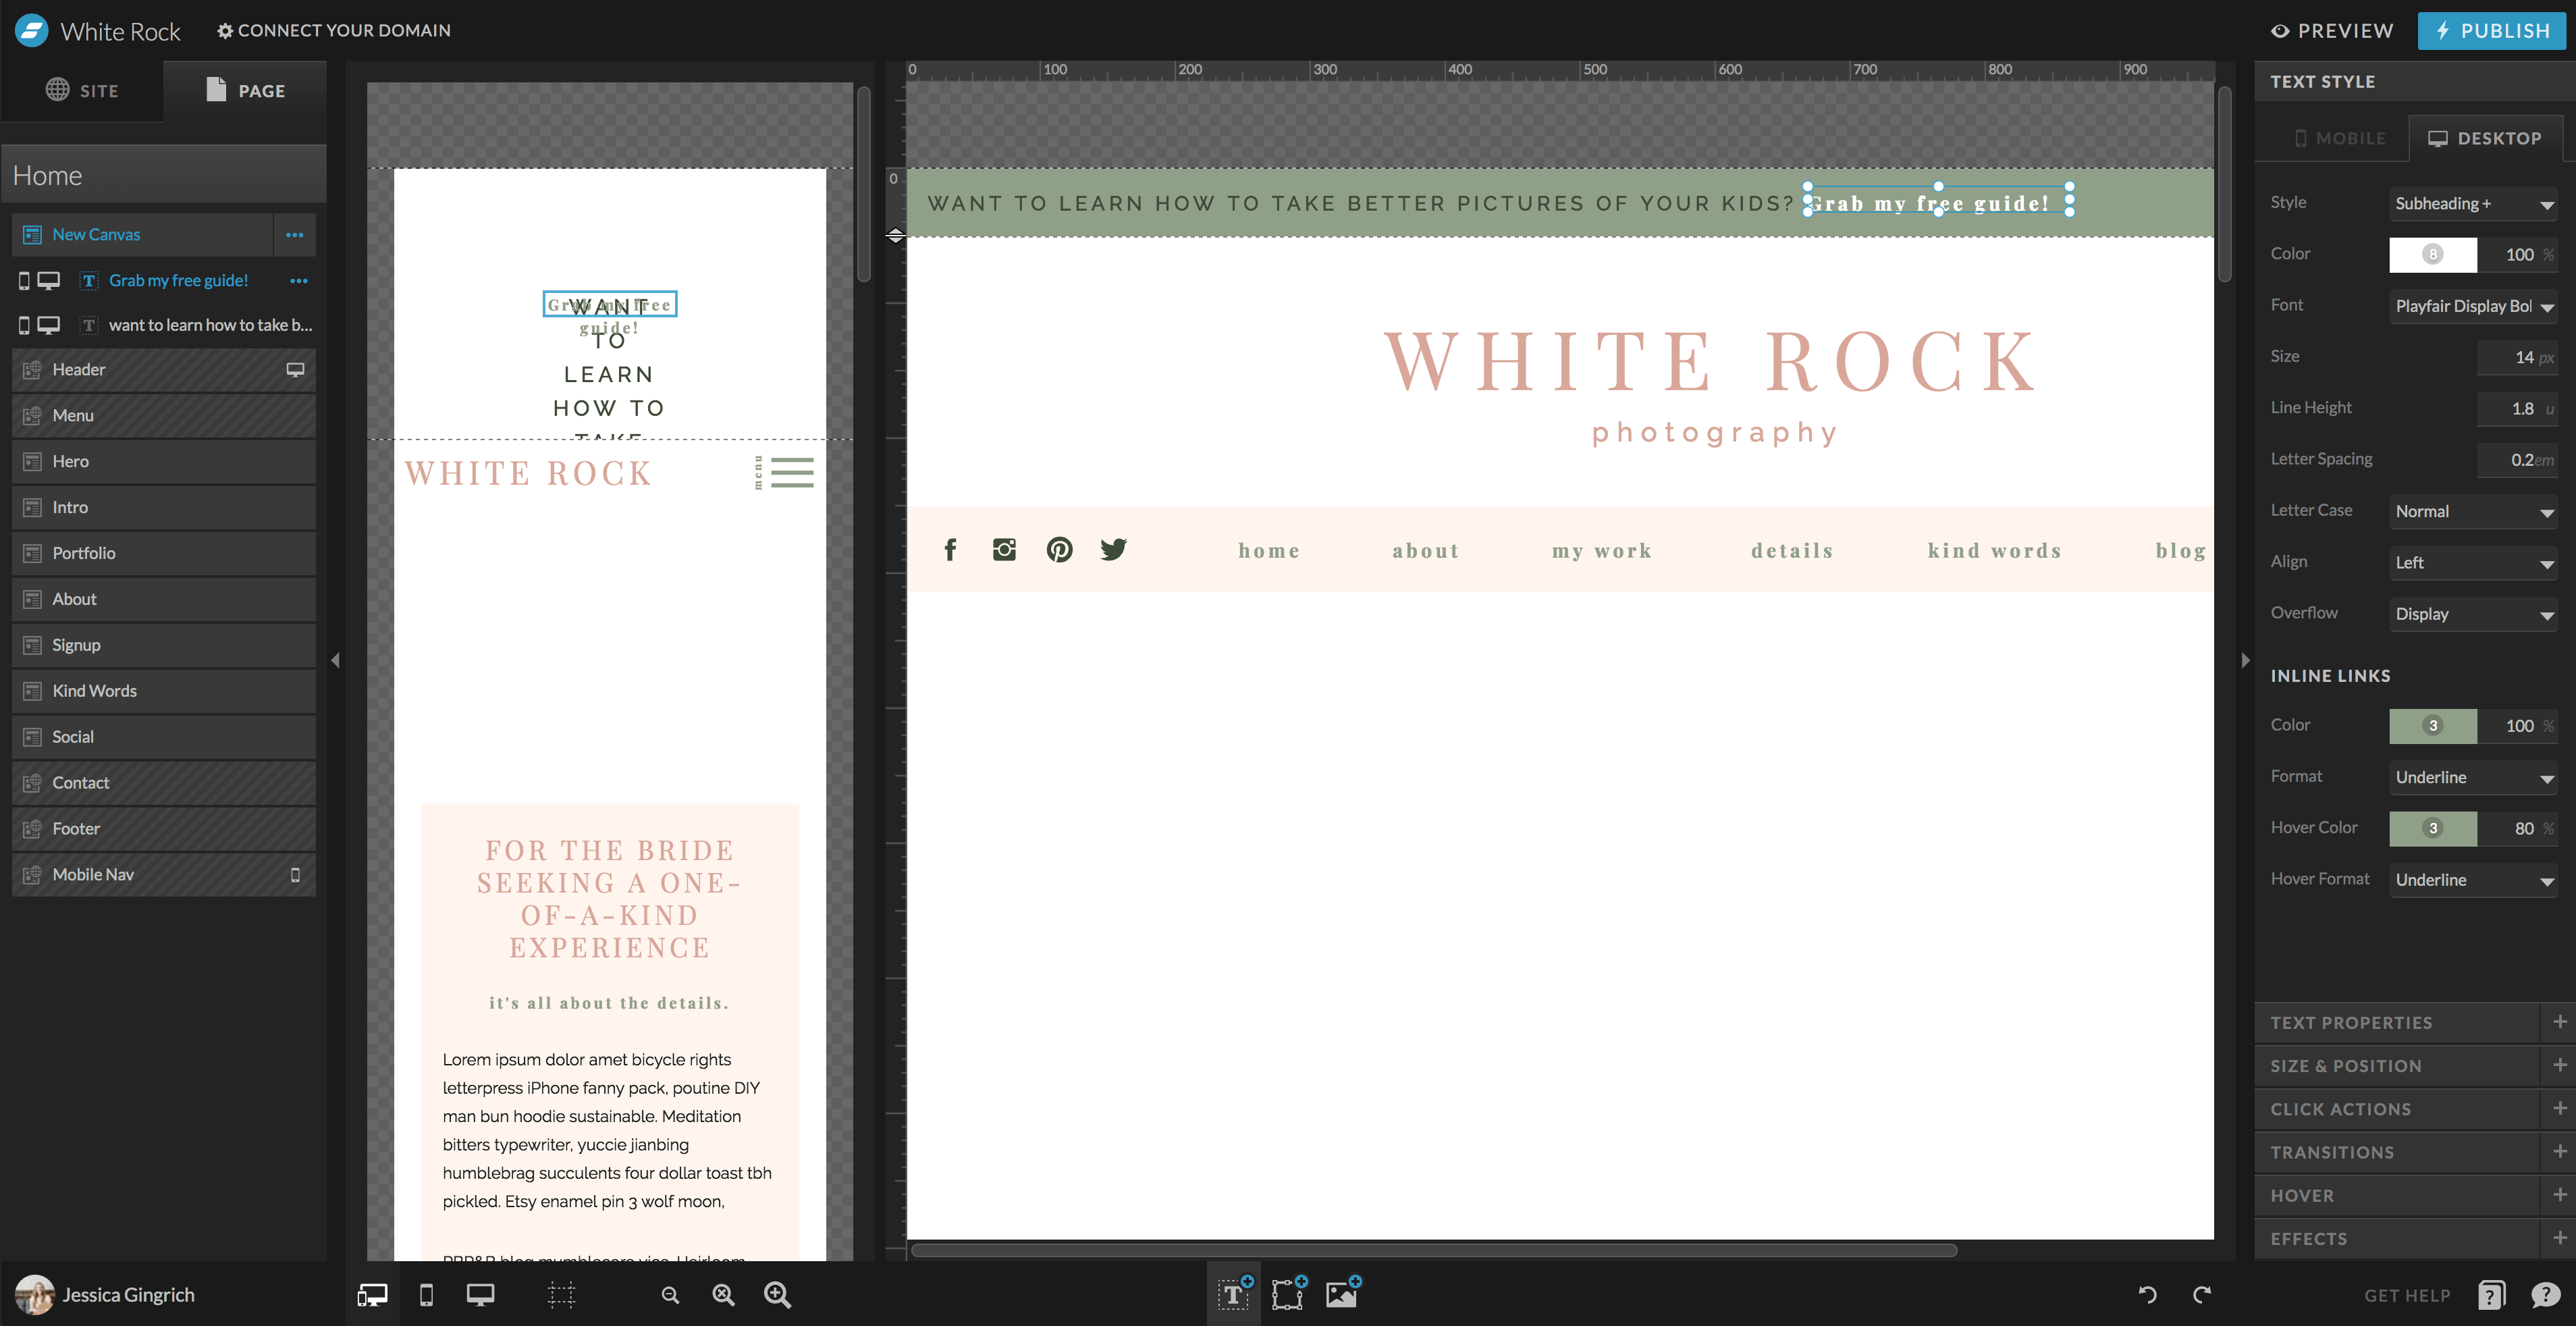
Click the arrow scale on the left to resize the canvas when it is highlighted. Then feel free to change the background color so that your notification bar stands out from your header. Add text by click the buttons at the bottom. Position the text where you want it be and lock it to one edge if you prefer or center it. Then add an additional text box to be your link/button. Set the click action for that to go to your landing page for your freebie – select the option for URL and paste the address there or link to a blog post or page if you have one already setup within your site. You can create a landing page in mailchimp or convertkit or whatever email marketing service you are using – link to that. I’ll show you in a future tutorial how to create your own landing page inside Showit as well as how to create a popup. But for now, feel free to use the landing page function within your email provider!


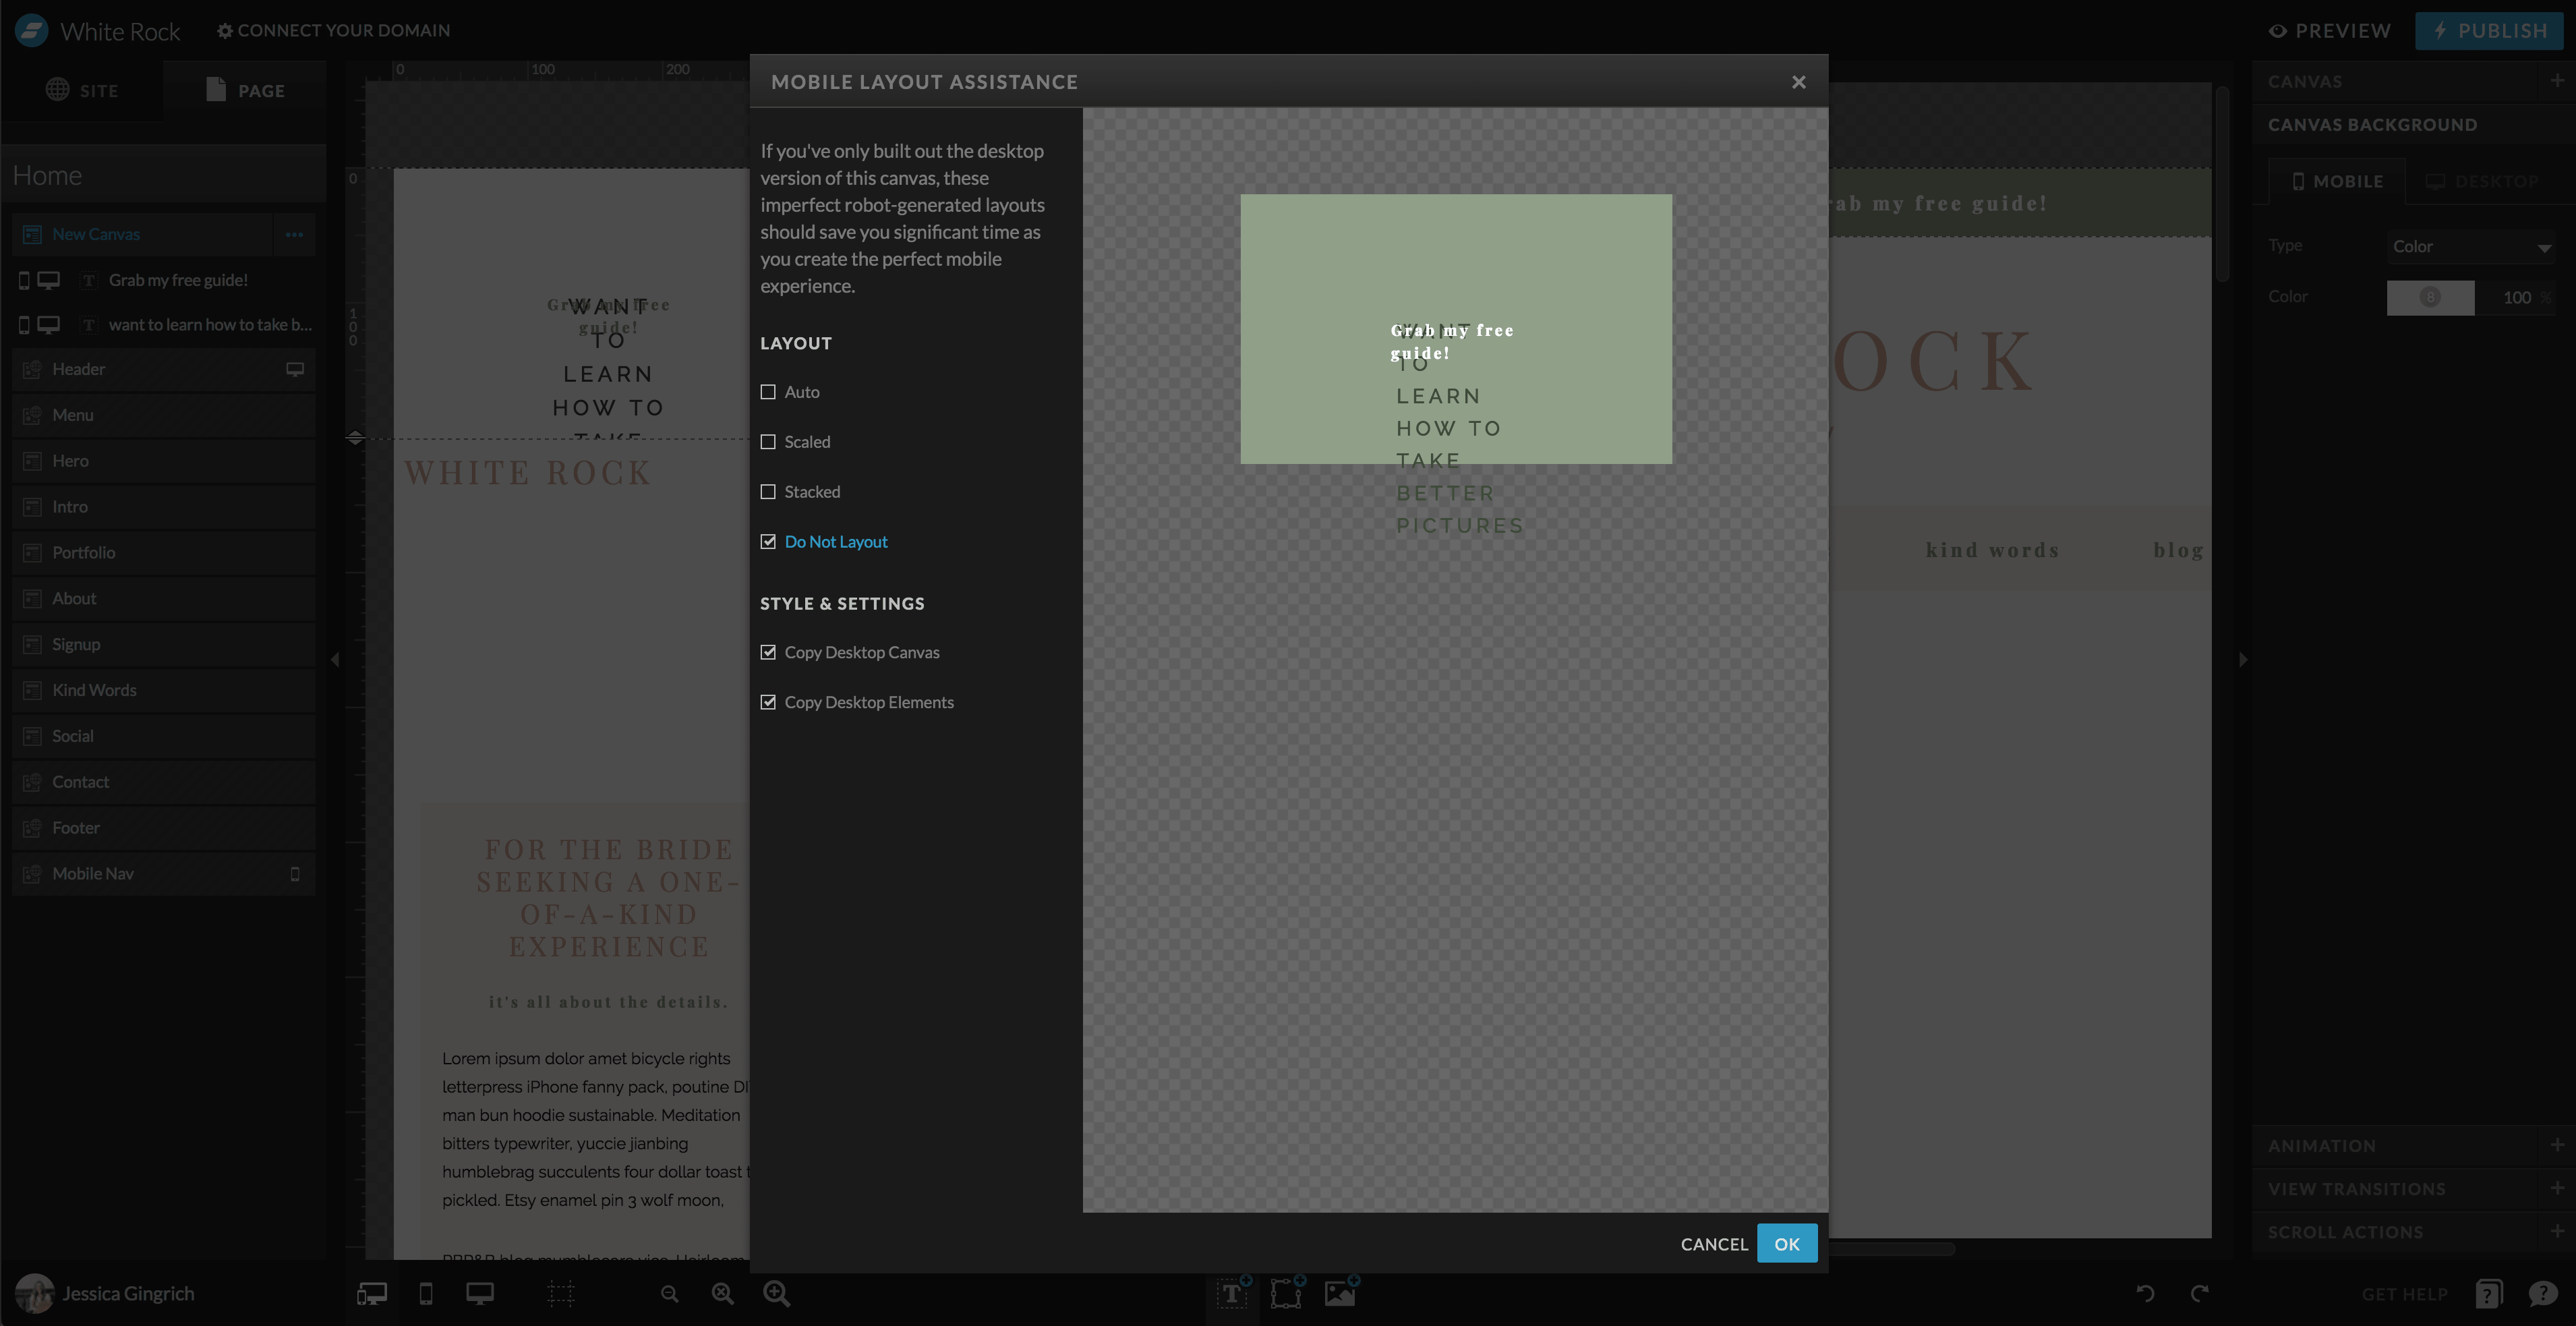
Step Three: Setup the mobile view to coordinate with the desktop.
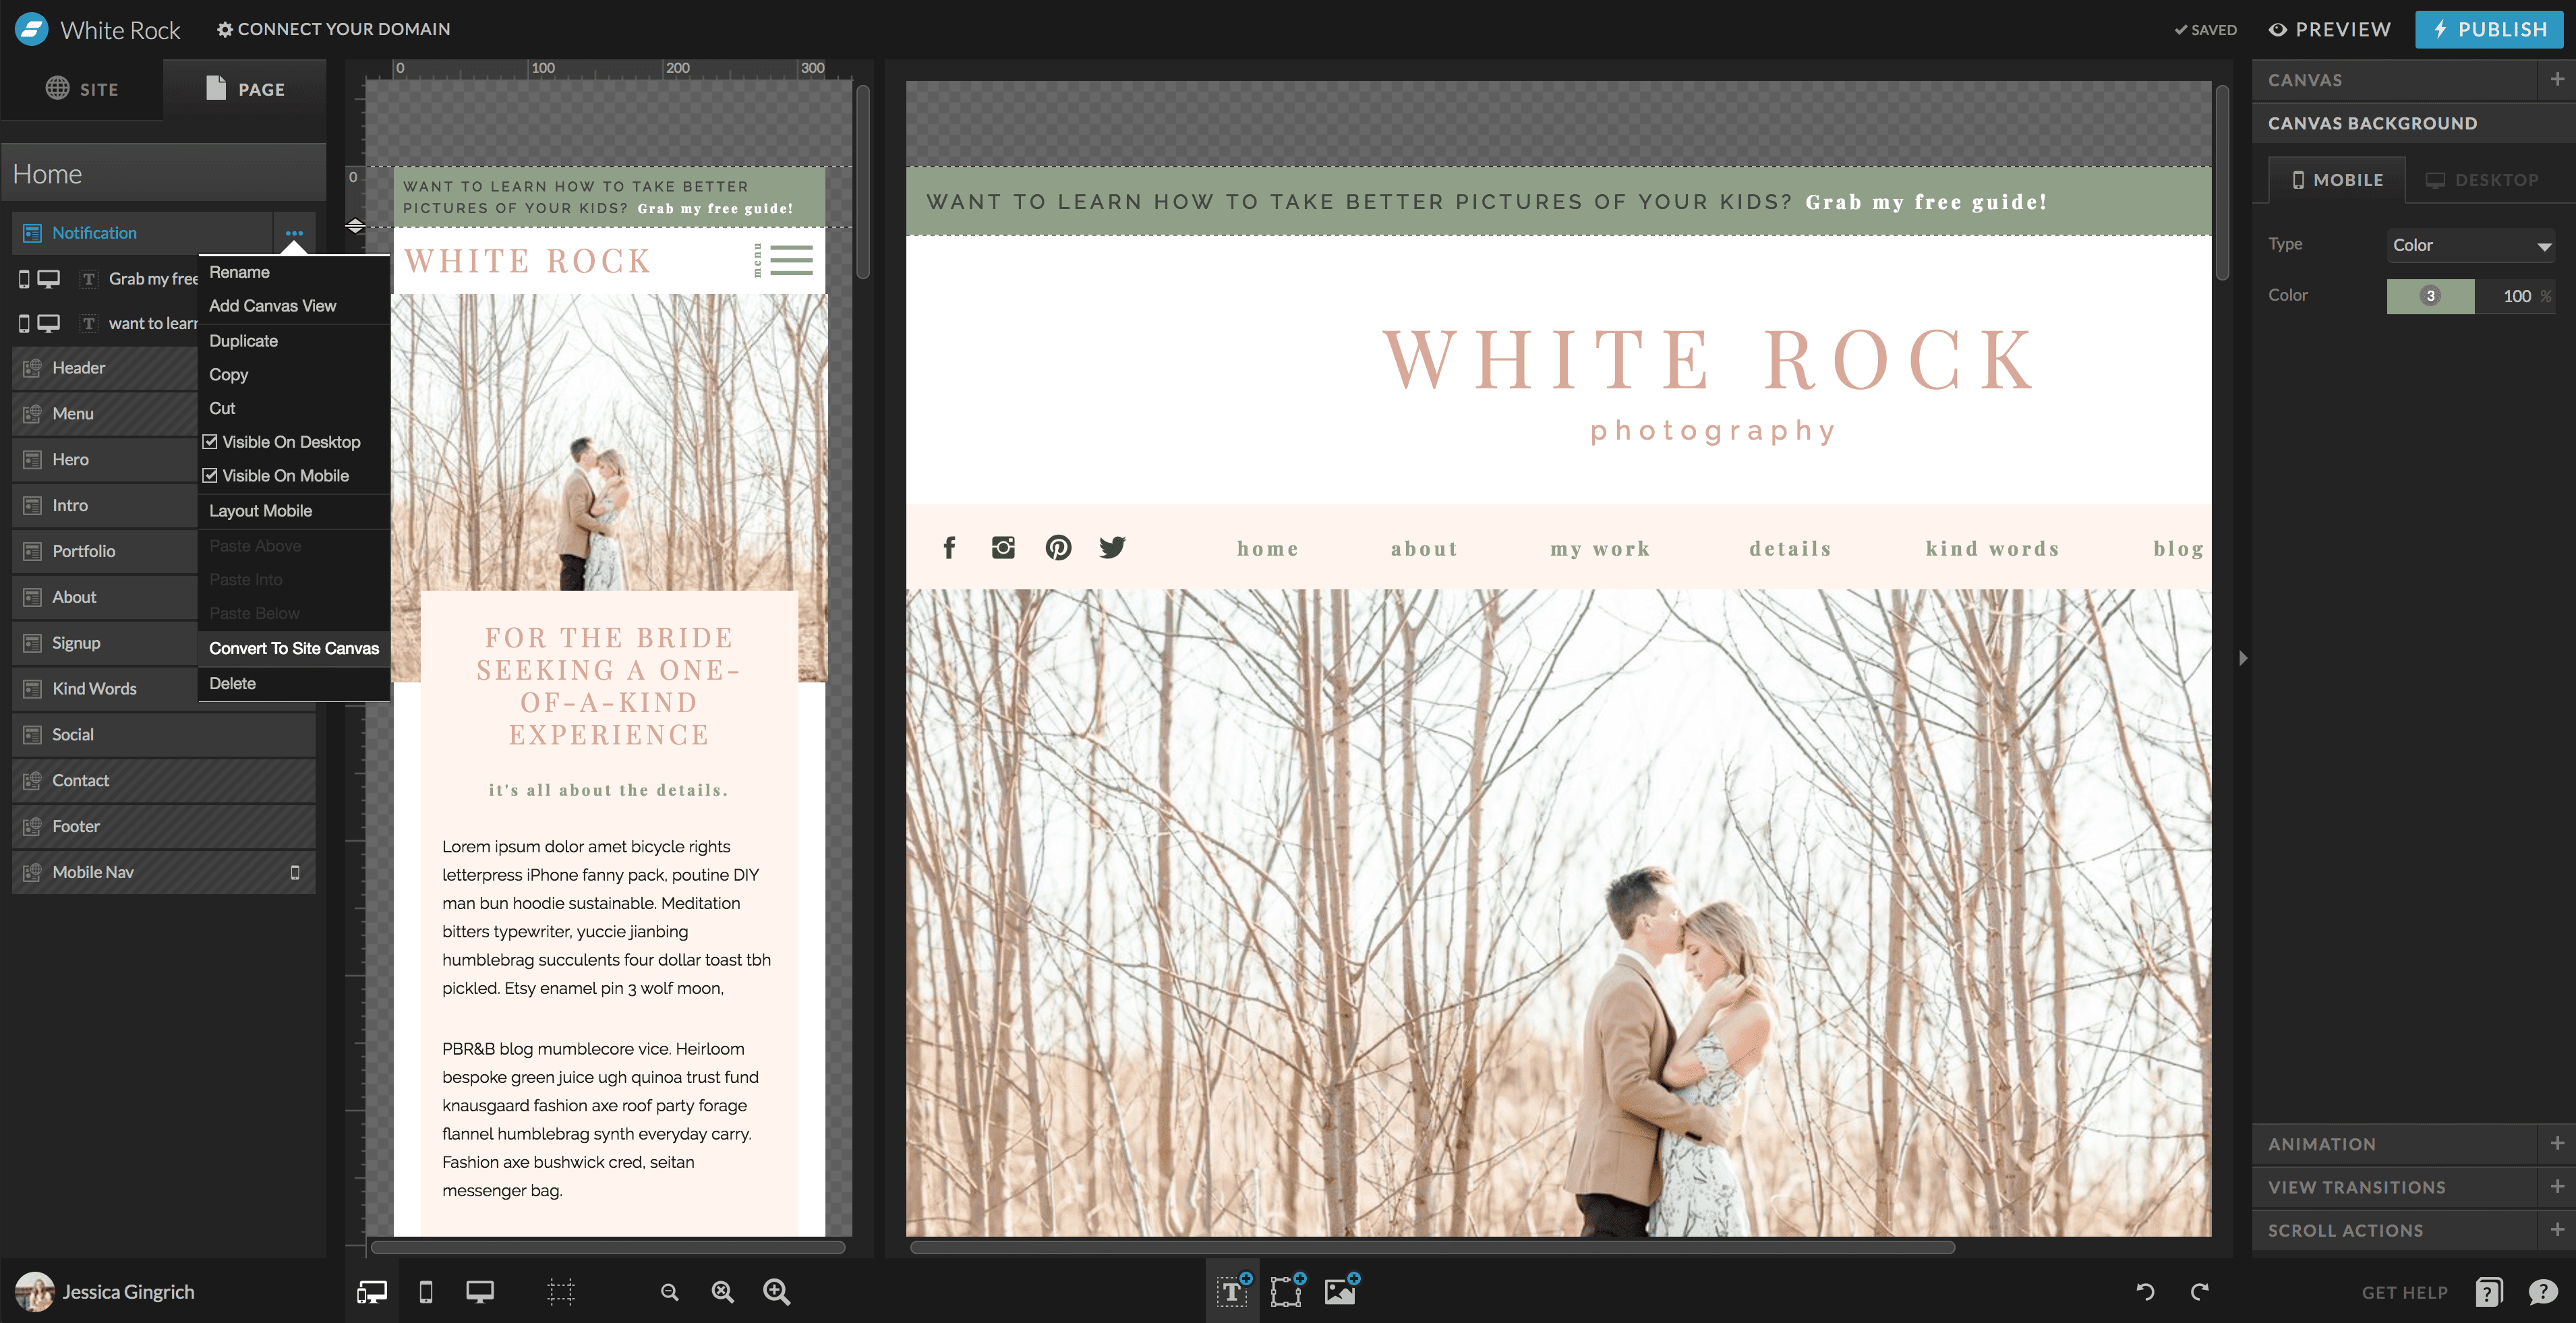
On the mobile view, in the left panel, click the 3 dots next to the notification canvas and select “Layout Mobile”. A box will pop up and you can play around with the options to see what works best. I usually just use the “Do Not Layout” option because it just copies over all the layer properties for me and then I manually move things around to make it look right! The tool is far from perfect, but the main thing is to have all the properties copied over, which saves a lot of time, and then you can grab the text boxes and move them where you want. Adjust the font sizes as needed since this should be pretty minimal on your mobile view.

Step Four: Rename, convert it to a “site canvas” and copy to any other pages.
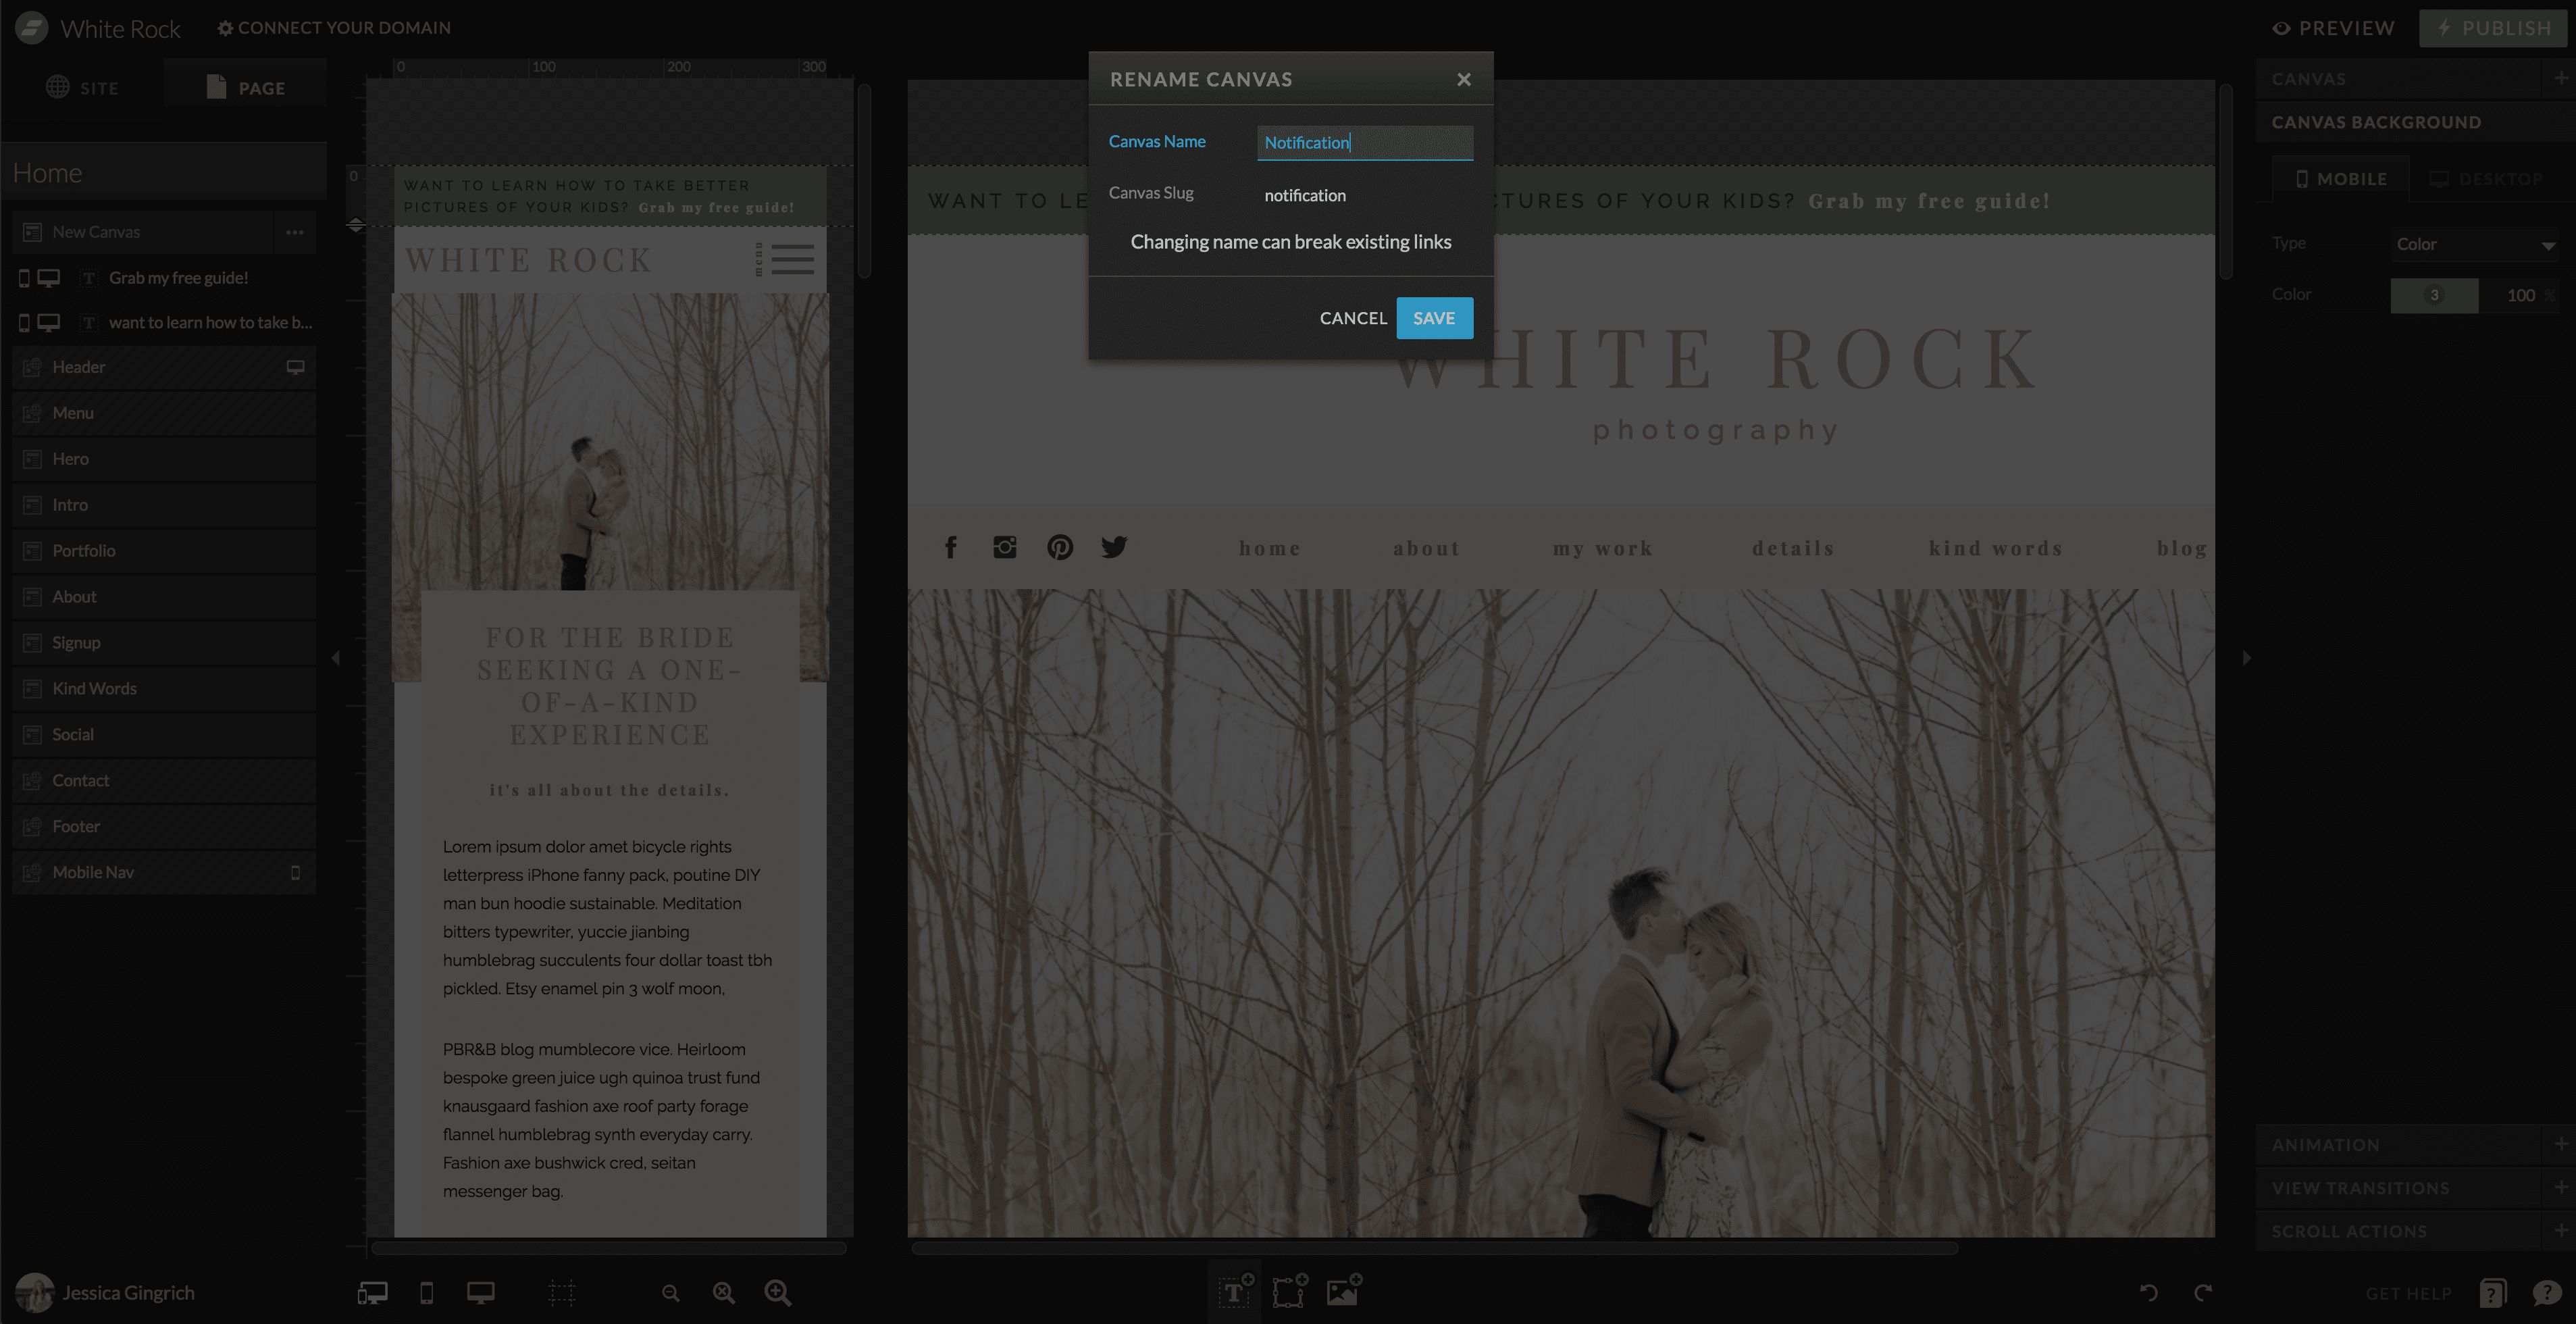
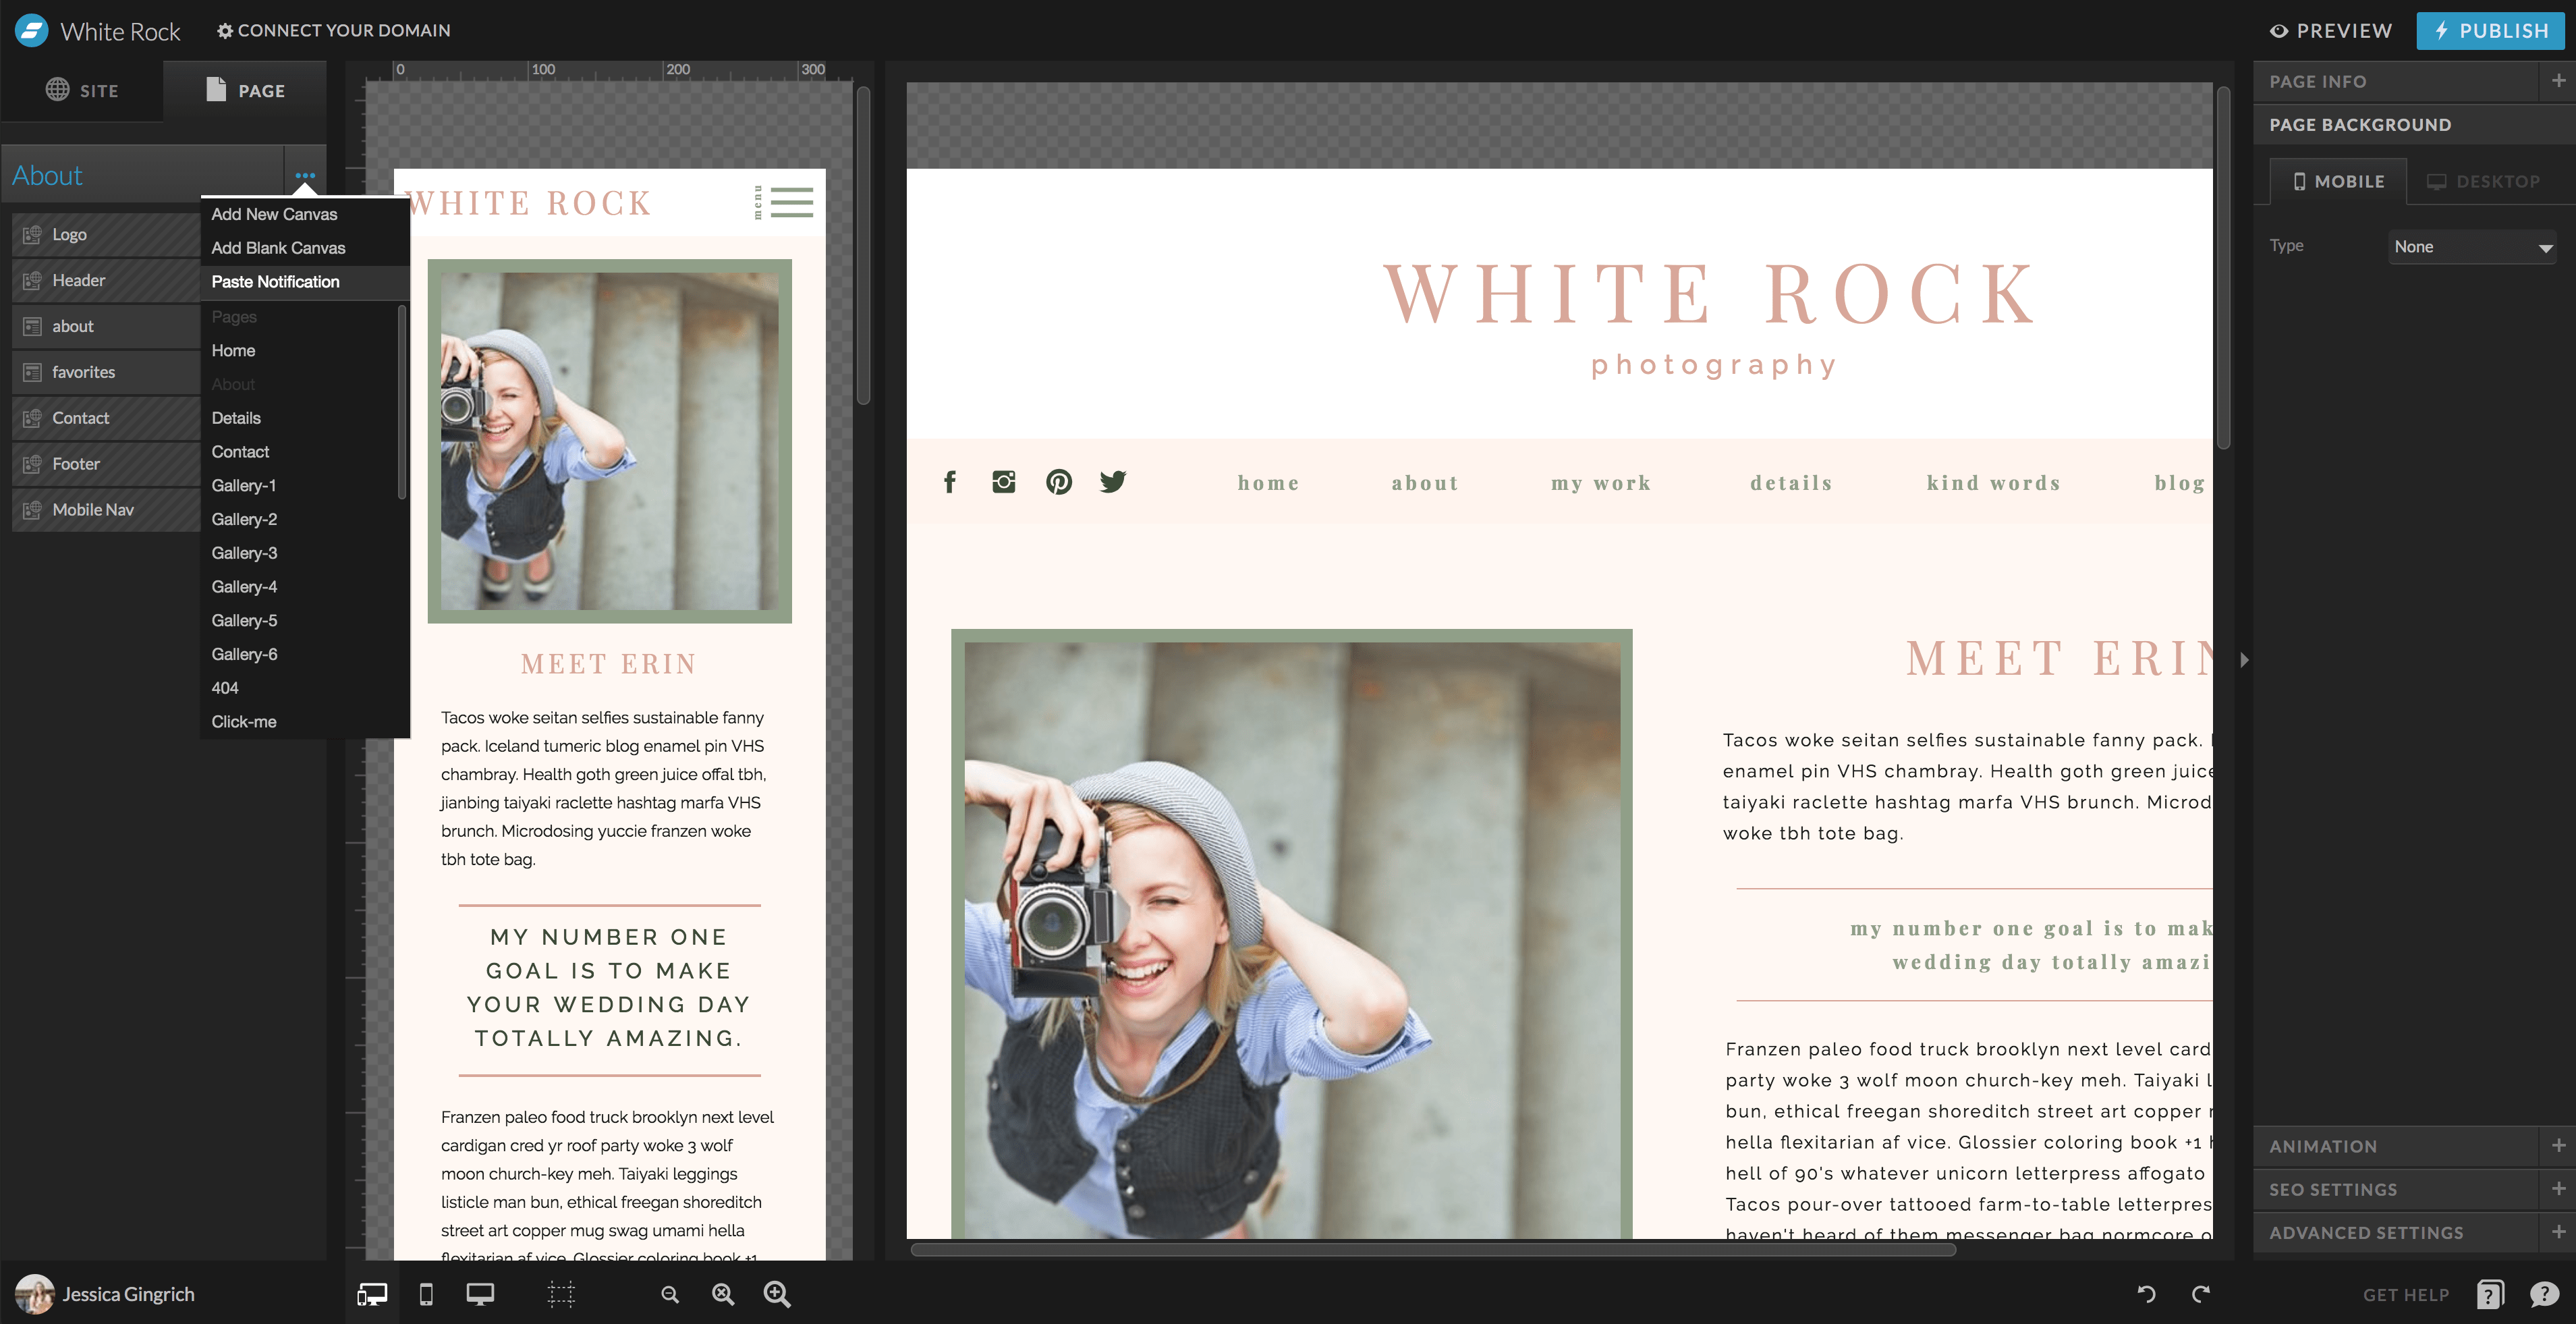
Now go ahead and rename the canvas to something appropriate like “notification” by clicking the 3 dots next to it in the left panel. Then click the 3 dots again and click “convert to site canvas”. If you are wanting to have this on multiple pages, you can now click the 3 dots and select “copy” and then go to each page and click the 3 dots at the page title and click “paste notification”. It will paste at the bottom and you can drag it up. Alternatively you can click your header or whatever canvas is at the top of the canvas list on the left and click the 3 dots and select “paste notification above”.


Hopefully you found that helpful and were able to get your notification bar all set up! Let me know if there is something else in particular you would love to learn about and I’ll make sure to cover it!


Follow along