


You may be considering making the jump to Showit but the whole blogging thing has you a bit confused. Well today I’m going to walk you through exactly how to process works. First things first… Showit uses WordPress for blogging – this means that on the back-end your blogging is done in WordPress and then your Showit website will pull that information into the design that you have created inside Showit. Follow along to learn how Blogging on Showit works and hopefully I clear up some questions you may have!
Your Blog Design in Showit
With Showit you are designing your blog layout and design inside the Showit app or interface. On the left side panel, you’ll see a section under the “Site” tab that says “Blog Templates”. This is where your blog design and your post design lives. Click blog there (if your template already has a blog design within it) and you’ll see a page that looks similar to this but obviously coordinates with your site design and under template info in the right side panel it should say “Post List”.
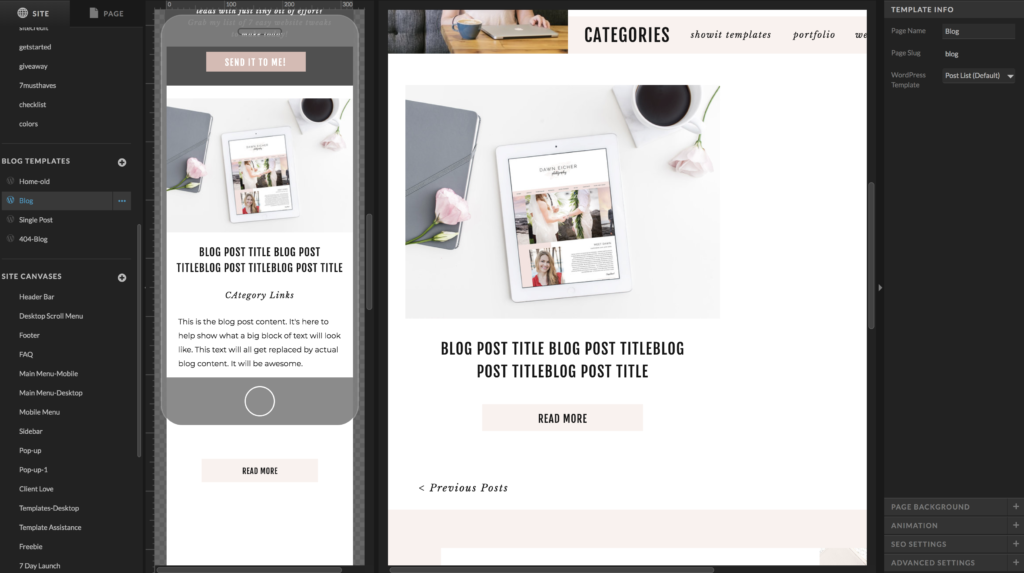
Now don’t start typing up your blogs or doing anything over here. This is simply your design and these are placeholder elements that will pull information from your WordPress account (which Showit will setup for you on their servers). On your main blog landing page you will likely see placeholders for a blog featured picture, blog post title, date, categories, excerpt and a button or link to read that post. Depending on your blog design that came with your template, you may or may not have all these elements showing and that’s totally fine!
Single Blog Post Design in Showit
Next area within Showit to pay attention to is your “Single Post” page. This is the page that will pull your actual blog post information into and display your individual posts. It is found in the same left side panel, usually under your blog and will look something like this and will have “Single Post” in the template info on the right side panel…
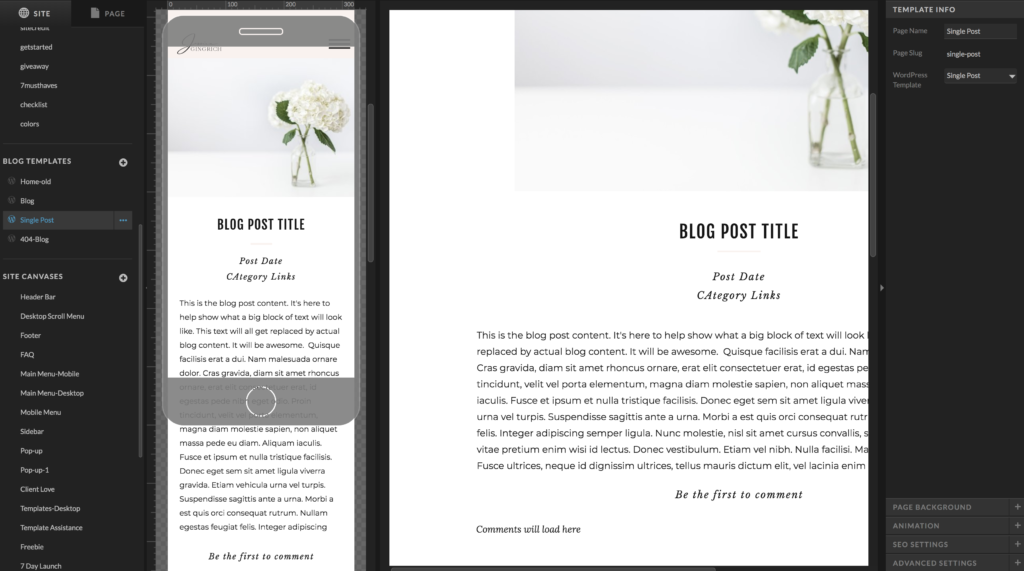
Again, sometimes people think this is where you will start your actual blogging but it’s not – these are placeholders that will communicate with WordPress. So the only thing you should be doing over here (if you need to do anything at all) is tweaking or editing the design. For example if you wanted to remove or add blog elements such as a date or category placeholder, or edit the format of your picture, add a sidebar and scoot everything over to accommodate, etc. But now let’s imagine that you are all set to start blogging. First off, make sure you have actually submitted your blog migration or setup to Showit support so that you have an active WordPress account on their server. Follow the directions here and do that step first. It can take anywhere from 2-10 business days for your blog to be set up dependent upon your existing blog size if you are migrating over, or starting a new blog.
Blogging in WordPress
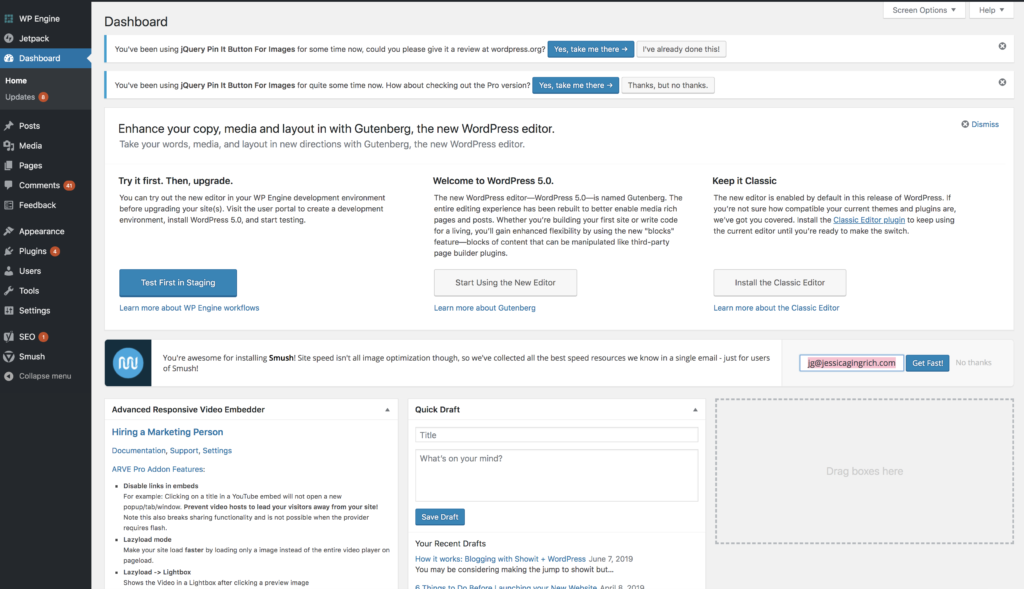
Once you have your blog officially setup and accessible you’ll head to https://yourdomain.com/wp-admin to login (typically it will be that same username and password as your Showit account) and start blogging! This is the interface you’ll see within wordpress and if you’ve blogged in wordpress before, it should be super familiar.
From here you simply start blogging! You’ll go to posts – add new post – and type away! There’s a few plugins that you’ll want to turn on such as the following:
- Akismet Anti-Spam
- Jetpack by WordPress.com
- jQuery Pin It Button for Images
- Yoast SEO
There are others I’m sure and you should research which one’s you really need but those should get you started.
Now after you have published your blog post, you’ll be able to see it on your live website. Everything will still appear the same within your Showit app so as you are testing things just go to your domain/blog or however you set it up when you submitted it to Showit support. There you’ll see your blog posts being pulled into your design.
Hopefully that all makes sense and helps explain how exactly blogging in Showit + WordPress works! For a video tutorial on the whole process check out the following video and reach out to me if you have any more questions. 🙂


Follow along